At the time I’m writing this post, while it’s just the beginning of October, there’s only 12 weeks until Christmas! And I’m finally getting around to thinking about Halloween … costumes, decorations and candy! Each year, I typically only ‘think’ about Halloween decorations, rarely put anything up. Partially because Halloween kind of creeps up on me each year (no pun intended!), partially because I’m not a huge fan of the orange colored decorations.
While store bought Halloween decorations may stay loyal to the traditional orange & black color scheme, DIYing opens up lots of possibilities.
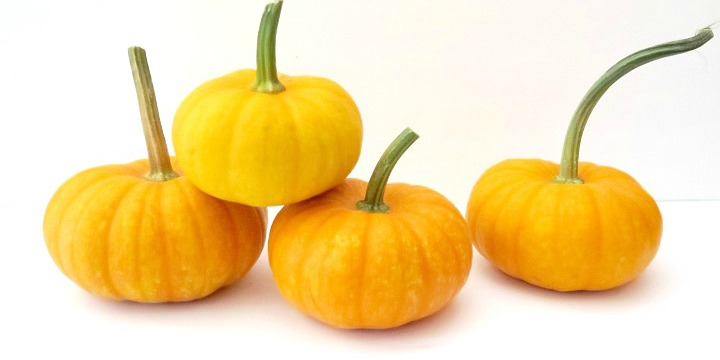
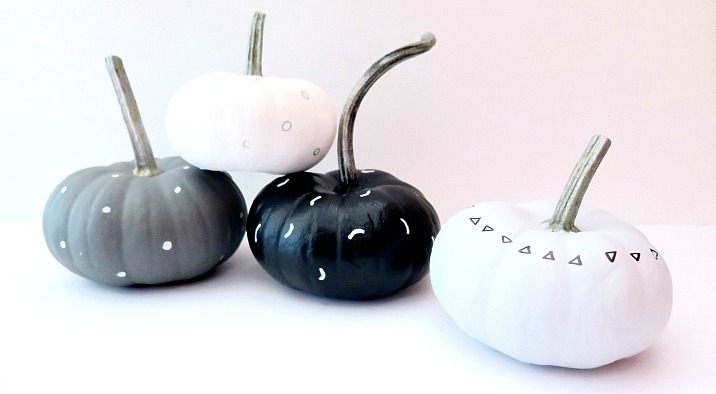
With the panic of knowing Christmas is on the horizon, I’m forgoing the time consuming and messy processes of carving my pumpkins. Instead my DIYing will only require some paint and these adorable tiny pumpkins I picked up at a pumpkin patch with some girlfriends.
The best way to paint & decorate pumpkins
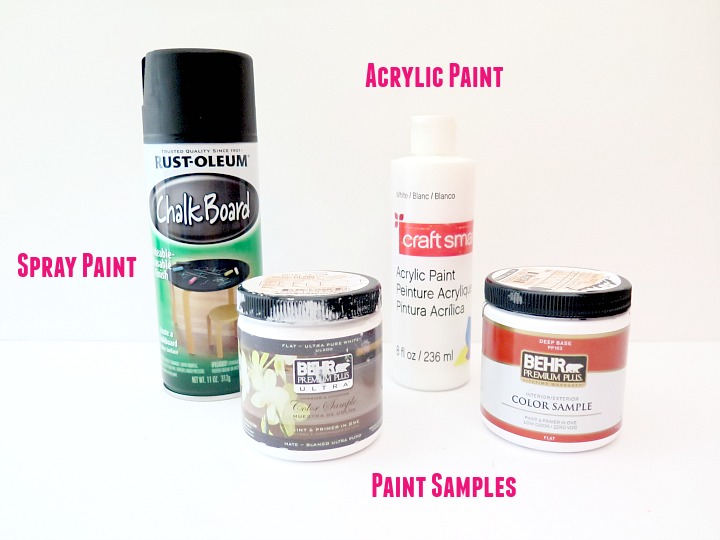
All you need to paint a pumpkin is … PAINT. Shocker. But what type to choose? I tested out 3 different types and here’s my preferences:
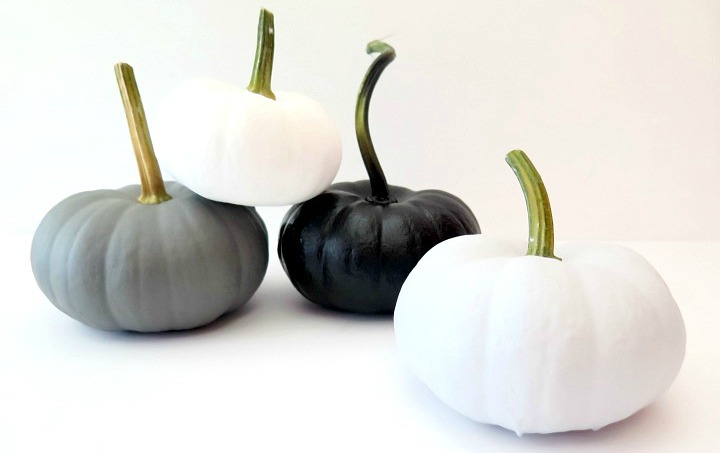
Spray Paint | This was hands down my favorite way to paint a pumpkin. It’s really quick and goes on so evenly. I only needed one coat of black spray paint to get the job done. I was worried that it would be difficult to decorate a spray painted pumpkin with markers, but I had no such problems!
Paint Samples | My second favorite was using some old paint samples from when I was painting my walls. The paint was thick enough to also only need one coat. The paint went on pretty even; it just took a little longer to dry than the spray paint.
Acrylic Paint | The third option was probably my least favorite, although still totally doable. The acrylic paint wasn’t at thick and needed several coasts. It also looked more blotchy than the other options (although it could be user error 🙂 ).
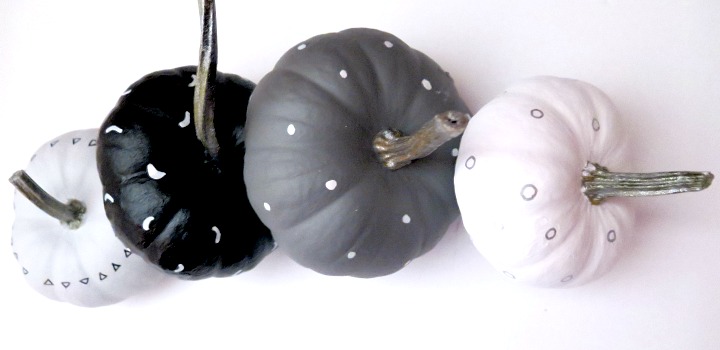
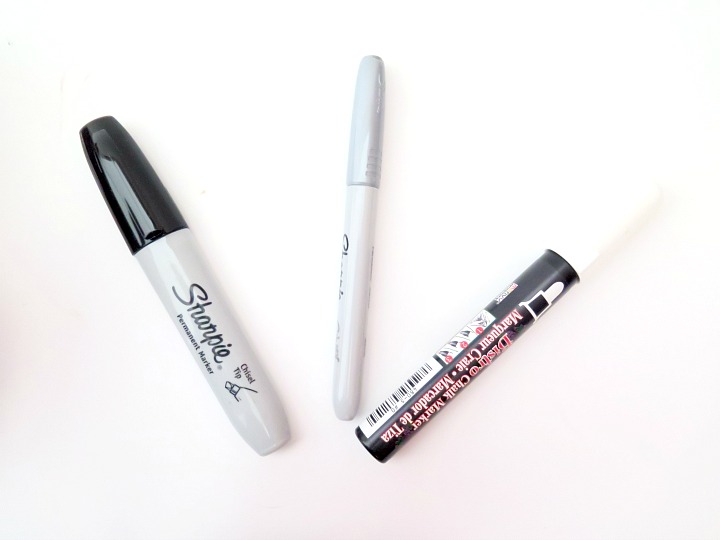
Once the pumpkins were painted, I grabbed a couple permanent markers and a paint pen to make some fun designs. (I loved both the permanent markers and paint pens equally! I just used what I had on hand.)
Tip #1 | Make sure to always press lightly with the pen or it could scrape off the paint from the pumpkin.
Tip #2 | If you’re using a paint pen, remember to keep it wet. I continually pressed the pen down on a pad of paper after a couple seconds of decorating my pumpkin.
Tip #3 | Start at the top of the pumpkin, letting the design dry as you work your way down the pumpkin. This will prevent you from inadvertently smearing your design.
Now once you’re ready to decorate your pumpkins, there’s really no steps to follow. Simply find a design that you love and start drawing. You really can’t go wrong with these! And remember, if you don’t love the design you make, you can always paint over it (…. with spray paint 🙂 )!
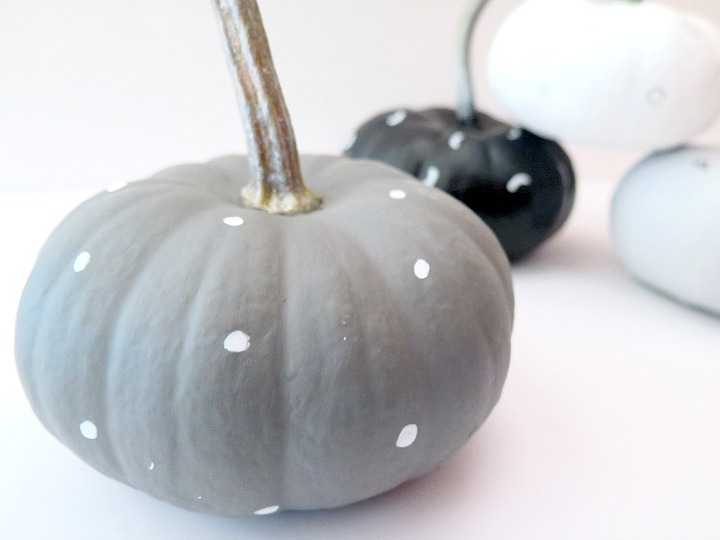
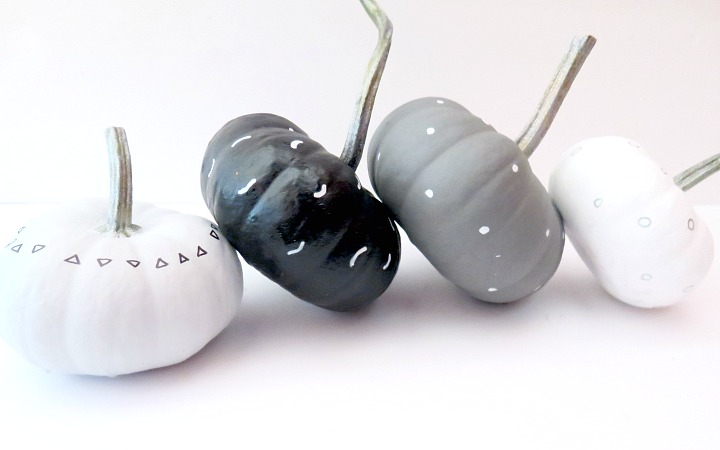
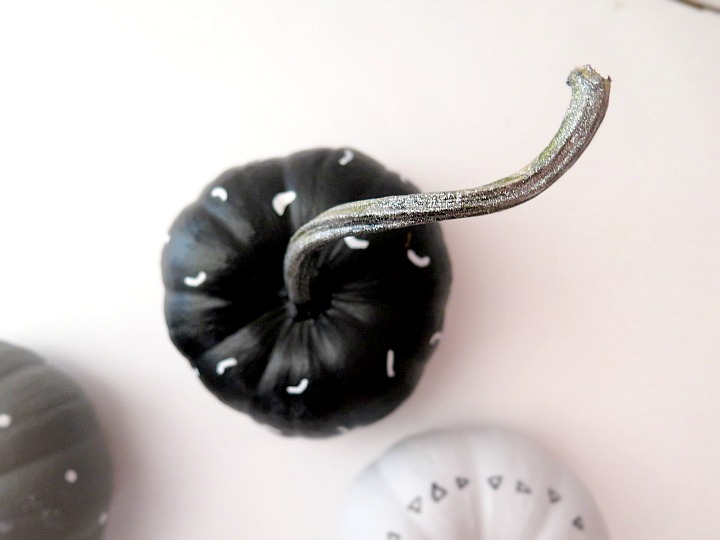
At the end, I decided to add some glitter paint to each of the stems for some fun sparkle.
Not only will you have some amazing Halloween decorations, you can use the extra time to start preparing for Christmas 🙂 .


These are adorable. My daughter wants to carve pumpkins, but I would rather paint them like this. Maybe I can convince her to paint 🙂
For me I was always a spray painter mainly because of the speed but cans tend to get expensive especially with bigger pieces. I think I can get away with acrylic paint if it was small enough. Totally thinking of what I should do for Halloween. We just had Thanksgiving and I only had one pumpkin outside due to lack of time to decorate. I put up some leaves and a wreath I made but it needs more.
Now that I think about it, I have never actually considered painting pumpkins. Maybe it is because I am afraid that I am going to stain something inside my home and we all know how daunting stain removal can be. But I do think it is a lovely idea and a great alternative to carving!