At the end of each year, I organize all my Christmas decorations in to perfectly labeled bins, while my stacks of Christmas lights are a disaster. After spending hours putting away the rest of our decorations, inevitably I get too frustrated with the lights and just throw the tangled mess of lights in the bin claiming to deal with it ‘next year’.
Fast forward to next year when I’m putting up the Christmas lights. Not only do I NOT know which lights are which type (colored, white, icicle), it takes hours to untangle all the strands. And this is all before I even hang up a single light! For those of you who love to have Christmas lights hung around your home, you know that hanging them up is no easy feat.
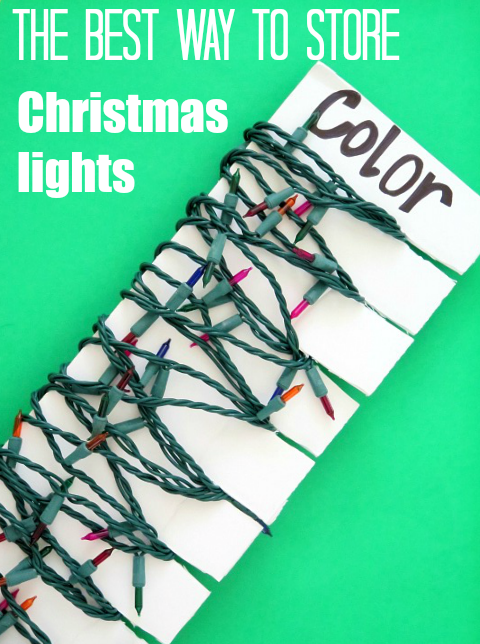
So to make things easier for the NEXT YEAR, create these simple Christmas Light Storage Organizers.
Easy to Store Christmas Light Organizers
Supplies
- Thick white pieces of cardboard
- Measuring tape
- Lots of Christmas lights (preferably untangled 🙂 )
- Thick marker or labels
- Rotary cutting tools (while optional, this is hands down my FAVORITE DIY supply I own!)
Instructions
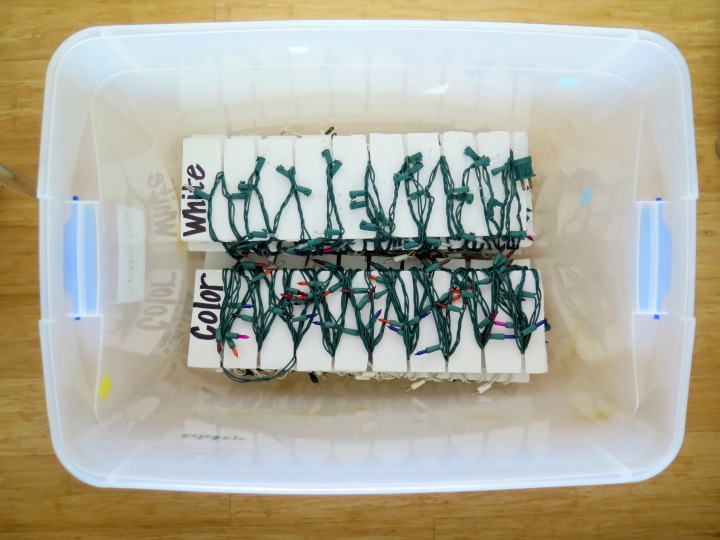
Since all my Christmas light organizers will go into a large plastic bin, my first step was to measure the bin. I can then determine the appropriate size organizers.
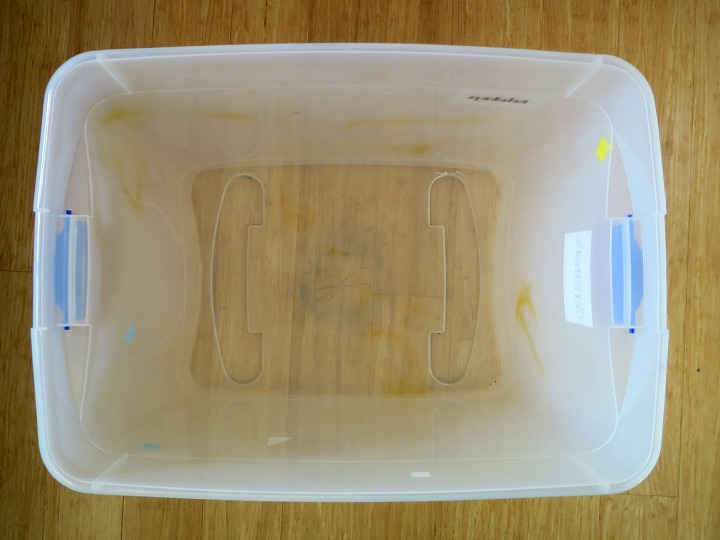
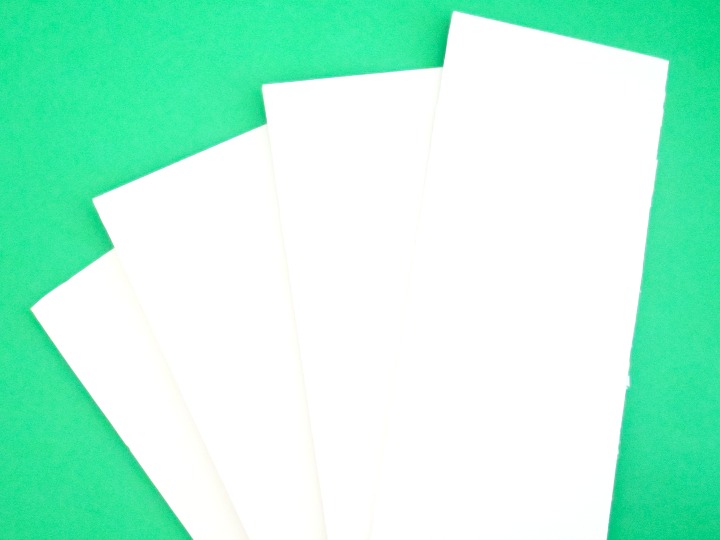
My bin measured 22 by 17 inches, so I opted to have two rows of cardboard organizers (each individually measuring at 19 by 7 inches).
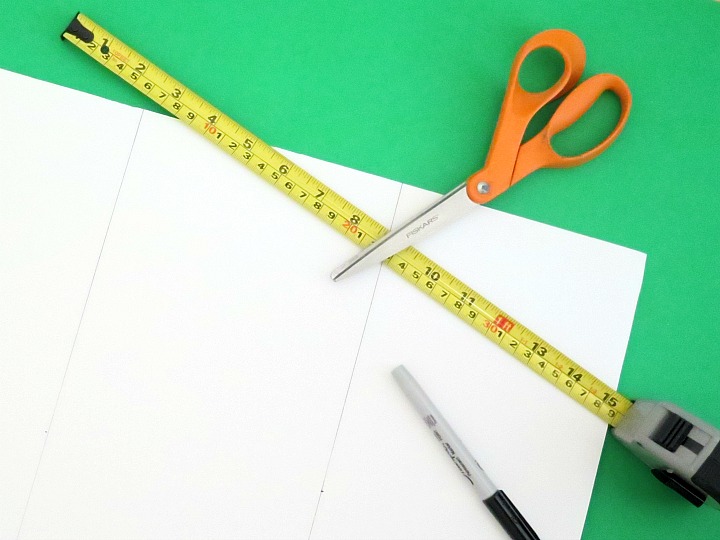
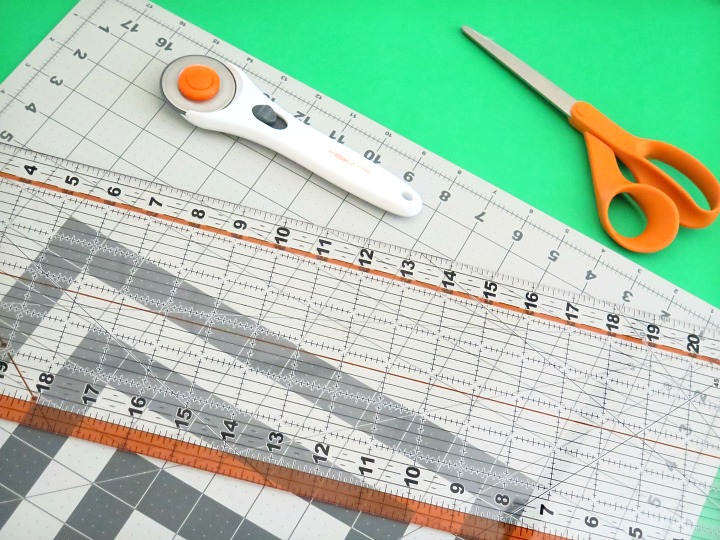
With my measurements, I’m able to get 4 Christmas light organizers out of each piece of cardboard. Since the cardboard is really thick, I used my cutting machine to cut the pieces, but a strong scissor will also work.
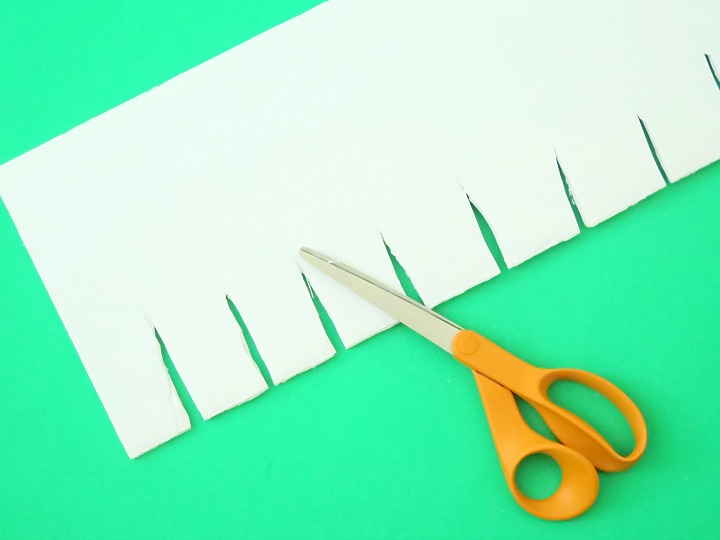
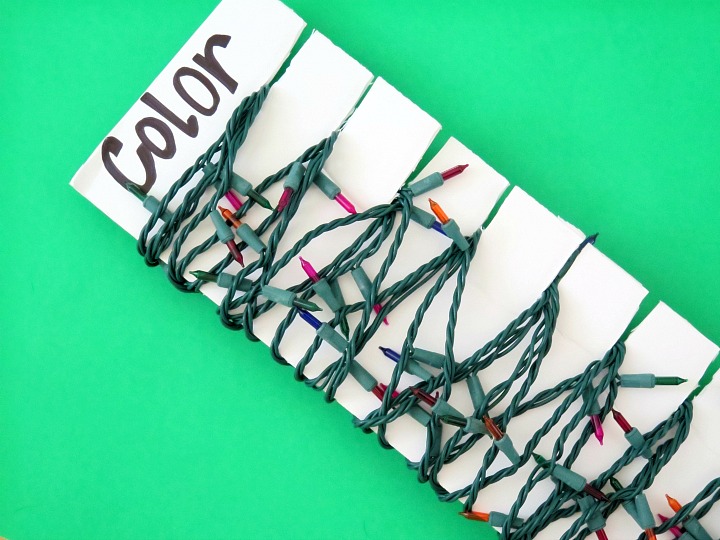
Once your pieces are cut, you’ll want to make small grooves along one side of the cardboard strips to hold the lights. I prefer to use scissors, as opposed to my rotary tools, to cut the grooves.
I made 9 grooves in each cardboard piece, 2 inches deep and spaced out 2 inches apart. Depending on your cardboard size, the number of grooves you opt to have may different. Don’t worry about exact measurements on this part. It doesn’t need to be perfect, as I just eyeballed mine. For each groove, I cut out a tiny silver of the cardboard so that the lights have enough room to loop around it.
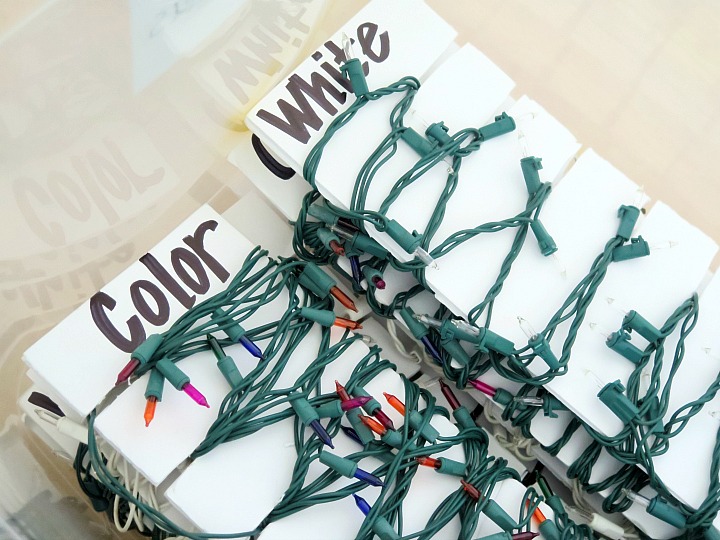
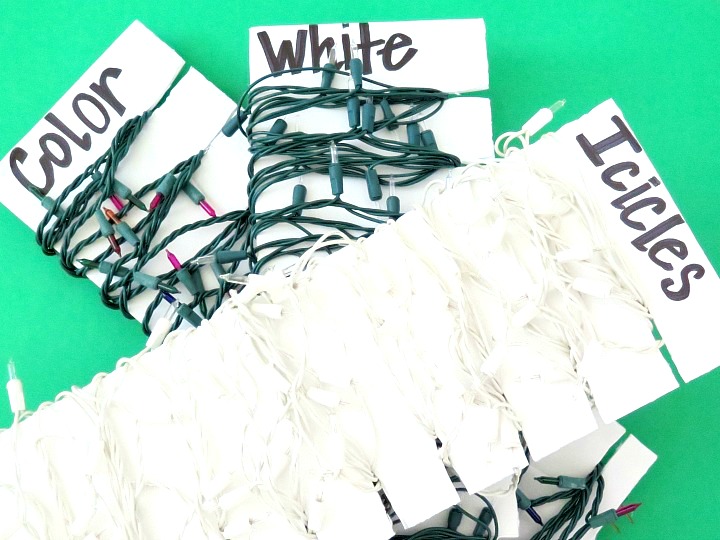
I counted and sorted all my strands of lights based on color (white or multi-colored) and type (icicle or regular) so that I knew how to label the organizers.
Then I was ready to label each organizer appropriately. I used a thick black marker to write on the top of the cardboard on both sides, but you could use labels as well. (I got a little lazy 🙂 .)
You’ll definitely appreciate having your Christmas lights labeled each year when you go to hang them up!
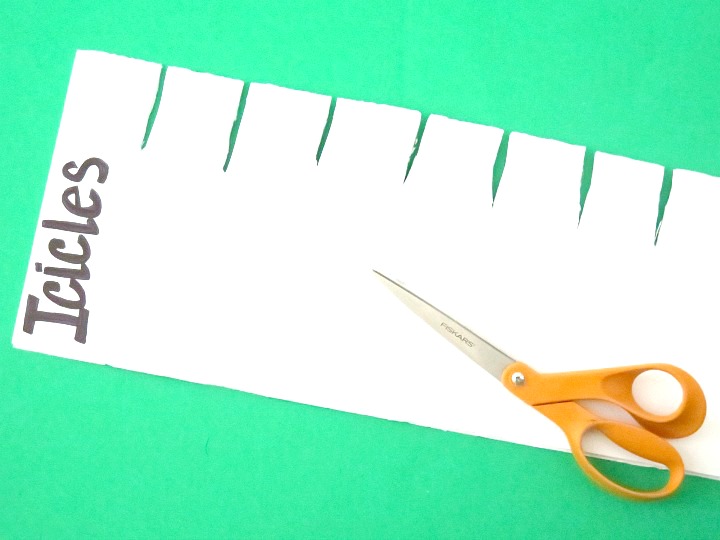
Pro tip: label the cardboard BEFORE you wrap the lights around it.
I wrapped my lights around each groove twice before moving on to the next groove, but yours will depend on the length of your lights and cardboard.
Now just toss these in your storage bin for next year. I was amazing how much extra space I now had in my bins. (Right in time to stock up on all those left over Christmas decorations on clearance 🙂 .)
You’ll have no excuse next year not to put up all our Christmas lights!


This is a new way that I haven’t seen yet, and I like how nicely they are labeled! Thanks for the idea, I might try this!
This is a great idea! Where did you find the white cardboard?
Thanks! I bought mine at Hobby Lobby, but I’ve seen them at Walgreens too!