Who else finds coins all over the house? Here’s our latest organization solution specifically to store all that loose change!

Each month I’m taking on a common organization challenge and tackling it with a thrift store item. I love when great organization solutions end up being affordable. It’s always a win-win. All it takes is a little patience, DIYing and a great thrift store find! This month we’re tackling all that loose change with:
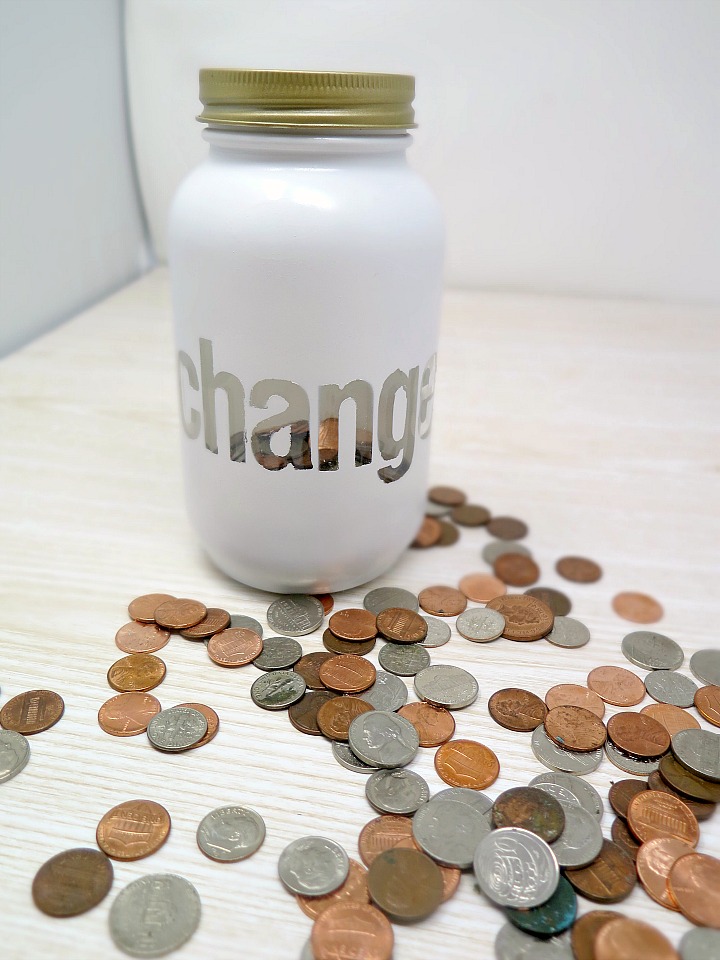
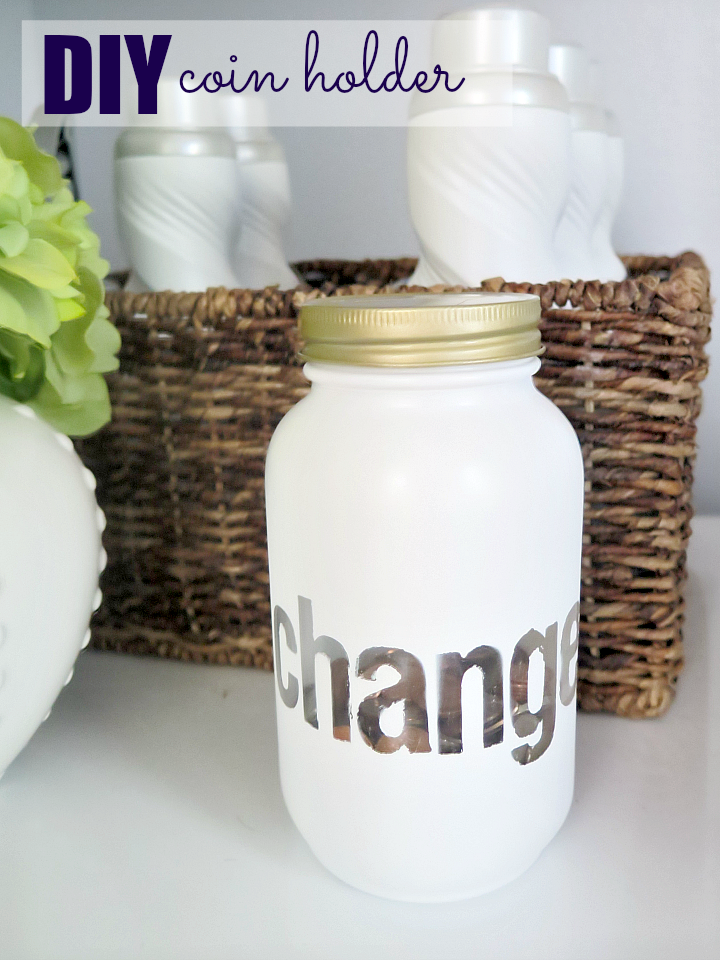
||| DIY Coin Holder |||
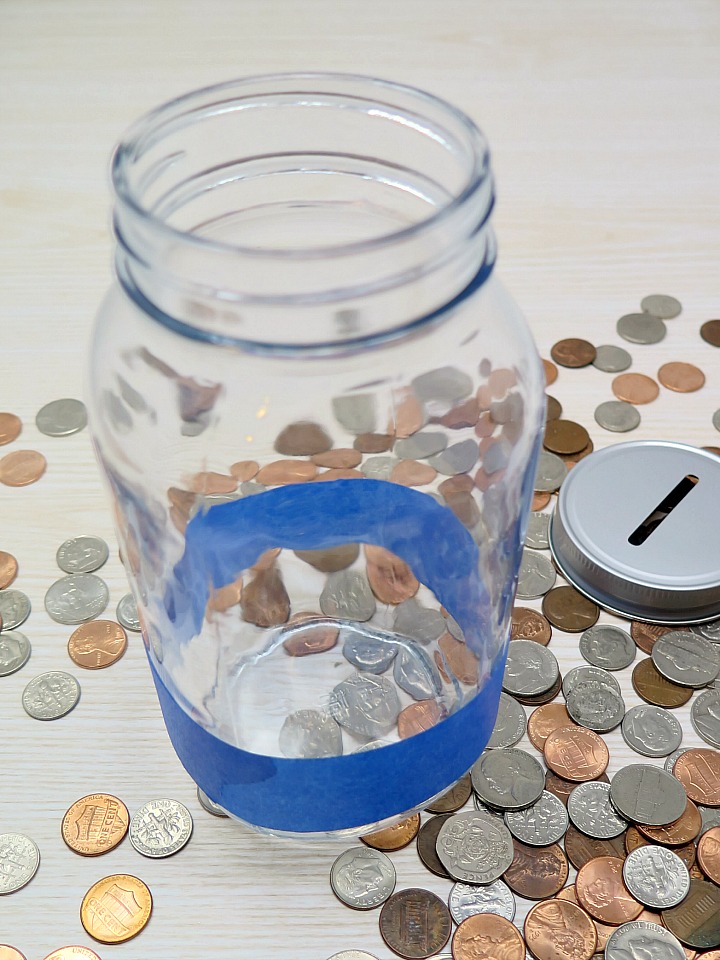
While I never find change in my couch (lots of dog hair instead 🙂 ), I do find lots of change at the bottom of my purse, in pockets of my jeans, in our car and lots of places in between. I wanted to centralize where I stored loose coins to one location large enough to hold lots of change until it was worth a trip to the bank. A large glass jar (think spaghetti jar) seemed to be the perfect size and price. I scored one for 50 cents at Goodwill. While the size was right, the function and design left lots to be desired. I wanted a true piggy bank style coin drop (as opposed to a screw off lid) to make depositing loose change easy. A little pop of color and design was needed since the jar will be sitting out in the open.
I never pass up an opportunity to spray paint things. ANYthing. I fancy myself somewhat of a spray paint connoisseur, if there ever was one. So armed with spray paint, here’s my quick and easy solution to storing loose change:
Coin Holder Supplies
- One glass jar (use an old spaghetti sauce jar or find plenty in the dishware section of any thrift store)
- Painters tape
- Spray paint (I used white for the jar and gold for the lid)
- Lettered stickers
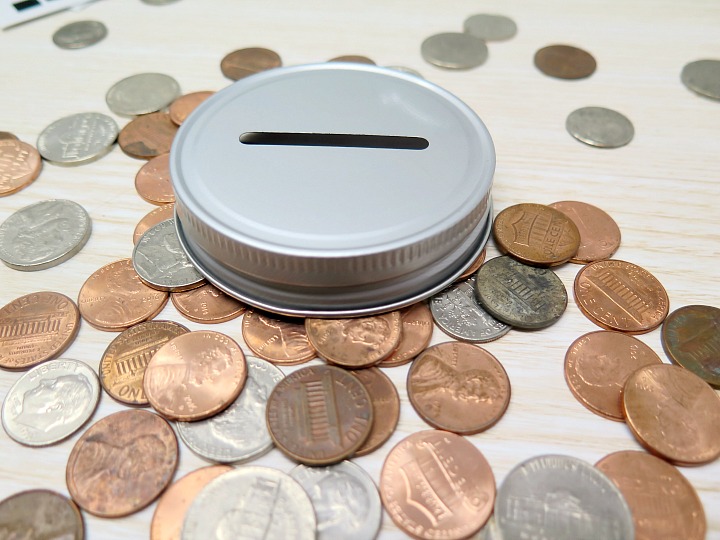
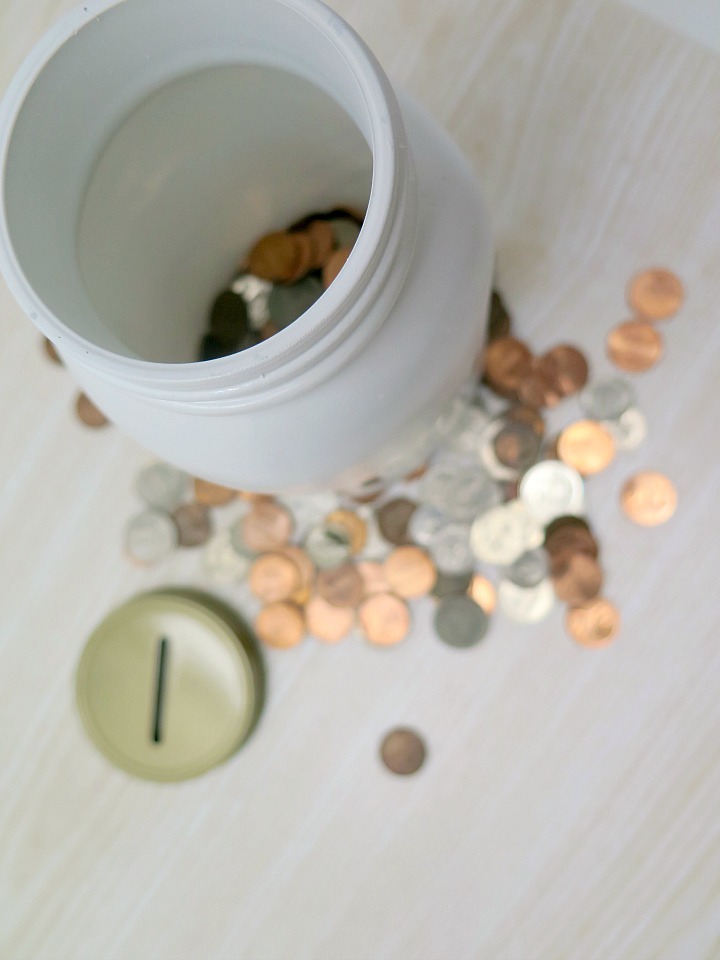
- Coin lid (I found this one on Etsy)
- Protective gloss spray
- LOTS of change!

Instructions
While I could have just spray painted both jar and lid, I wanted to add a label. A fun way to incorporate lettering on clear products is to use stickers and spray paint over the letters, making the font clear with the background in color. To ensure the placement of the stickers was even, I first placed painters tape around the jar and added the letters directly above. Once the stickers were placed on the jar, I removed the painters tape.

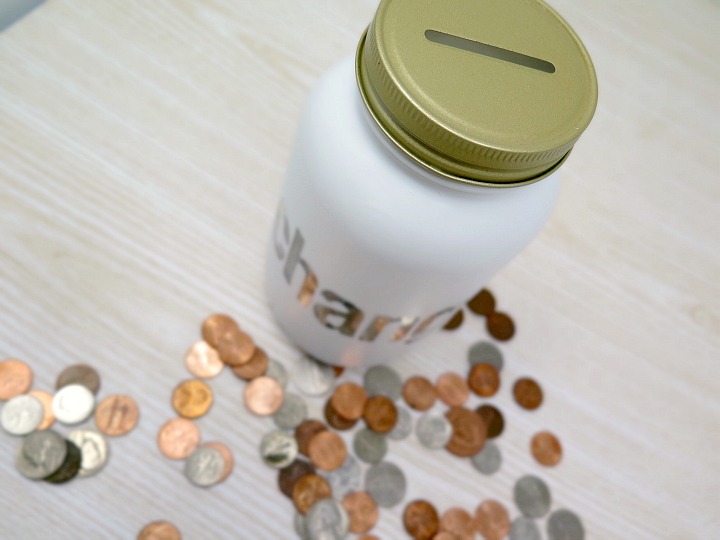
Both the jar and the lid got spray painted. I considered DIY’ing a coin drop lid, but the tutorials I found online looked cumbersome and tricky. Once I realized I could buy a coin lid on Etsy for a couple dollars, it was a no brainer. (there’s times when BUY instead of DIY is better. The lid was a definite buy.)
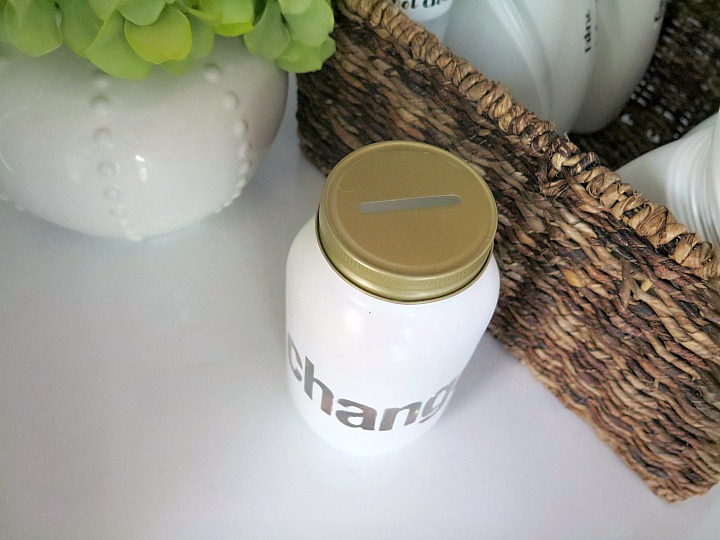
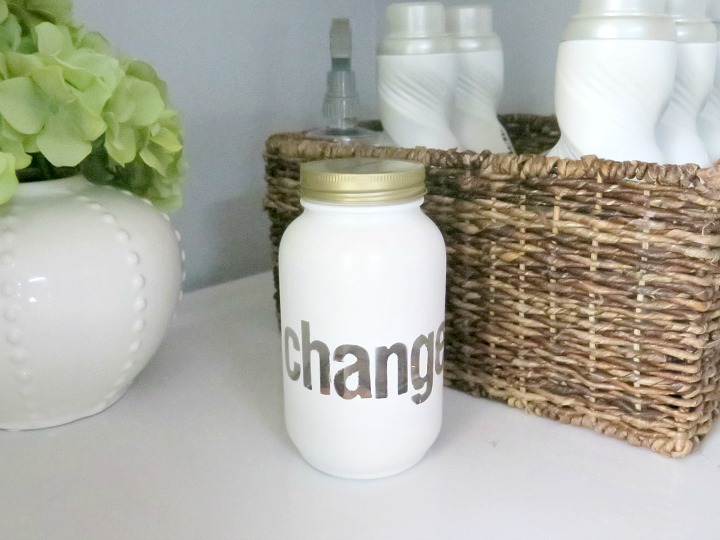
I opted for a white jar with a gold lid. This coin holder is going to sit in my laundry room (where most of the loose change ends up), with the possibility of moving it to the kitchen. So I wanted something simple, yet fun: white with a little gold.
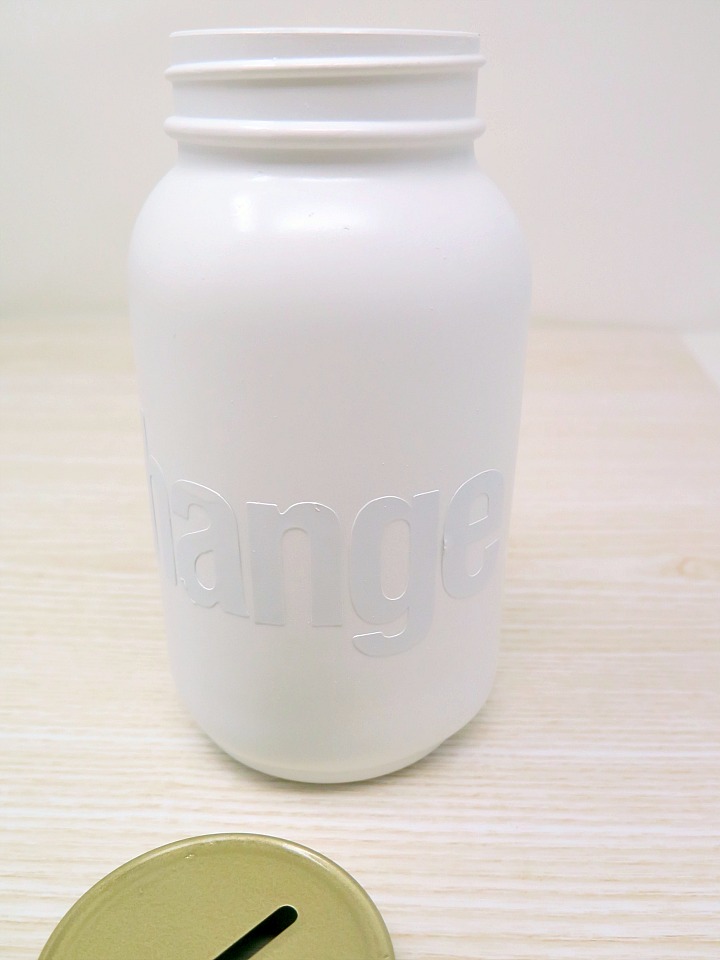
Slowly but firmly peel off the stickers. I repeat, SLOWLY. If the stickers tear, scrape lightly with a butter knife to remove the excess. This last step is purely option, but I always do it for any spray paint projects.
Spray a clear protective coat over the entire jar and lid. This will help prevent the paint from scratching off and getting nicked, as it may with normal ‘wear and tear’.
Final step is my favorite … Fill it up!
The coin holder fit perfect in the laundry room basket I’m using to hold our detergent, bleach and stain remover. (I transferred all those products into matching containers with labels attached to the side. One of my favorite long lasting DIYs to date.)


As a lover of affordable solutions of ANY kind, I’ve paired up with 19 extremely talented bloggers to bring you a monthly Thrift Store Upcycle Challenge. Each month we will create something amazing from an item(s) we’ve found at a thrift store, yard sale, resale shop etc.
MEET THE BLOGGERS
Amanda | Domestically Creative Kim | Made in a Day
Victoria | Dazzle While Frazzled Pili | Sweet Things
Debra | Shoppe No. 5 Sue | A Purdy Little House
Ann | Duct Tape and Denim Sara | Twelve on Main
Kim | Farmhouse Made Toni | Small Home Soul Angela | Simply Beautiful by Angela
Michelle | Our Crafty Mom Marie | DIY Adulation Chelsea | Making Manzanita
Leanna | Of Faerie and Fauna Denise | My Thrifty House Lindsay | Crazy Organized
Florence | Vintage Southern Picks Shirley | Intelligent Domestications
FOLLOW ALONG ON OUR PINTEREST BOARD FOR MORE UPCYCLED INSPIRATION!
Take a look at all these bloggers’ amazing thrift store projects:


love this idea!
xx,
Daeyz
What a cute project! I use an ugly coffee can, so I should upgrade to this! 🙂
Such a great idea, we always have loose changing laying around. I love how you labeled it. That lid is perfect, I was wondering how you got such a perfect cut. Yes, sometimes buying is best over diy-ing (my diy attempt of that would be embarrassing LOL)
This turned out great! The lettering looks so awesome and I love the colors that you chose 🙂
We use a 5 gallon pickle jar from a restaurant. Nothing like being ambitious about filling that thing up! I like your idea a lot though and think I will make one someone I know who would love it! I like the way you have matched up the containers in your laundry room.
Our coin jar is nowhere near this cute. I may have to paint it too. I love yours and the gold lid is perfect!
Our current change holder leaves much to be desired (the has been glued back together more times than I can remember) so I need to do something like this!
What a cute idea! I think most of my change is in the bottom of my purse, so this cutie would definitely be an upgrade! 🙂
Too cute jar upcycle, Lindsay! Hope you have been doing great! Miss ya on MM!
Kim
Loved how this turned out!! So perfect for the laundry room.
I love how you labeled the jar. And I love how great it looks. Much better than the old bank I am using. I am going to dig out the jar I just put in the recycling bin and make one for my loose change.