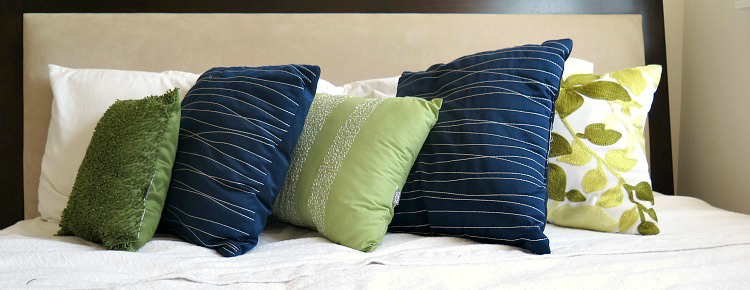
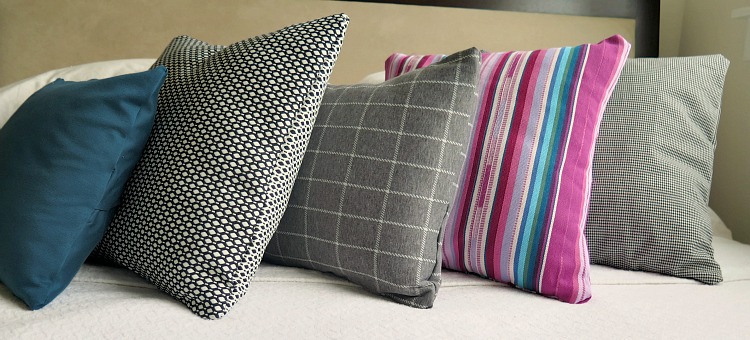
I recently got tired of our guest bedroom decor and decided to spruce it up in more of a ‘mid century modern’ style. I was looking for pillows to add a touch of color and texture, but couldn’t find anything reasonably priced. (Since when have pillows gotten so expensive?!?!)
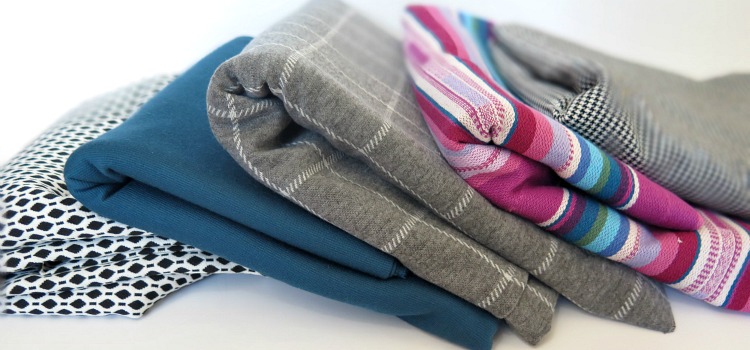
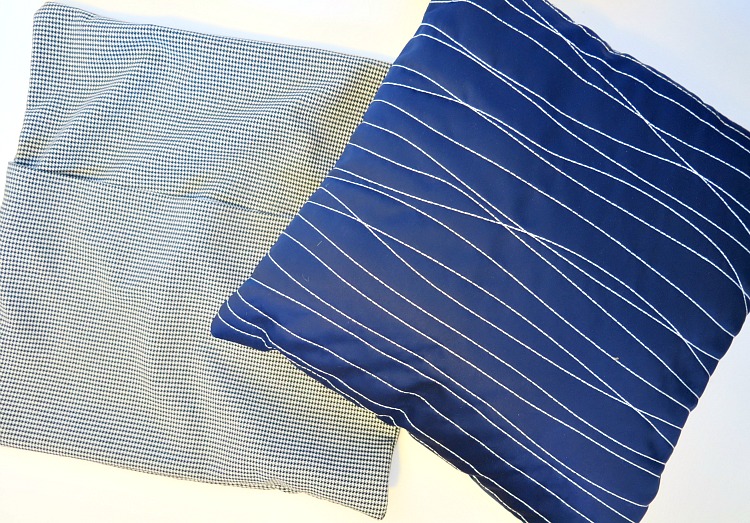
Realizing that I already have many pillows from past room designs, my most economical option was to create my own pillow covers. The fabric that I bought was under $10/pillow at Joann’s Fabric.
Now my sewing skills are on par with my cooking skills, which means my capabilities with a sewing machine are equivalent to mastering the crock-pot. But don’t worry, I have mastered a mean BBQ in the crockpot as well as these easy sewing envelope pillows!
This tutorial will show you how to whip out an envelope pillow case cover in under 15 minutes!
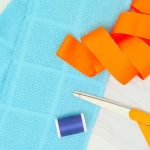
What you need:
- 1 pillow or pillow insert
- Fabric (I opt for one yard per pillow and always end up with more than enough. Better safe than sorry.)
- Tape measure
- Sewing scissors (I prefer Fiskars)
- Pins
- Sewing machine (I’ve had my Singer for over a decade!)
- Thread (with a color that matches your fabric)
- Iron
- Iron-on adhesive tape (optional)
1. Always iron your fabric before you dig in to any sewing project! Measuring and cutting wrinkled fabric can get you in to trouble later within the project.
2. If you don’t already know the width and length of your pillow, measure it with a fabric measuring tape. Mine was 18 x 18.
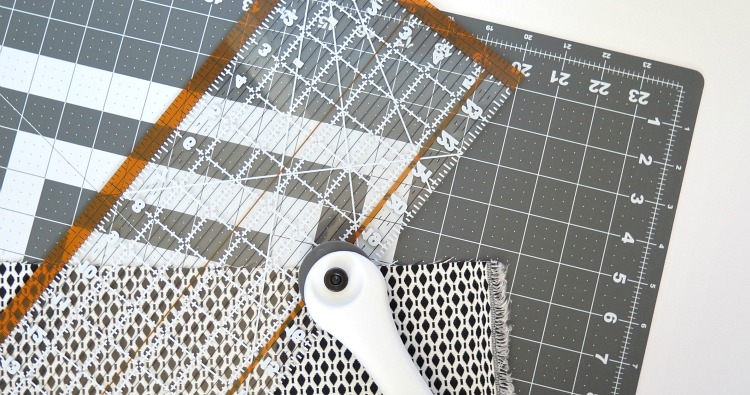
3. You’ll need to cut 3 pieces of fabric. I use the Fiskar Rotary Cutting Set to help measure and cut my fabric. If you’re a rookie sewer and don’t plan to do more than these pillows, it likely isn’t worth it. But if you do sew somewhat often, I HIGHLY recommend it. Well worth the purchase. It makes cutting and measuring WAY easier.
- First piece should be 1 inch longer than your pillow on each side (so mine was 19 x 19).
- The second and third pieces should be 1 inch longer than your pillow on one side and 5 inches shorter (so mine was 19 x 13). These pieces will be the ‘envelope’.
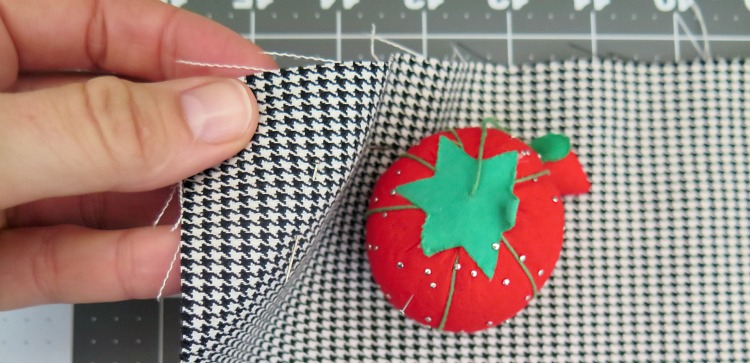
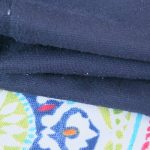
4. On EACH of the smaller envelope pieces you’ll create a nice finished seam on ONE of the longer sides. Instead of sewing I prefer to use the iron-on adhesive tape, but you can definitely opt to sew. Regardless of which option you choose, first fold & iron down about 1/2 an inch. Then either tape/iron or pin/sew the seem.
5. Now you’re ready to compile your fabric and sew. Lay down the larger first piece of fabric right side facing up. Then put one of the smaller pieces on top, right side down (finished seem in the middle). Finally place the last small piece on top of that, again right side down & finished seem in the middle. Your two smaller pieces should overlap in the middle as this will be the ‘envelop’.
6. Now pin along all the edges about 1 inch in. You won’t pin the middle at all since that’s the envelope.
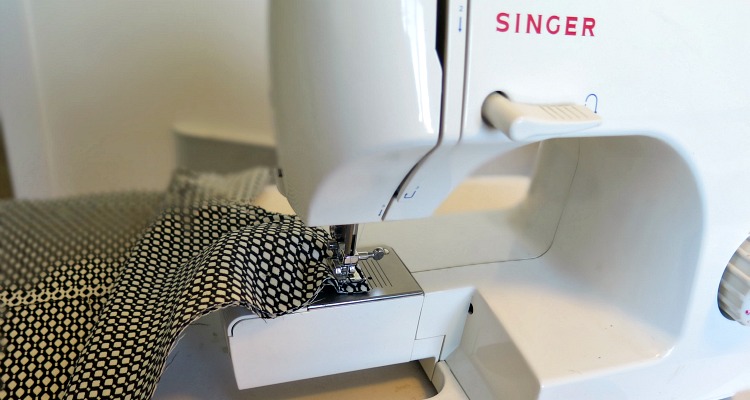
7. Dust off that sewing machine, because step 7 is all about the sewing! Make sure to use a thread that is either the same color as your solid fabric or a predominant color within a patterned fabric. If either white or black is largely predominant, I prefer to use thread that’s either of those colors. Sew at a 1/2 inch around the edges.
8. Turn your pillow case right side out.
9. Now my favorite part: stuff your pillow inside and you’re done!
This is an easy way to completely transform an out-dated pillow. Even if you’re not planning on doing a room make-over it can be fun to swap out your pillows during different times of the year!
I hope your pillows are as good as my crock-pot meals!


Some of the links in this list are affiliate links. It doesn’t cost you any extra, but I earn a little commission if you decide to purchase. Regardless of whether or not I receive a commission, I only recommend products that I personally use and genuinely recommend!


These are so cute! Now I just need to find a sewing machine, we have redone our living room. I need some teal pillows!
These look so easy and are adorable! Love them!!
Thanks for joining Cooking and Crafting with J & J!
Love this! Thank you! I wish I had it about two month ago when I tried sewing a case. I will be passing this along to some people who I think would enjoy your site very much.
Thanks for linking up with the FrugalMommas team.
Oh my goodness those pillows are so adorable and actually look doable!! Thank you for sharing 🙂 Blessed to be your neighbor at #WomenWithIntention
I love this idea. It allows for so much freedom and flexibility with decorating….and different pillow cases take up way less room than different pillows.
Really adorable. I love the choice of pattern and colors you have with my favorite being the blue.. Thanks for a wonderful tutorial.
Nice tutorial. I love making pillows also. It’s so easy and it’s so fun to pick out new material (at least for me). I used to hate to go fabric shopping with my mother. Now I love it. Go figure. Best wishes, Linda
Coming from the Shabbilicious party.
They really turned out nicely!
What a fantastic mix of colors and patterns. Definitely has a mid-century modern feel. You have a great eye. Thanks for sharing at The Creative Circle.
You make it sound so easy! This is an easy way to give the room a new look – without remodeling! Thanks for sharing at The Thoughtful Spot!
What a great tutorial! I would love to have you share at my new link party: http://craftymomsshare.blogspot.com/2015/10/crafty-weekend-thanksgiving-activity.html
Thank you so much for linking this post up to my Craft Party on Thursdays!! It’s a great tutorial!!
Thanks for sharing. I’ve been wanting to make new pillow cases and I’ve very new to sewing. This is very helpful.
You make it look so easy..I have a love hate relationship with my machine..I avoid it all costs! Thanks for linking up to Merry Monday! Sharing on Twitter! Have a great week!
Kim
Hi Lindsay,
I my gosh. I just bought some burlap to make envelope pillows for Christmas. You know what they say, “Great minds think alike!” Of course, the lady cutting my fabric looked at me and thought I was crazy for covering pillows with burlap. She obviously doesn’t know how popular burlap is. 😉
Anyway, I told her they were just for Christmas and no one uses these pillow anyway.
Have a great week and thank for sharing on our Tips & Tricks Linky. I know many people will love your pillows!
Patti from Garden Matter
Good Evening Lindsay!! Just popping in to let you know your post has been picked as a feature at the Welcome Home Wednesday Link Party! Stop by tomorrow morning to see your feature and link up! Don’t forget to grab your “Featured Button” too!
Hi Lindsay! I find this is the best and easiest way to make pillow covers. Thanks so much for sharing it at Thriving on Thursdays. It was a real pleasure to have you join us. I’m featuring this post at tomorrow’s party. Hope to see you again.
Anne @ Domesblissity
What a great tutorial!! Thanks for sharing on My 2 Favorite Things on Thursday!! Hope to see you again this week!! Pinned!
Thank you for sharing this DIY at our DIY Crush Craft Party on Thursday!!! It’s one of my 3 favorites and is being featured tomorrow! Stop by and see it and of course, please share you newest DIY’S!
I so appreciate you sharing your post at the #AnythingGoes Link Party. I’m looking forward to what you’ll share with us next week.
How cute! I love how easy it is. Thanks for sharing with us at the Merry Monday link party. I hope you’ll join us again next week. Sharing your post on Twitter!
Your pillows look great!! Thanks for sharing at the Submarine Sunday Link Party!!! Hope to see you again soon!
These are lovely, love the material you use too 🙂
Thanks for linking up..