I don’t know why, but every time I dye fabric I get a little nervous because 1) I’m afraid I’ll wreck whatever I’m dying and 2) I’m convinced that I’m going to stain my washing machine. Anyone else? Well I’m here to say that if I can avoid these common pitfalls, anyone can. Here’s how:
Supplies to dye fabric with Rit
- The fabric you want to dye
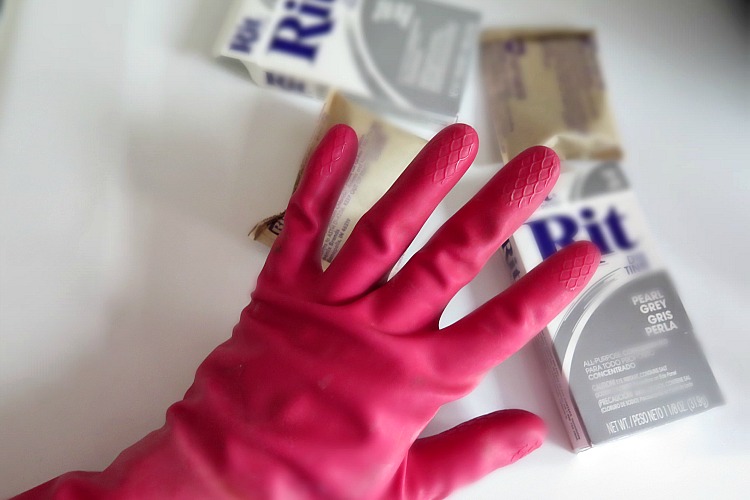
- Cleaning gloves
- 1 cup salt
- Hot water
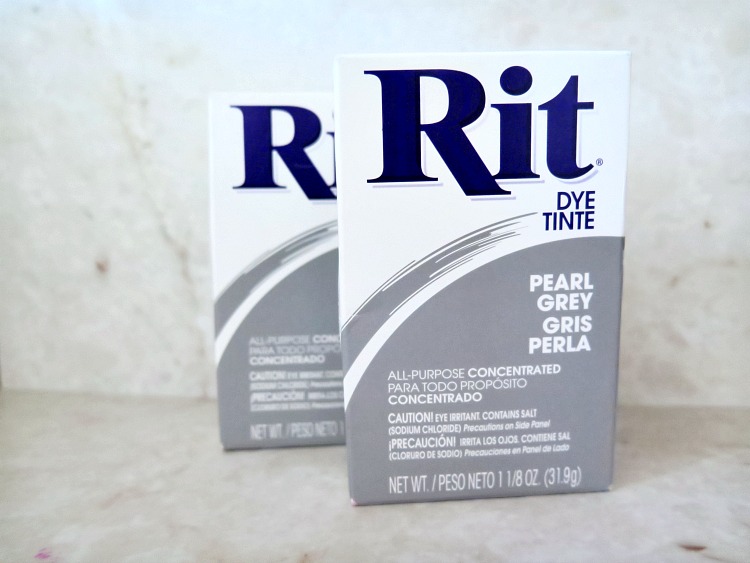
- Rit Dye (either powder or liquid) *
* One package or one-half bottle dyes about 1 lb. dry weight or about 3 yards fabric to a medium color.

I’m going to be the first to admit this blanket is completely past it’s prime (and whatever else comes after prime). It was Joe’s in college, then it was the blanket we used under a duvet cover and now it’s sitting in a bag under our bed. But fortunately there’s fabric dye to bring it back to life!
This tutorial can be used for top or front load washers (ours is a front load).
The first step is to wash your fabric in washer without fabric softener. Also skip the drying. Washing ahead of time serves two purposes 1) it’s always better to dye CLEAN fabric & 2) you’ll need your fabric completely wet before starting so that the dye doesn’t bleed. If your rinse cycle got the fabric a little too dry, soak it in the bathtub before placing it back in the washer. Carefully lay it back in to the washer without wrinkling it the best you can. A common mistake is dye blotching, so we’re going to try to prevent that!
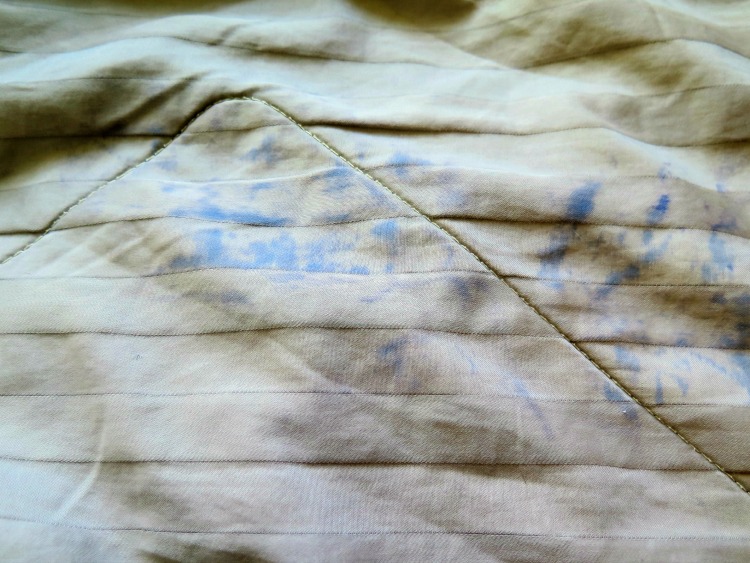
If your fabric isn’t completely saturated in water prior to starting the washing machine, you risk the dye blotching and looking like below. Ugh, I learned my lesson.
I set the water temperature to hot and picked a cycle that would last longer than 30 minutes. If you don’t have a cycle that goes longer than 30 minutes, you’ll want to stay close by reset the wash cycle a couple of times.
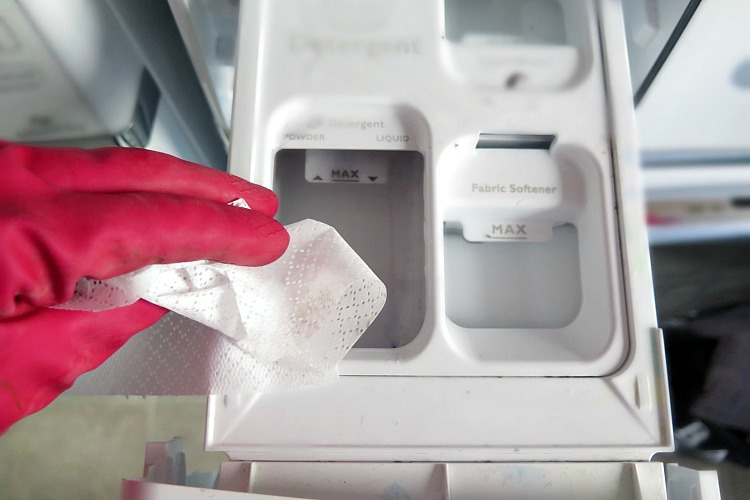
I’m wearing my cute pink cleaning gloves partially because I don’t want to risk my hands getting dyed and but mostly because I never remember to wear them when cleaning and wanted to get some use out of them 🙂 .
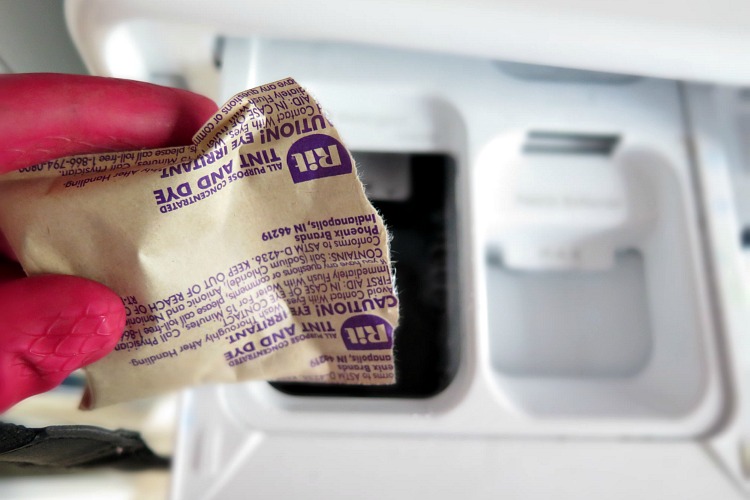
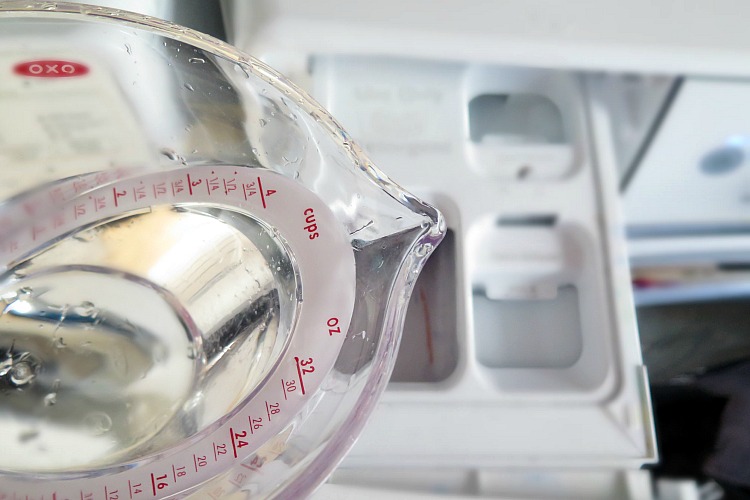
After turning on the washer, wait about 15 seconds or until you’re sure water has already started cycling through before putting your dye in the dispenser (where you’d normally pour the detergent). This will help ensure that the dye spreads evening and doesn’t cause the blotching. After you poured in the dye in, follow it with 2 -4 cups of very hot water in the dispenser.
After about 10 minutes, I added a mixture of 1 cup dissolved salt and another 4 cups HOT water into the dispenser.
Your work is done! Well kind of. Let the washing machine finish it’s cycle. Once the cycle is done, either hang dry or put in the dryer. Don’t worry, dryer is safe for recently dyed fabrics.
Once finished it’ a good idea to clean your washing machine by running it through the hottest cycle possible with a couple old towels, adding two cups of bleach. I also wiped around the dispenser with a wetted paper towel and the extra dye came off immediately. My washer was literally as good as new.
And you’re finished!
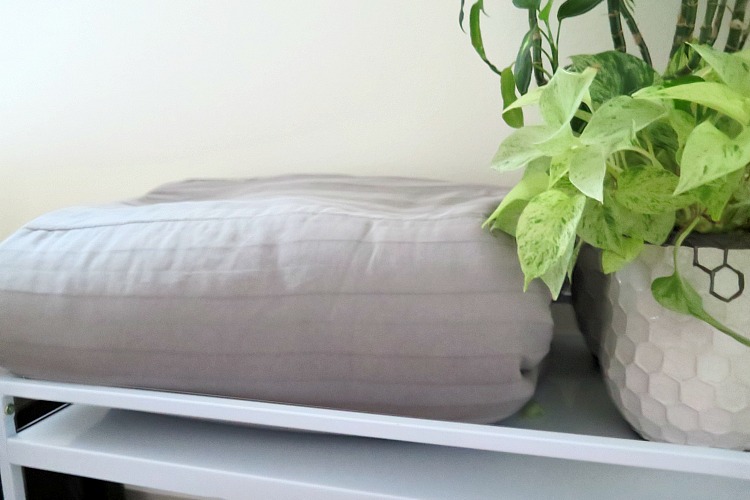
Bringing life to old blankets just takes a wash!


Some of the links in this post are affiliate links. It doesn’t cost you any extra, but I earn a little commission if you decide to purchase. Regardless of whether or not I receive a commission, I only recommend products that I personally use and genuinely recommend! Thanks for helping support this site!


Hi Linsay, I’ve not dyed anything in the washing machine for years, but I too am scared of dying the washing machine. Your tutorial is pretty simple to follow, so I’ll be saving it for future reference.
xx
Great tutorial Lindsay! I haven’t used this dye since back in college days and I attempted to dye a pair of jeans…eek! I should give it a try this way, looks much simpler.
Lindsay, Thank you for this tutorial and suggestion! I never think to do this with old blankets and curtains, and I end up getting rid of stuff because it’s the wrong color. My mom used to use Rit Dye on everything when I was little! I’m going to try this with some ugly beige curtains that I can use for my son’s room. Thanks, and I’m glad I subscribed to your blog! 🙂
Lindsay,
Will this method work in the new washers that use less water? I have a Whirlpool top load, but uses so little water.
I’ve dyed fabric many, many years ago when washers ‘used water’!
Yes it will! My washer is just 1 year old…. brand new!
This worked like a charm!! THANK YOU!!
Thank you for the tutorial !!!! It was spot on!!!!!!!!!!
Lindsay,
I should have read this before I dyed my couch cover.
A week ago I used 2 boxes of loonie store dye. It turned out ok but not as great as I’d like it.
I bought 2 boxes of rit dye today, but I just emptied the powder into the cover. Did the same last week.
I have blue blotches on my pink sofa cover. Looks like I washed a pen in the wash but I didn’t.
If I do it your way, with maybe one more box of dye, but putting the dye in the soap dispenser instead, do u think the pink/fushia I’ve been using will fix the blotches of blue.
I think I screwed up royally. I’m pretty upset.
Debra
Followed your instructions and it worked great. Very easy.
Have to admit I was reluctant to do this in a washing machine front load. Your instructions put me at ease. Came out perfectly. Thank you
Thank you for this great tutorial! I had an old cushion cover for my porch swing that I sewed from some denim 20 years ago. It has held up very well but was faded and looking acid-washed from the weather. I followed your instructions and dyed it with a bottle of Rit navy, and it turned out perfectly in my front loader. Now I’m looking for other old things I can breathe new life into! 🙂