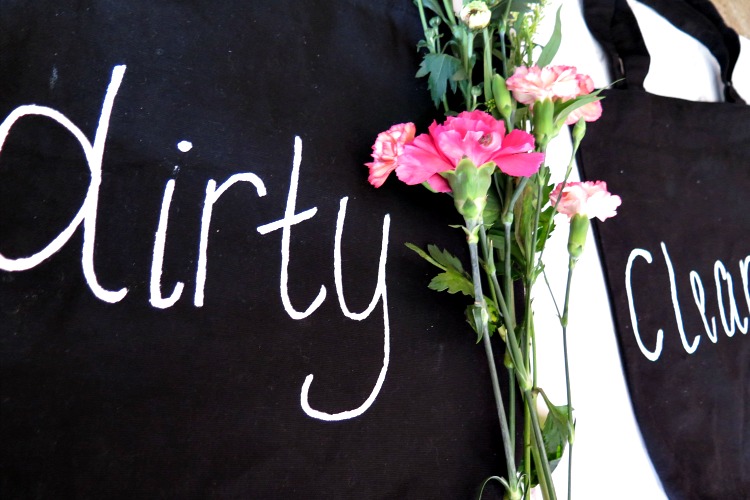
Since getting our new puppy in December, it seems like we’re going through a lot more dirty towels & washcloths to clean up all spills that a crazy little puppy will cause! Living in a 3 story townhouse, I was definitely getting my exercise walking up all the flights of stairs to put just one dirty towel in the laundry basket. That’s when the piles started building up in the kitchen.
Disgusting dirty towel piles.
My quick solution was to put these in a reusable grocery bag to just get them out of sight. And THEN that’s when the light bulb went off…. I was going to make labeled “Clean” & “Dirty” bags for all our kitchen towels & rags.
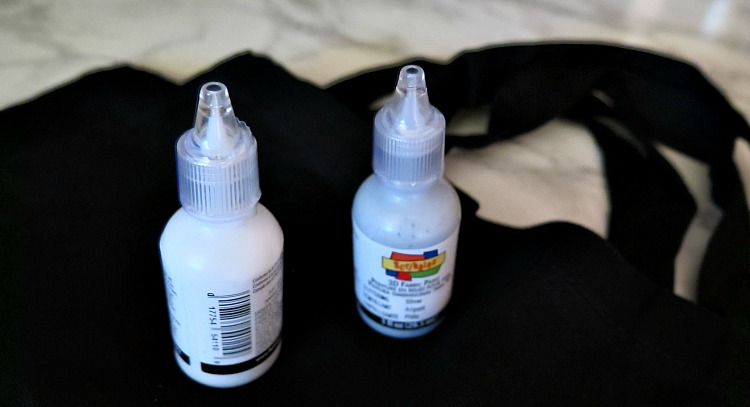
I purchased a couple black medium size canvas tote bags. I chose for black bags to prevent the appearance of getting dirty, which really just means that I won’t have to wash them as much 🙂 . With a black tote bag, I opted for light colored fabric paint. My creative juices weren’t exactly flowing so I just grabbed a white & silver, but the color combos are endless. Literally!
The nice thing about these fabric paints is that you CAN put them in the laundry. So far I’ve only tested in on the delicate cycle, but they claim they’ll work fine on a regular wash cycle.
When possible I try to select the items on Amazon that are eligible for ‘Amazon Prime’ which means the item has two day shipping for FREE (the Amazon Prime items tend to be cheaper as well). If you’re not an Amazon member and want to try out prime, you can try out a 30 day trial here.
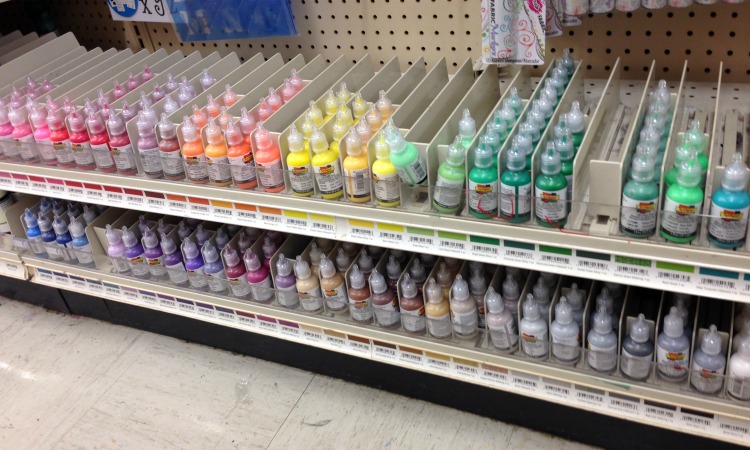
Once you’ve got your supplies your FIRST step should be to wash your canvas bags in the washer, skipping the fabric softener. Next iron them so that you’re starting with a nice even flat slate.
I truly wish I was one of those people who could create beautiful cursive writing naturally. It’s incredibly awkward watching me try to write anything on crafting material (so you definitely aren’t getting an ‘in action’ shots). A couple things I do to make it look better:
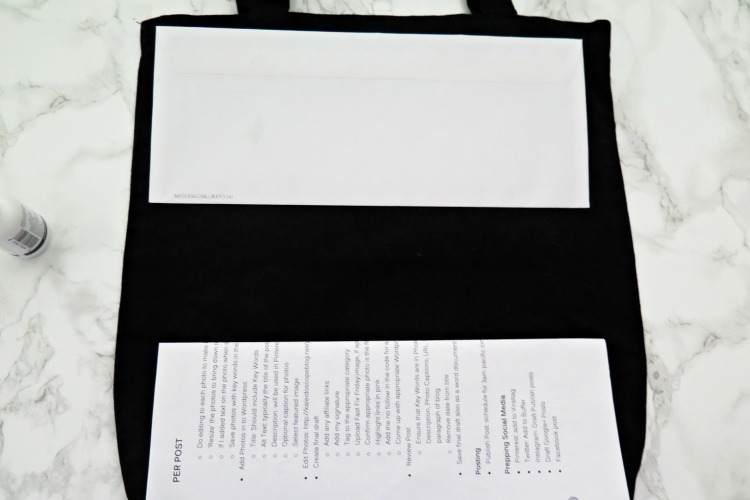
- I used two pieces of paper to form the top and bottom line of my writing so that all letters are the same size and don’t start drifting outside the ‘lines’.
- I type out my letters in a word document first. I then adjust the sizing according to the project I’m doing and print. When I’m ready to do my lettering, I have a really great example sitting right in front of me to follow.
- I use Font Bundles fonts for a lot of the labeling throughout my house, but have found that I can also use these fun font styles in the word doc that I print out to mimic (I’ve never been in love with the standard Microsoft fonts).
I did a couple coats of fabric paint on each of my bags to write out clean and dirty, letting them dry for at least 1 hour in between. I strongly recommend doing this project somewhere away from anything or anyone that could nock it over. There were a couple accidents in my house 🙂 . If you were to look on the other side of the ‘dirty’ bag, you’d see what happens when a 4 month old doberman successfully grabs it from the kitchen counter. Rookie hack? Just turn it over and write on the OTHER side.
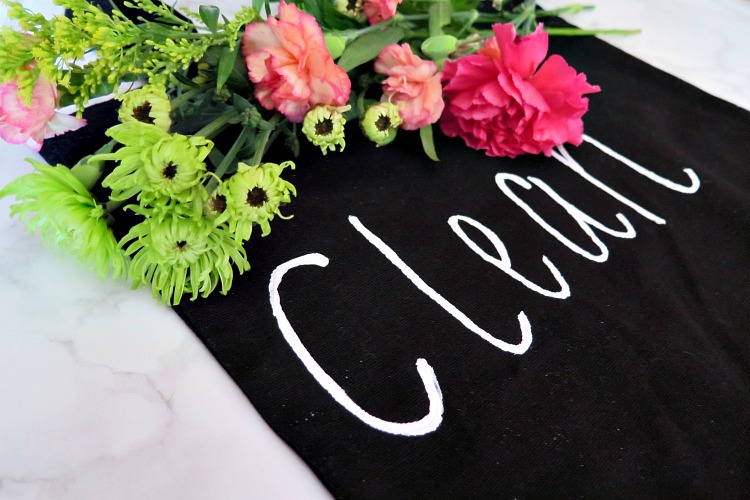
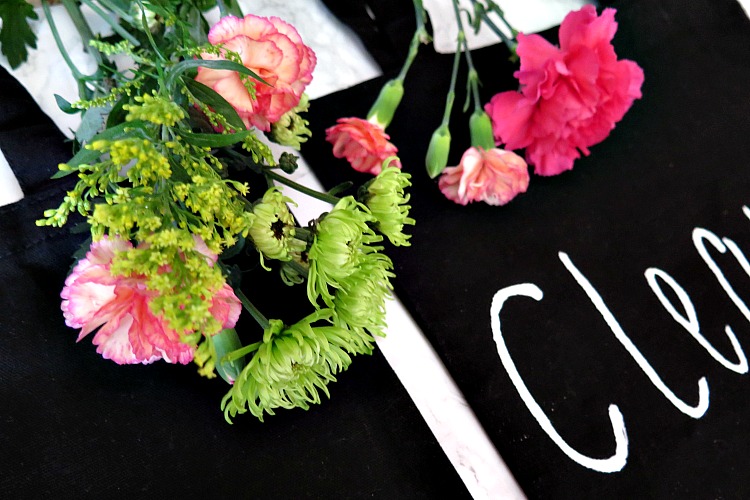
The next morning after allowing these to fully dry overnight, I hung them up in our first floor storage closet right next to our kitchen.
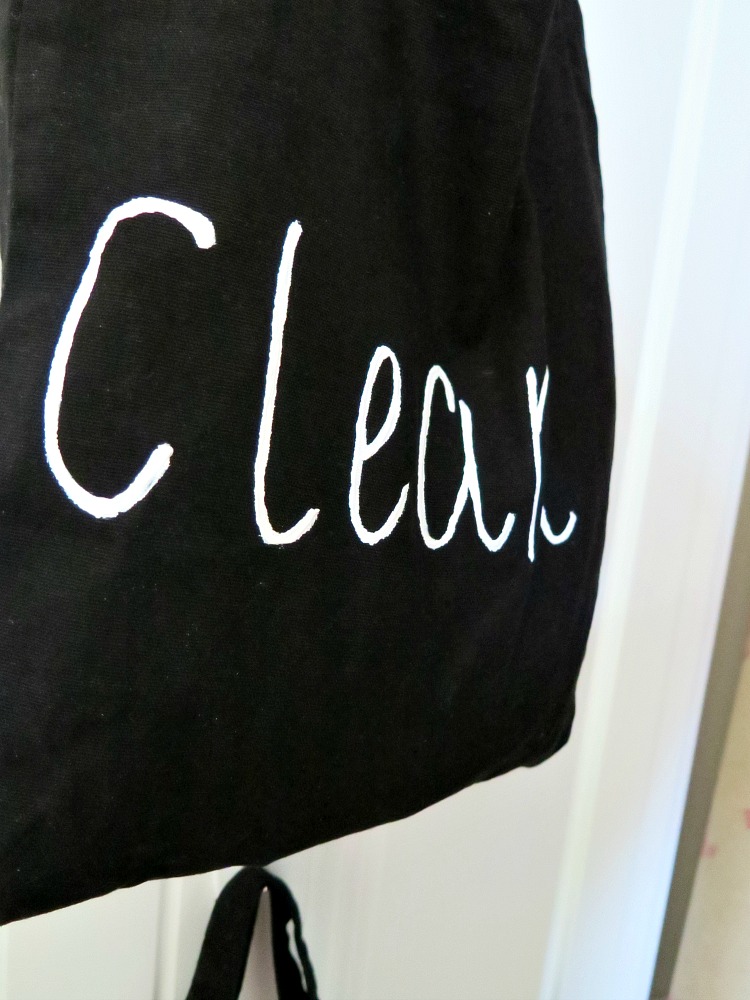
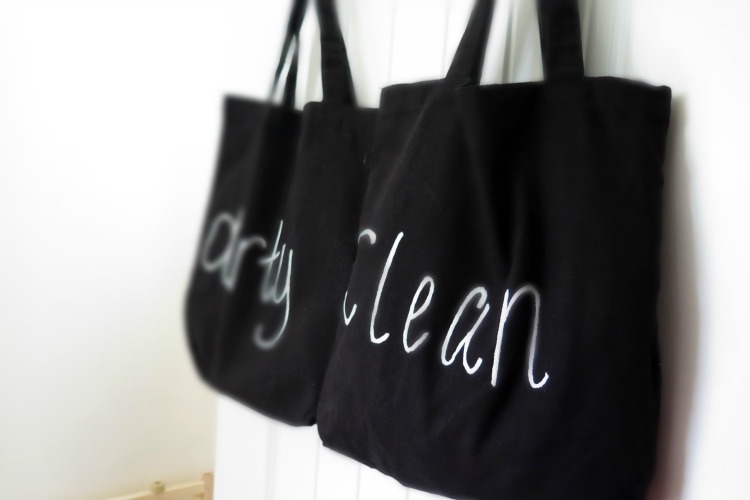
I’ll let you guess which bag is more full at any given time at our house 🙂 .

Some of the links in this post are affiliate links. It doesn’t cost you any extra, but I earn a little commission if you decide to purchase. Regardless of whether or not I receive a commission, I only recommend products that I personally use and genuinely recommend! Thanks for helping support this site!




Leave a Reply