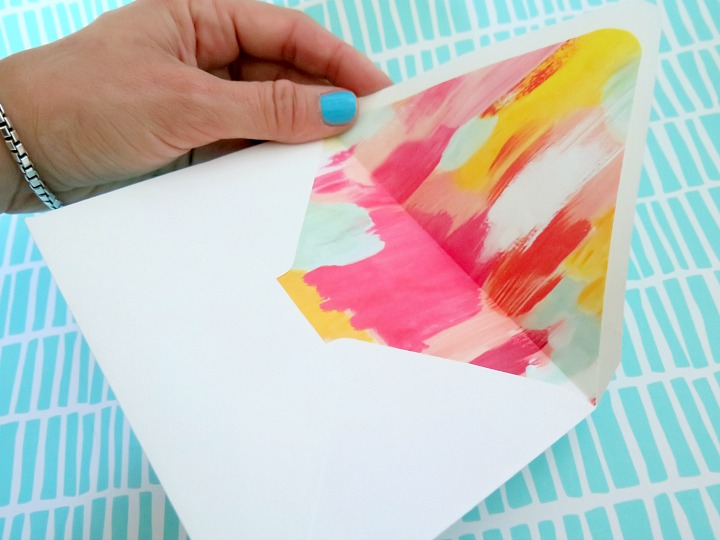
I don’t know what it is about envelope liners, but that extra sheet of paper perfectly assembled in to the envelope always make an invitation look a little bit more special. At the same time, it seems like one of those things that appears so elegant in a magazine, but the DIY option could be a huge flop. So out of fear of ‘flopping’ I’ve avoided making these until now!
Supplies
- Pencil
- Tape (double sided tape works best)
- Scissors or X-Acto knife
- Envelopes (I always use the A7 envelopes from Paper Source)
- Whatever paper you want to line your envelopes with (we love wrapping paper
)
- A cutting mat
or something to protect your table
- Envelope Liner Kit (optional)
Instructions
The first step is to select the envelope you’d like to use and pick a paper for the liner. I prefer to use wrapping paper for my liners, but most thin paper will work great. Just make sure to avoid thick cardstock.
There’s two ways to create the paper liner:
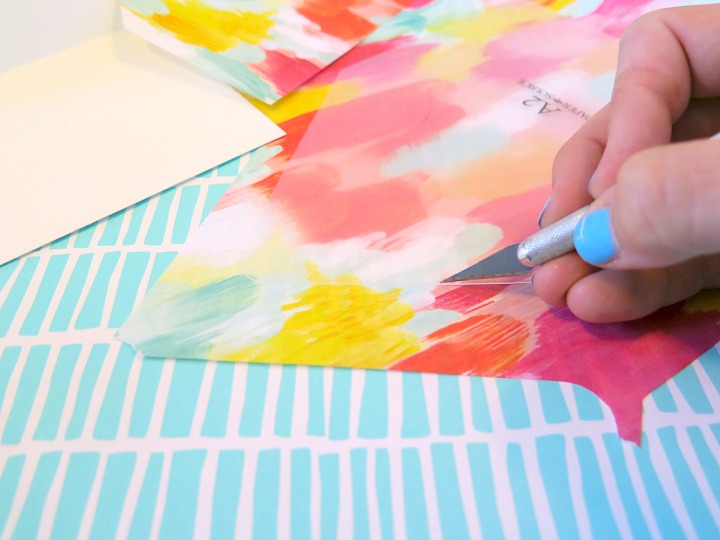
1 The easiest way is to use a pre-made template. The most popular paper liner template comes from Paper Source and includes a variety of size templates to fit most envelopes. (see photos below) Once you’ve selected the correct template size, use a scissor or x-acto knife to cut out the liner. If you use an X-Acto knife, make sure to place a cutting matt underneath the paper to prevent any damage to your table.
2 If you don’t have or want to purchase a template, you can use your own envelope as the template. To do so, open the envelope and lay it flat on the liner paper. Trace the entire envelope on the liner paper lightly with a pencil. After cutting out the template, you’ll need to trim it down a little so that it can slide into the opening of the envelope. I trimmed 3/8 inch from each side and 3/4 inch from the bottom.
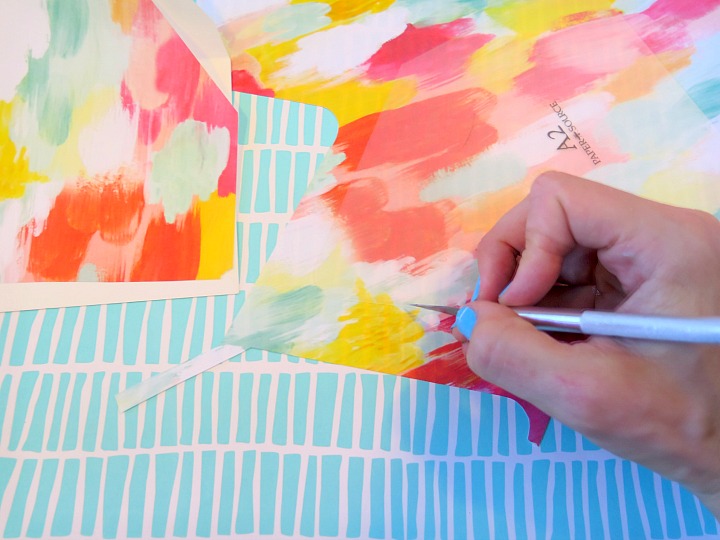
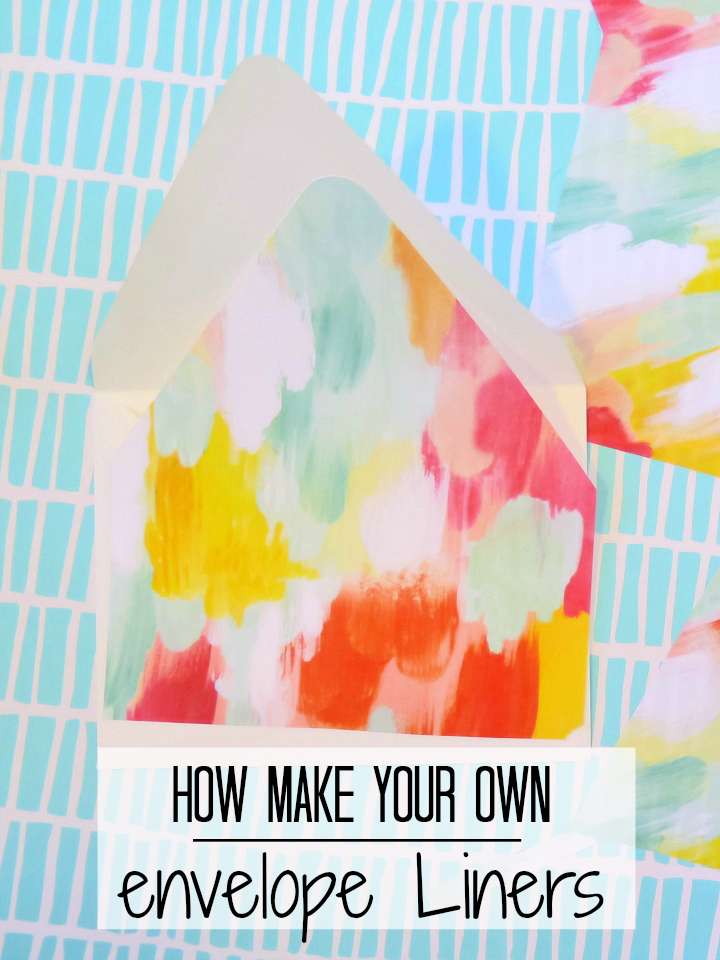
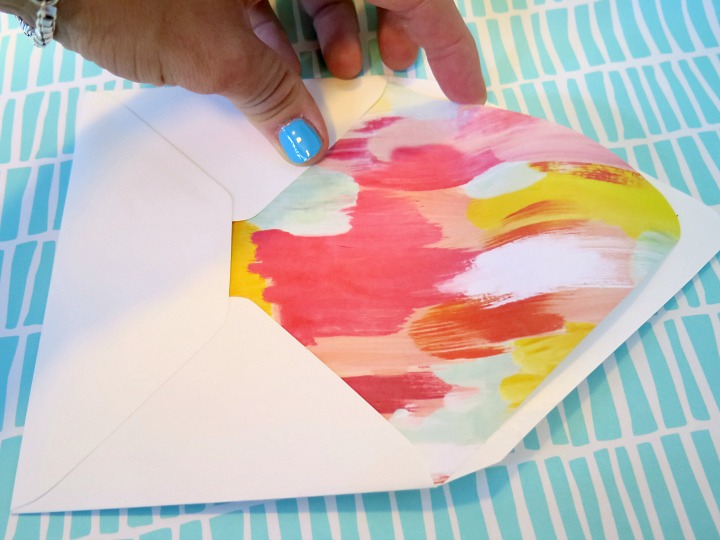
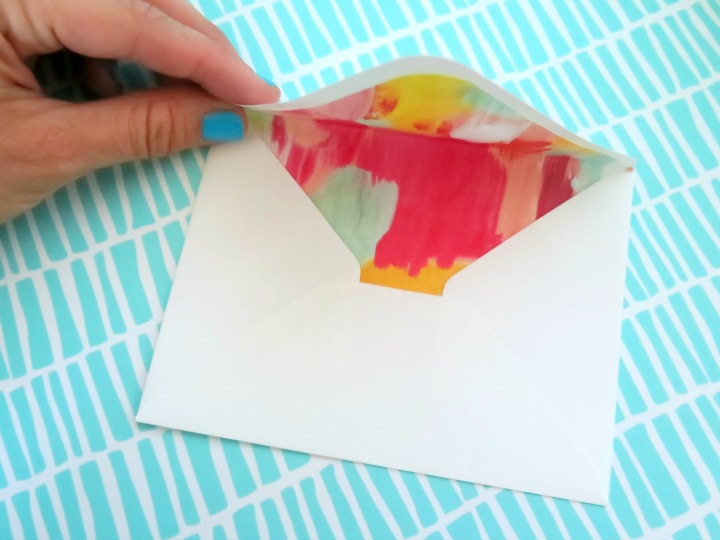
Once you have the paper liner cut out, insert the liner into your envelope. If it’s still a little big, simply trim down each side evenly.
When you’ve got the liner to the correct size, fold down your envelope flap with the liner inside creating a crease in the liner. Then place a couple pieces of double sided tape at the top and sides of the liner to secure inside the envelope.
Now that you’ve got a beautiful envelope liner, you just need something to go inside so …. keep scrolling down!
Baby Shower Invitation Template
Now that you’ve made some super easy envelope liners, here’s an even easier project – the invitations! A quick, simple and super cute Bless this Nest theme invitation. This past fall, I threw my first baby shower for a friend who was planning a bird themed nursery. Matching the shower theme to the nursery decor was a fun touch!
To use the template, simply download it here and edit the wording to match your shower details. You’ll want to print these invitations with thick card stock on a color printer. If you don’t have a color printer and/or thick card stock, Kinko’s can print these for you easily and very affordably! Each sheet includes 4 invitations. 
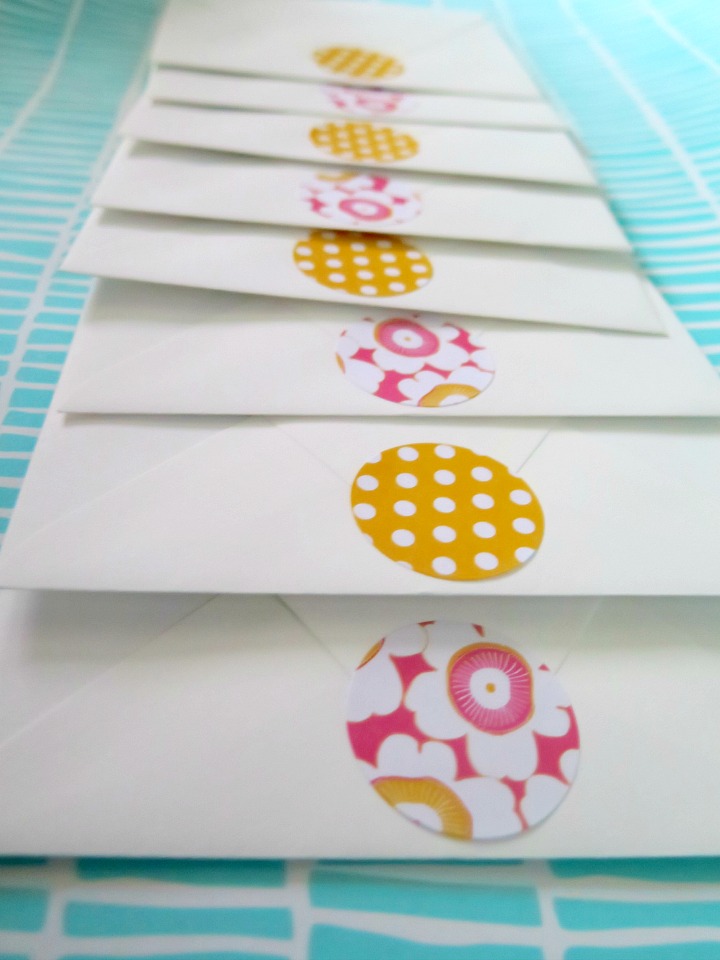
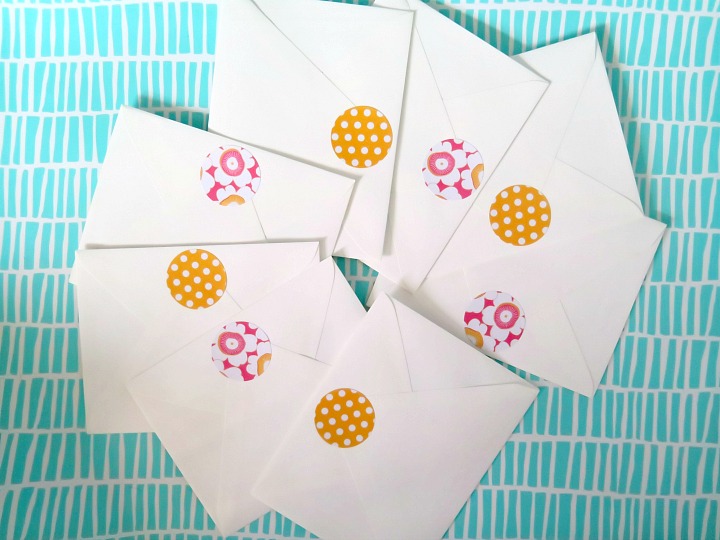
If you’d like to see the rest of the baby shower hosting, follow along in our Bless this Nest series for tips on food, decorating and planning!





What a great way to add a special touch to something like a shower invite! And I just love the print you used. It’s so colorful and perfect for a baby shower invite! I will have to try this for our next event.