Welcome to the 4th edition of the Thrift Store Swap!
I’m joining 13 fellow DIY bloggers committing to buy and re-purpose 2 thrift store items, each under $10. For this edition we each had to re-purpose a wreath.
Sounds fairly easy, right? There was a BIG catch…we’re not buying for ourselves! Each blogger is sent their thrift store item from another blogger! Yes, I was TOTALLY terrified to open the package from Laci at Sequins in the South. Fortunately Laci was SO kind to me, but I still had to figure out what the heck to do with the wreath I got!
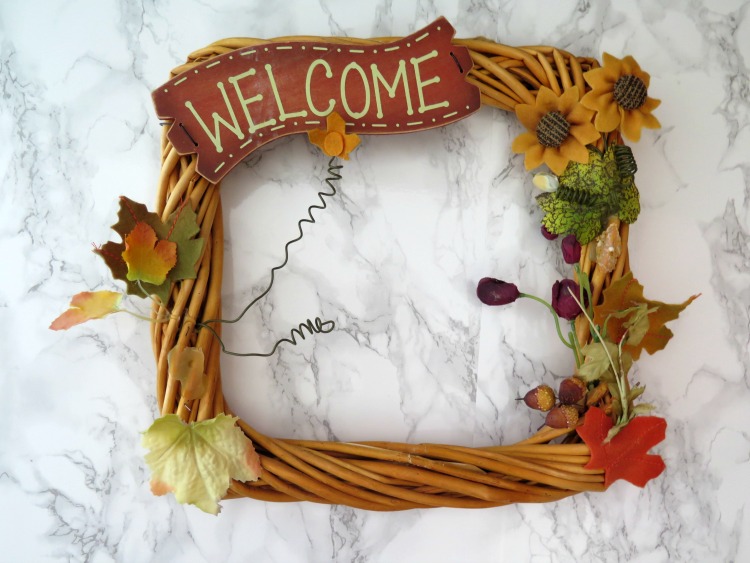
What on earth was I going to do with this wreath below??? Noticing that it’s definitely a fall style wreath and as we’re finally approaching sunny weather in Seattle, I decided to do a season swap to a spring wreath.
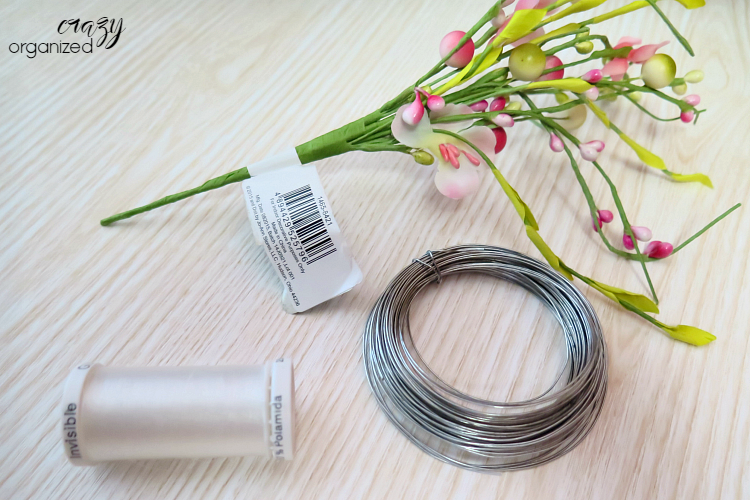
Supplies (listed the color I chose)
- Spray paint (navy blue)
- Colorful fake flowers (pink)
- Acrylic paint (white)
- Fabric marker (dark pink)
- Thin wire (optional)
- Invisible thread (yes, this is a real thing)
Instructions
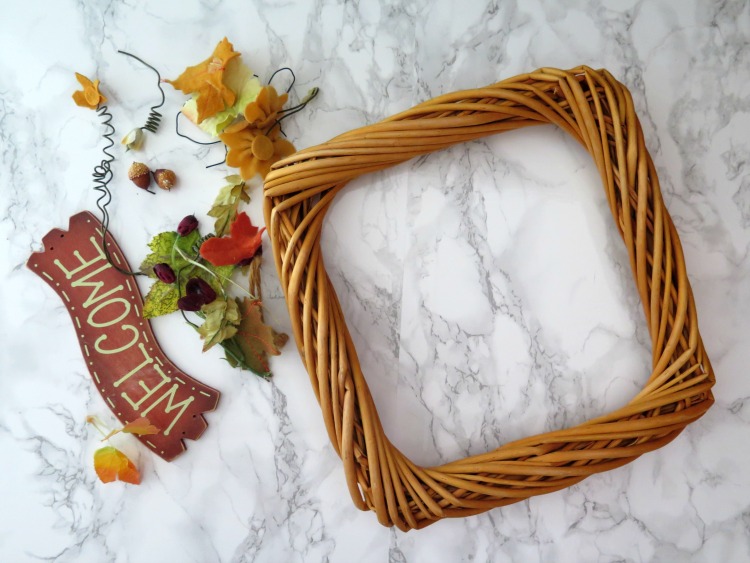
First step was to remove all the decor from the wreath. No tools required, just a little twisting and pulling!
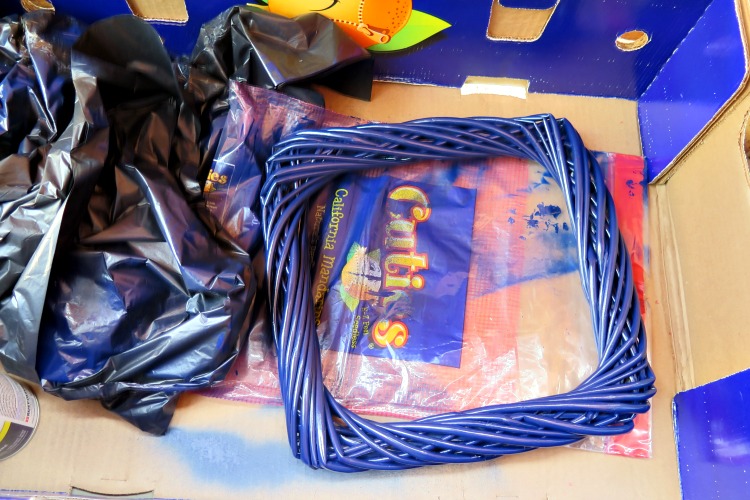
Spray paint time! No DIY by Lindsay is complete without spray paint. Seriously. I put the wreath in an old Costco box and also had a couple garbage bags underneath to prevent the spray paint from getting on my outdoor patio. Tips on spray painting decorations here.
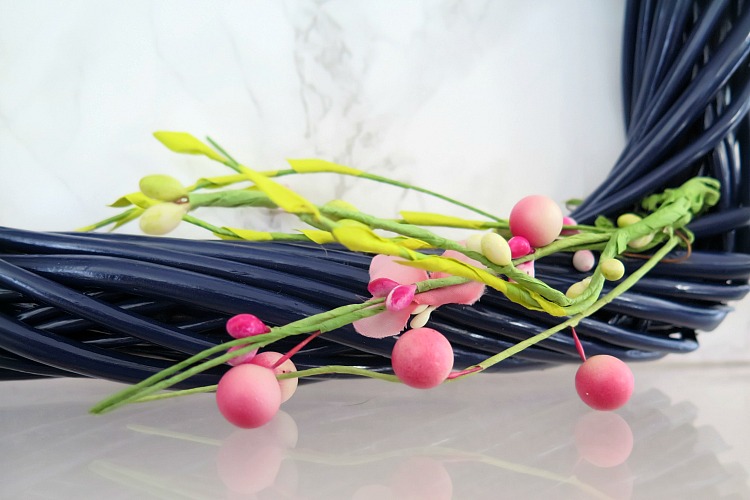
Once my wreath was dry I pulled apart my new fake flowers in to smaller pieces so that I’d be able to evenly place them around the wreath. I was going for a less is more look, but you could definitely add bigger bouquets of flowers.
It was super easy to insert the flowers into this wreath without having to use any tools (thanks for picking a great wreath Laci)! But if your wreath doesn’t have the crevasses that you see in mine, using just a little thin wire can help secure the flowers.
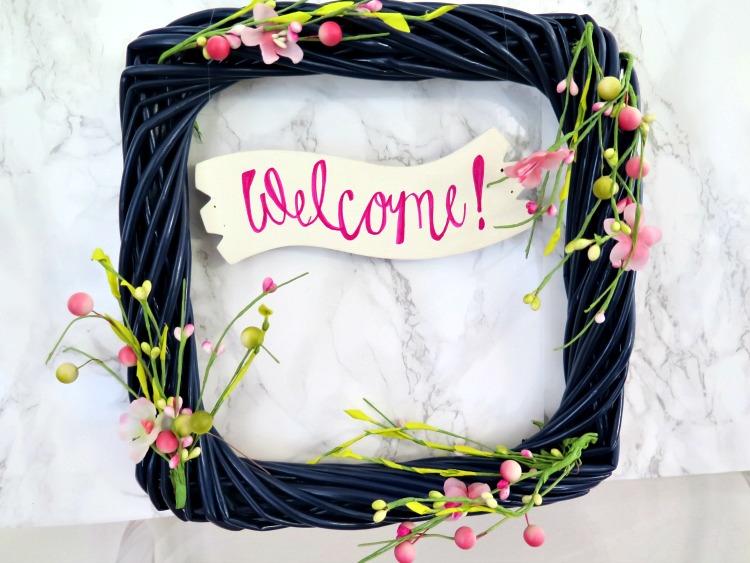
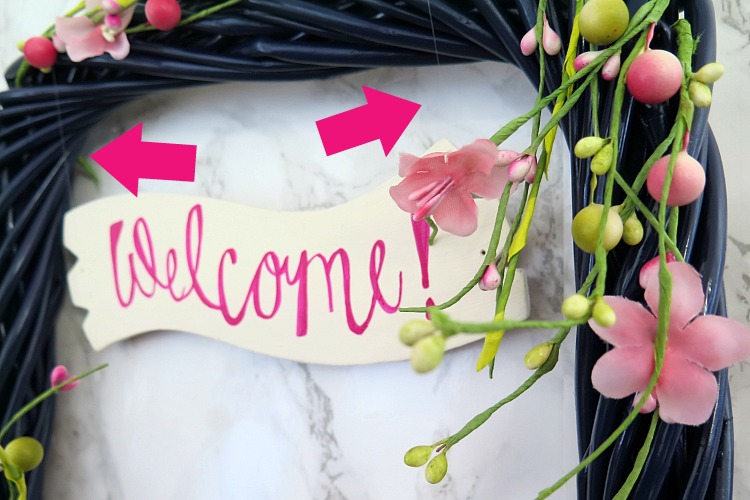
Using my white acrylic paint, I painted over the red welcome sign. Once dry, I used my pink fabric pen (although a good permanent marker would work as well), I rewrote ‘Welcome!’ in a more fun font. Then came the interesting part: invisible thread. I wanted the look of the welcome sign floating in the middle of the wreath, but wasn’t sure how this would turn out. Fortunately it was easier than I thought (which definitely doesn’t always happen with my DIY experiments #pinterestfail anyone?). I measured out two pieces of inadvisable thread. I looped the first through the hole on the side of the sign and over the top of the wreath tying in the back to make a circle. Once secured the first thread, it was easy to line up the other side of the welcome sign with thread to ensure it wasn’t crooked.
Can you see the invisible thread???
And really, THAT is it! From a fall to spring wreath in a matter of minutes and dollars! (now if it would just stop raining in Seattle)


Here are the geniuses behind these DIY Tutorials. Make sure to check out each one!


It looks awesome! I really like the navy blue and the flowers go so well with it!
It’s amazing how some paint and a pop of color can improve an old item so much. Your Spring Wreath makeover is beautiful. Thank you for joining us in the Thrift Store Swap. I hope that you enjoyed it =) and that you’ll join in the fun again this summer!
Love the simple makeover. It’s amazing what a little paint and some new flowers can do.
I love how inventive your wreath is! The invisible thread turned out perfectly… definitely not a pinterest fail!