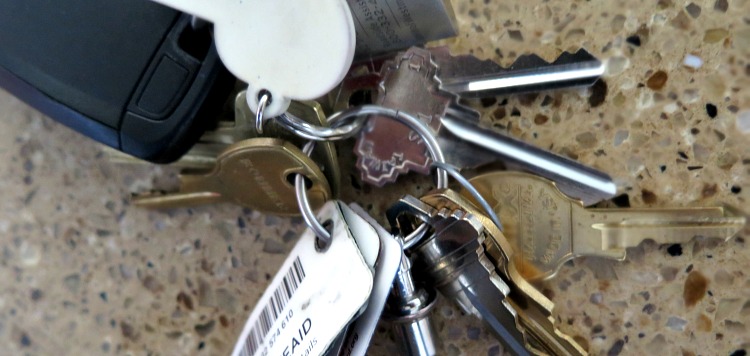
Each day when I get home from work I stand outside our front door trying at least three keys before I find the one that opens my front door. I find it a personal victory when I guess it right the first try.
As I’m navigating through my key chain I promise myself I’m going to find a solution to this frustration. Then the second I finally get through the front door my frustration is forgotten, well for 24 hours.
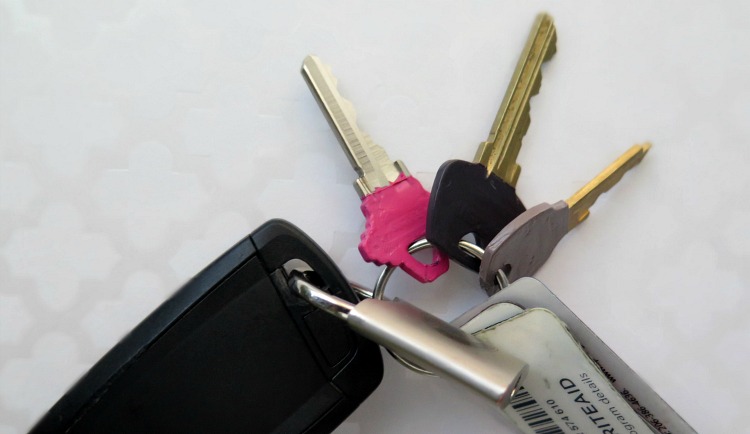
One of the problems is that my key chain is a disaster. Apparently I’m a key hoarder: holding on to keys in which I can’t even find a door to open. Hopefully most of you will be able to skip this, but my first step in my key chain organization project was to figure out what each of my keys go to!
Once I parted ways with the unneeded keys, I was ready to get started.
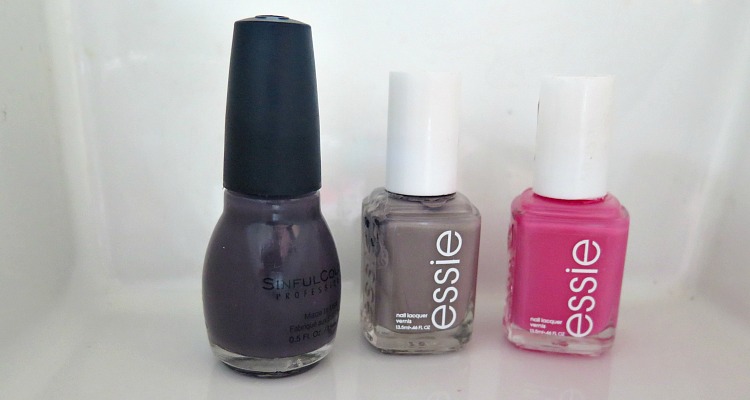
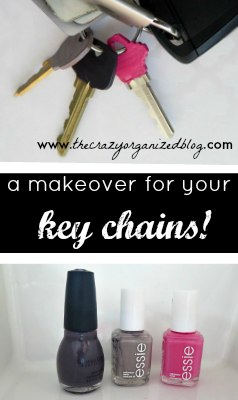
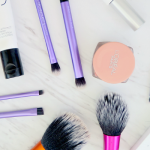
This DIY tutorial will not only make your key chain pretty & organized, but also use up some of that old nail polish that you’re yet to use up. Yep, you read that right. We’re pairing organization with beauty products!
SUPPLIES
- Old toothbrush
- Dish detergent
- Enough nail polish for each of your keys
- clear coat nail polish or clear protector spray
- Keys
- Painters tape
- Paper towels/newspaper
First order of business? Wash your keys. Bet you’ve never done that before! Me neither. I opted for a quick and easy soaking with dish detergent for 5 minutes while I dug out the rest of my supplies.
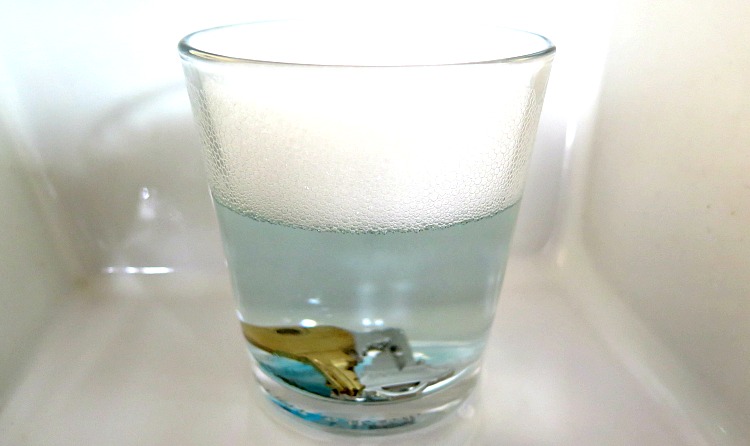
Then taking an old toothbrush (I save my old toothbrushes for various DIY projects), I quickly scrubbed the keys down. You wouldn’t put nail polish on dirty nails, so why do it on dirty keys!?
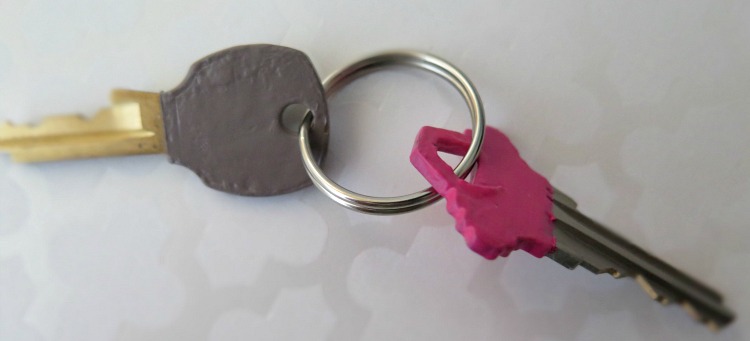
Next thing I did was get rid of all my extra my key rings. I really only need one, but over the years have mysteriously collected many of these, which aren’t necessary and bulk up my key chain.
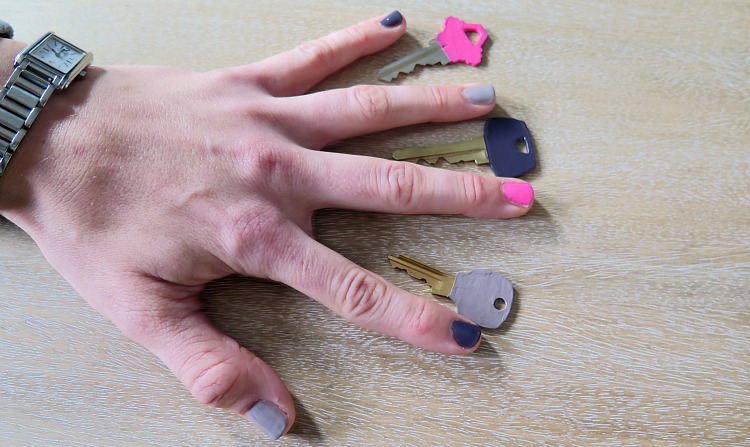
Taping the keys with painters tape is essential for me, as ‘straight lines’ are not something in my vocabulary! I then paired each of my keys with a nail polish. After laying out some paper towels I paint my first coat on one side (and edges) of each key. I let these sit for an hour before flipping over and painting the other side of each. I did three coats on each side, but you may choose to opt for less!
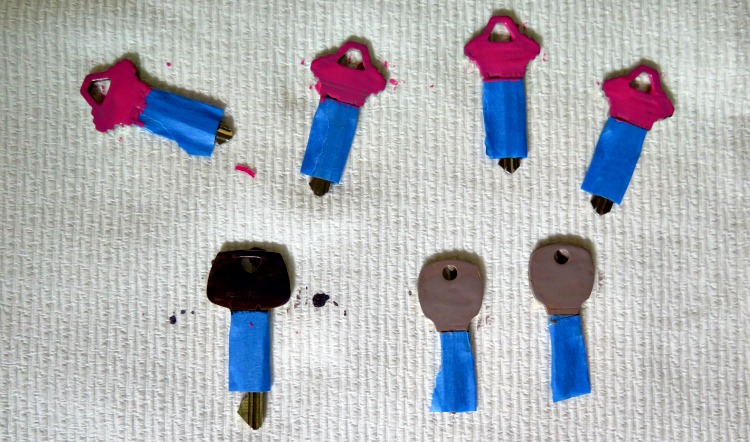
Once you’re satisfied with the color/number of coats, put a protector over it – either a top coat or protector spray. I had some clear protector spray handy as I use on many craft projects.
Of course you can add a cute key chain, but if you want to really go minimal the keys add enough of a decorative touch on their own!
I painted our extra set of house keys that we give to guests.
May your keys look as good as your nails!


Some of the links in this list are affiliate links. It doesn’t cost you any extra, but I earn a little commission if you decide to purchase. Regardless of whether or not I receive a commission, I only recommend products that I personally use and genuinely recommend!


Oh I need to do this…I don’t have a ton too many keys on my ring (I do have 2 that I have no idea what they’re for, lol), but every key looks the exact same!!!
Laura
http://www.24-7style.com
Hi Lindsey, This is something I had not thought but it’s a great idea! I love the pic of matching nails and keys! Great visual!
OKay so yes, I’ve never washed my keys before. LOL — but I love this idea. I have too many key rings, too. And then all the keys…yikes. I need to do a key purge because some of the keys I have NO idea what they are for. Old keys to old homes. Old keys to other people’s homes. I have no idea.
I’ve been doing this for years now, makes it so much easier to get straight into the house
These are so fun! i did one key last year but it faded and chipped, never thought to do a top coat though! I will have to try again.
I used to nail polish my keys (only a spot, not the entire area), but when we moved I got all our keys duplicated at the hardware store that has a selection of patterns. We also replaced all the knobs with handles (easier to open when your hands are full — you can push it with your elbow!) So instead of having four keys to four locks — knob and deadbolt x 2– all four use the same key.
The set I gave to Mom matches ours. For instance, green with ladybugs is for our house, college mascot keys go to Mom’s outer door, flags go to her solid doors, etc. Makes it SO much easier since the key to her doors is the exact same shape as ours.
I started a new job last week and now have FOUR (ugh!) new keys that I’m going to have to paint, but I’ll have to use your method rather than getting new, patterned keys.
Great tutorial! I’m going to try to think of a way to stand them up so that I can do both sides at once, though. 🙂
I have 2 keys I’m always getting mixed up. This will be perfect! Stopping by from Women with Intention! -Jess
This is a great idea! Thanks for sharing with us at Brag About It!
~Laurie
Great idea and pretty too.
Such a great idea, I have 2 keys the same!
Thanks for sharing at the weekend blog hop..
I love this! More organized AND super cute! Thanks for sharing on the #SmallVictoriesSundayLinkup!
This is so great! Love the idea!
Thanks for joining Cooking and Crafting with J & J!
Resourceful to save time looking for the right key. lol That’s a lot of keys on that first chain. haha I think I only have one key and it’s the house but if you have many this is great idea. Thank you for linking up to Share With Me and I hope to see you again tomorrow for another great round. #sharewithme
I have actually done this! 🙂 Thanks for sharing on My 2 favorite Things on Thursday! Hope to see you again!! Pinned!
What an awesome idea to save you a bit of time every time you’re fumbling through your keys trying to find the right one!
#MMBH