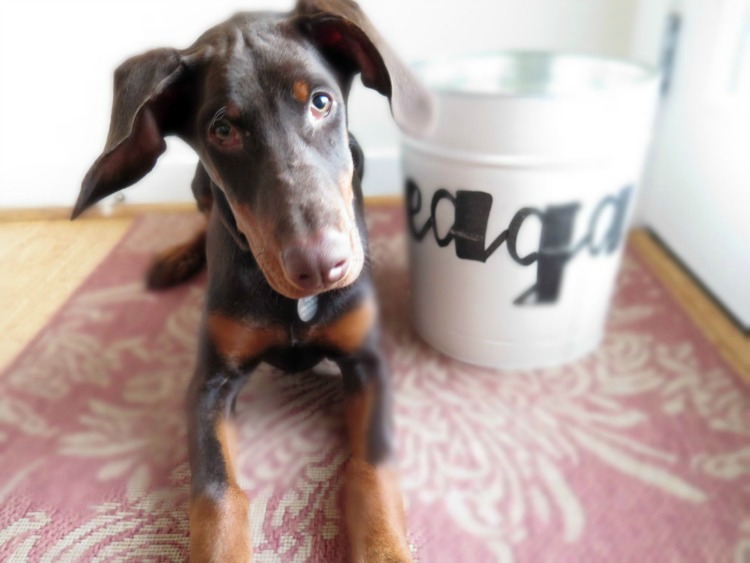
As many of you know Joe & I got a doberman puppy, Reagan, in December and although we are absolutely in love with her, I’m NOT in love with the mess a puppy can bring to a home. As someone who cleans her baseboards regularly, I’m adjusting to have ‘dog dirt’ (as I call it) in my house at all times. We’re also learning just how much energy puppies have and might be hitting a world record in time spent playing fetch. This all equates to lots and LOTS of toys! Walking in to our family room likely resembles a dog store at times as we toss anything to Reagan to keep her entertained.
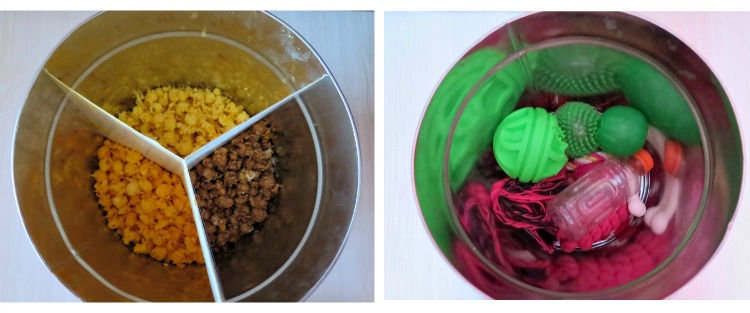
 My dad sent us a huge container of Garretts popcorn for Christmas which brings back awesome memories as I used to live next door to a Garretts store in my Chicago days. You can’t tell from this picture, but our favorite flavor is the cheese! Reagan was trying to chew on the tin as I was taking it out to the garbage (Joe & I devoured it in less than a week), which made me realize that it would be a great toy storage container! Yes, she may like to chew on it, but because it’s metal, she can’t actually destroy it as she has other baskets. With a couple craft supplies and a cute label, this would be a sustainable storage solution for Reagan’s toys.
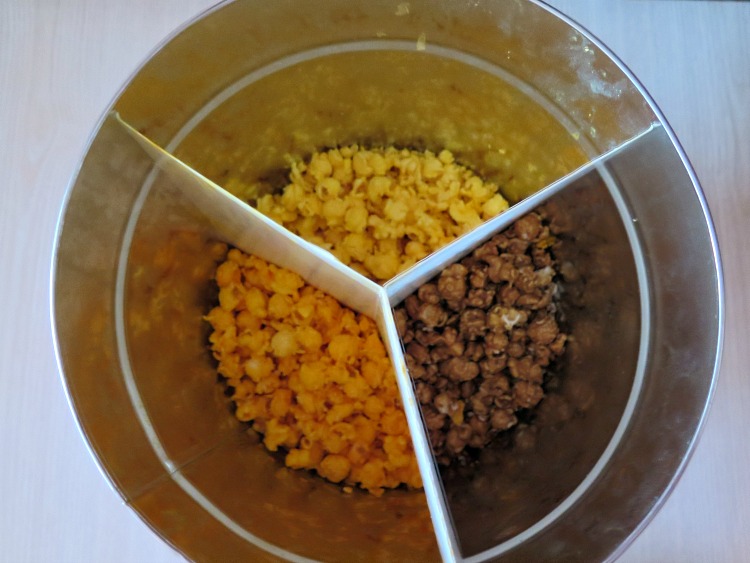
Supplies for Toy Storage Container:
- Painters tape (the wider the better)
- Spray paint (I used white, but you can use any color that matches your decor!)
- Modge Podge
- Labels (I printed out a label using clear sticky 8×11 paper)
When possible I try to select the items on Amazon that are eligible for ‘Amazon Prime’ which means the item has two day shipping for FREE (the Amazon Prime items tend to be cheaper as well). If you’re not an Amazon member and want to try out prime, you can try out a 30 day trial here.
Since I do a lot of arts and crafts, I had everything in my craft room (aka – tiny storage closet) minus the labels. Before I even started the project, I cleaned out the container really well. That popcorn smell can linger!
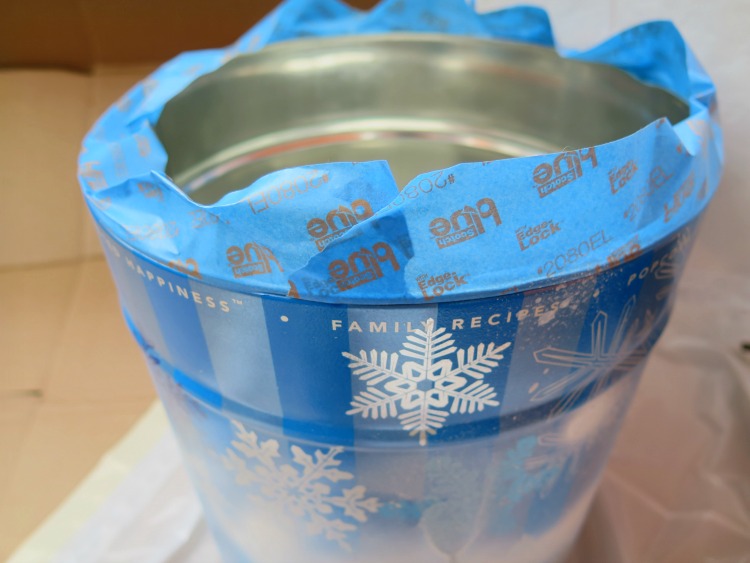
Now the Garretts popcorn tin design, although cute, definitely wasn’t the look I’m going for 🙂 . Enter spray paint. Using painters tape, I taped the top ring of the container to create a nice line where the spray paint would stop. The inside of the container is silver, a color that would go nicely, so I opted NOT to spray the inside.
I laid down a couple broken down cardboard boxes outside our front door to create a space to spray paint the tin. Two light coats were enough to cover it completely. I can’t emphasize LIGHT coats enough. There’s a couple spots that I was a little (a lot) too aggressive with the spray paint. When that happens, the paint clumps up and doesn’t dry flat.
I’m obviously still learning the virtue of patience and less is more! I let the tin sit at least 1 hour in between coats. I probably don’t need that much time, but spray painting a second coat on top of wet spray paint can look REALLY bad.
While I was letting the paint dry (literally), I started on the labels. I use Font Bundles to get these really cute font styles. Personally, I like these better than the standard ones that Microsoft has. I went a little overboard one weekend and relabeled my laundry detergent (and my blog). I opened up a Microsoft word document and typed out the wording I wanted to stick on the tin.
‘Reagan’s Toys’
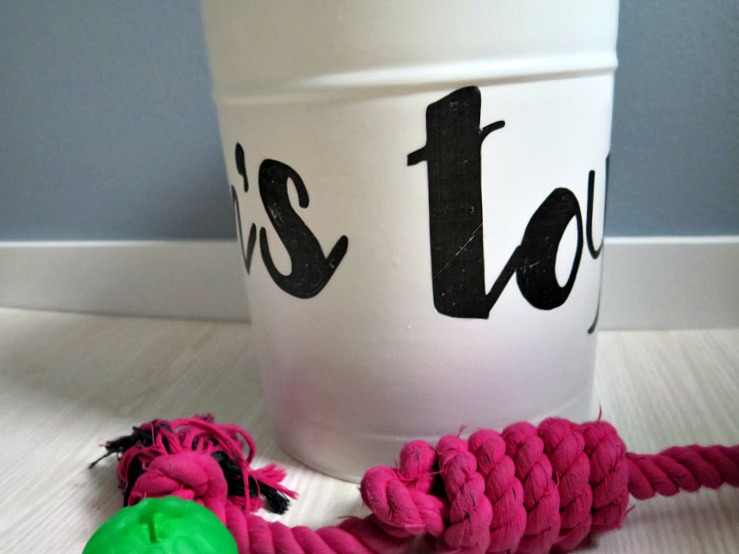
I then enlarged the words to the biggest font size I could get. Now before you go crazy and make your font a size 500, take a moment to measure your container to ensure that you won’t run out of room with your labels. I should have taken my own advice because I didn’t have enough room for the s on toys, so my container reads “Reagan’s Toy”. Let’s just say that this dog definitely has more than ONE toy!
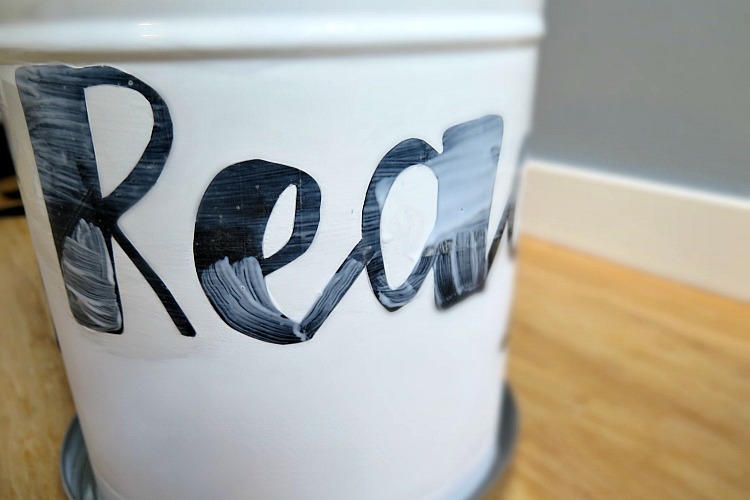
After printing out the labels, I cut out each of the letters. Since I used a cursive font, most of the letters connected to each other; sometimes I cut them apart (see the R in the photo below) to make it easier to cut out. The nice thing about using clear label paper is that no one will notice if you cut outside the lines.
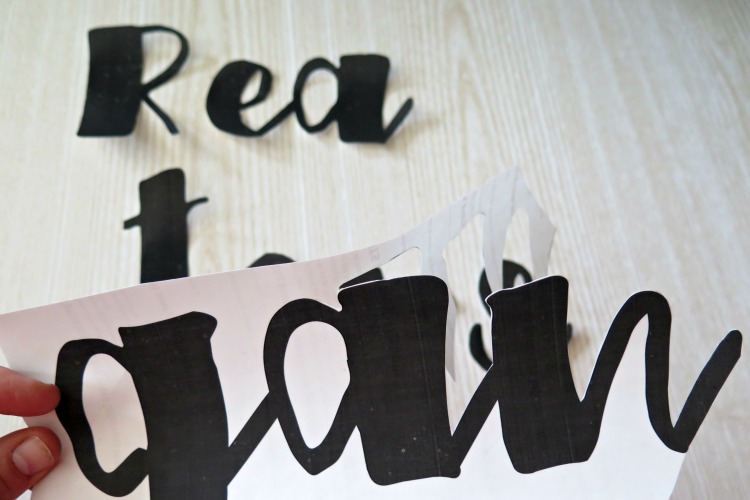
Once you’ve got all your letters cut out, simply peal off the paper on the back of the label and stick away! I didn’t use a ruler or anything to keep my letters even around the container as the popcorn tin had a ridge on the top that I followed. If it hadn’t I would have likely used a ruler & a couple post-it notes to measure and mark where the labels should go. I like using post-it notes instead of a pencil mark so that I don’t have to try to erase it.
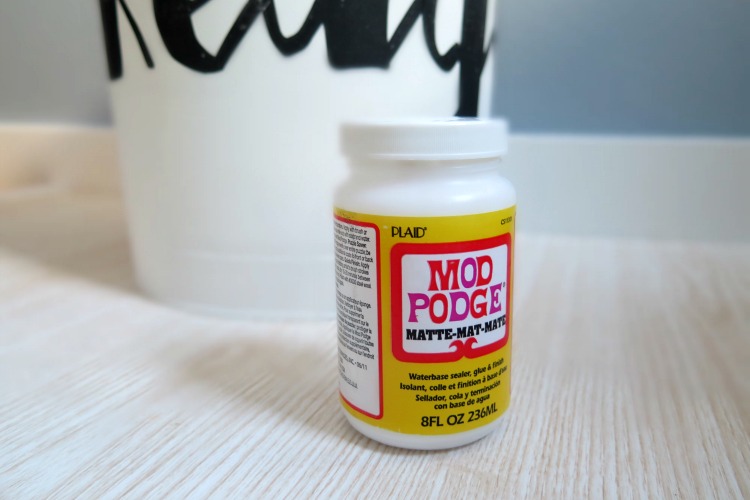
Once you’ve got the labels attached, it’s modge podge time! Modge Podge will act as a great sealer to the spray paint and labels. This is essential as Reagan’s nails would have completely scrapped the labels and paint off. With the modge podge acting as a protective cover, Reagan can attack the tin as much as she wants and nothing gets damaged. It’s been a while since I’ve used modge podge, so there was a moment of panic when I started applying it. It doesn’t look great at first. But DON’T freak out like I did. Remember, it’s a glue. It goes on white, but drys clear.
From popcorn to puppy toys. Who would have thought??
 I really liked that I could ‘customize’ this toy storage tin to the color scheme I wanted (white), but also had the cute font on it for a punch of DIY. I can easily tuck this tin away next to our couch. Reagan is slowly learning to accept this storage solution after spending the first two days aggressively barking at the tin.
Let’s just say that Reagan was not as excited about this new storage solution as I was. 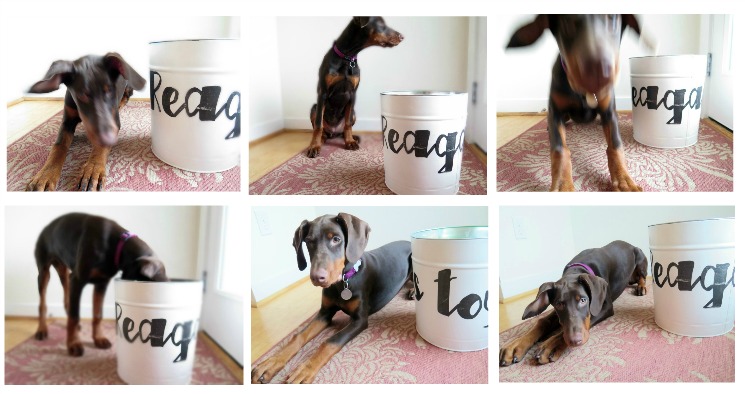
Now if I could just teach Reagan to PUT her toys in to the container 🙂 .

Some of the links in this list are affiliate links. It doesn’t cost you any extra, but I earn a little commission if you decide to purchase. Regardless of whether or not I receive a commission, I only recommend products that I personally use and genuinely recommend! Thanks for helping support this site!



I’ve seen those Garrett’s bins before! What a great idea 🙂
Reagan is cuuuute! 🙂
I love the container (and the font), but all dogs know that toys look better on the floor, right? 😉
Right????? I put them away and Reagan follows me and takes them out! can’t win!
This is so cute and such a great way to get all those random toys under control. I love that you reused a popcorn tin. Those always seem to be in abundance after Christmas. Our dogs have more than enough toys to go around, so we could definitely use one (or two) of these!
Glad I’m not the only one that has too many of these at Christmas!!! and Reagan finally has enough toys that we can’t fit them all in, which is probably OK because she totally prefers them all over the floor! 🙂
Your dog is so cute! I love recycling tins and these large popcorn tins are perfect to hold toys.
Oh my gosh! This is a great idea. I love it. Definitely think Ill be making one of these.
Awwww thanks girl!
I do exactly the same. I have 3 baskets which are comfortable to carry (and beautiful) like yours. There are 5 in our house and it is the only way I can keep the place tidy. Another tip for those with kids, at the end of the day, place all their toys in a pile (I put ours on our footstool) and they have to run their own items upstairs. We don’t have to do ALL the tidying ourselves 😉
Love love love those tips! Thanks so much for stopping by and sharing!!
Dobie puppies are THE cutest!!!
Totally agree! 🙂
My mom trained her German shepherd to put his toys away. Sometimes I think he was smarter than me. I know that my mom thought he was neater than me. 😉
Haha! I need to start working on that with my little one!