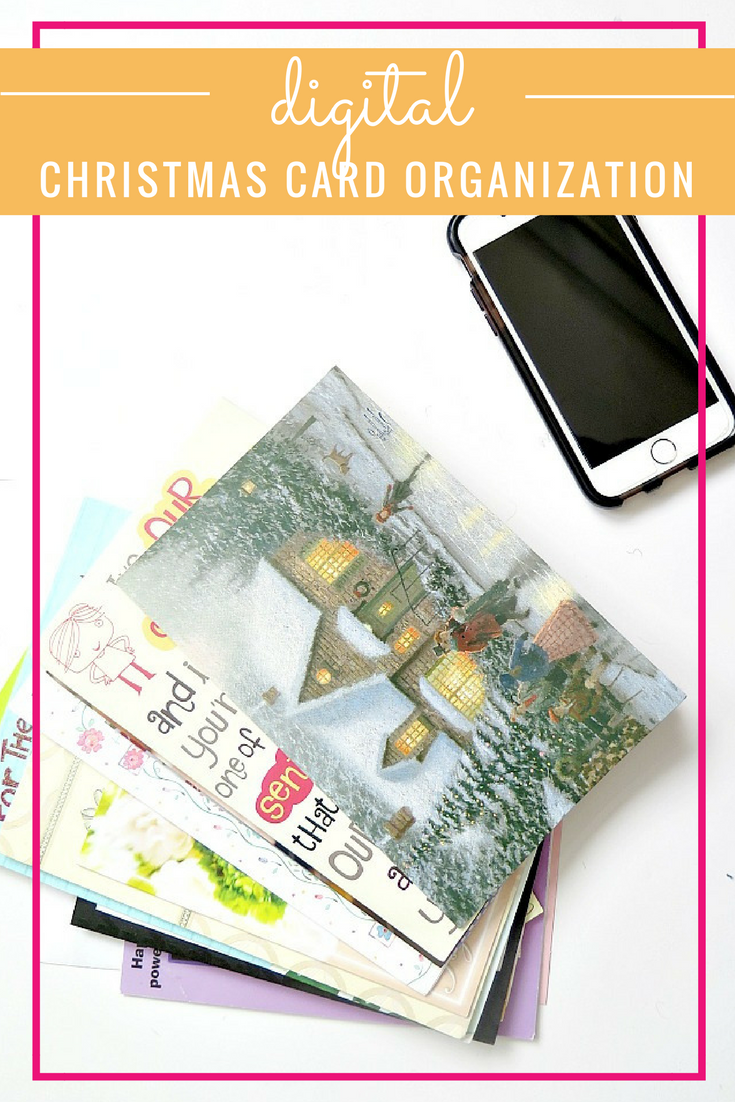
The smartest way to store your Christmas cards: digitally!

As soon as I found out I was pregnant I started nesting. Right away. Like THAT day. And I started on the Christmas cards. We’ve got great storage space in our town house and I definitely put to the test. Lots of Container Store bins line our closets, several of which were storing a decade of Christmas cards. Now I love Christmas and love giving & receiving Christmas cards. I also hate getting rid of anything. You can see the problem arising!
The reality is that after the month of December, those Christmas cards don’t get looked at again. They’re just taking up valuable space in the closet. I knew I should get rid of them, but I just couldn’t do it.
So instead I compromised with myself. I got rid of the physical card, but stored copies digitally on Dropbox. There’s a variety of digital storage options available. My go-to is Dropbox, mostly because I’ve used it for quite a while so I’m very familiar and it’s folder system is very similar to that of a PC.
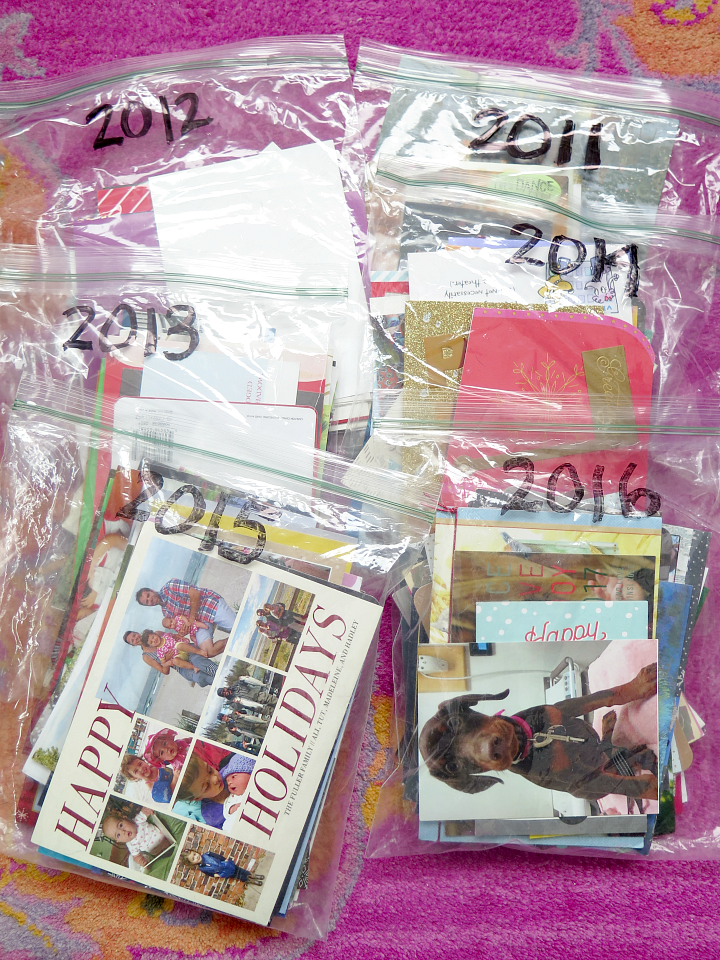
I already had my cards stored by year, but if you didn’t, that would be the first place to start. It may be difficult to discifer which year each card was from, so you’ll have to decide if it’s worth it or not.
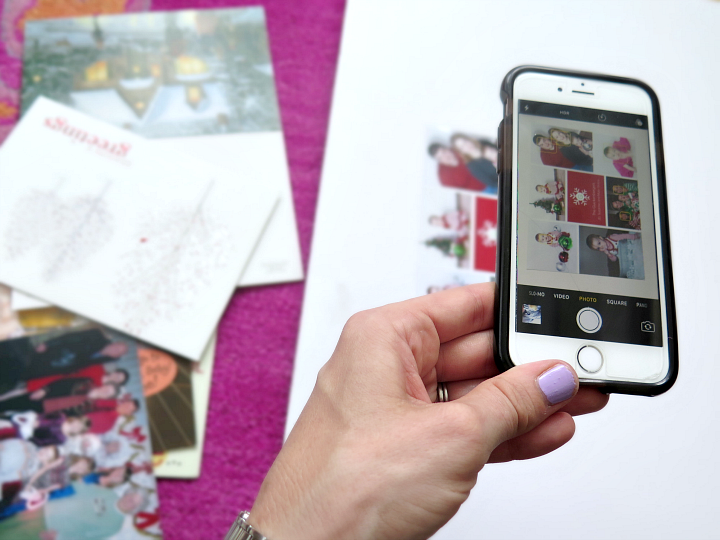
I found this project to be a lot easier (and less time consuming than I expected) largely due to the fact that I only used my iPhone (no computer needed).
Using a white foam board as a back drop I took a picture of each card one by one. For most of the cards I only took a picture of the front, but there were a few where I also took a picture of the back/inside.
Before I took any pictures of cards, I snapped a photo of the labeled ziplock bag that I was storing each year’s worth of cards in. This helped organizez my photos on my phone and made it easier to upload to Dropbox (more on that below).
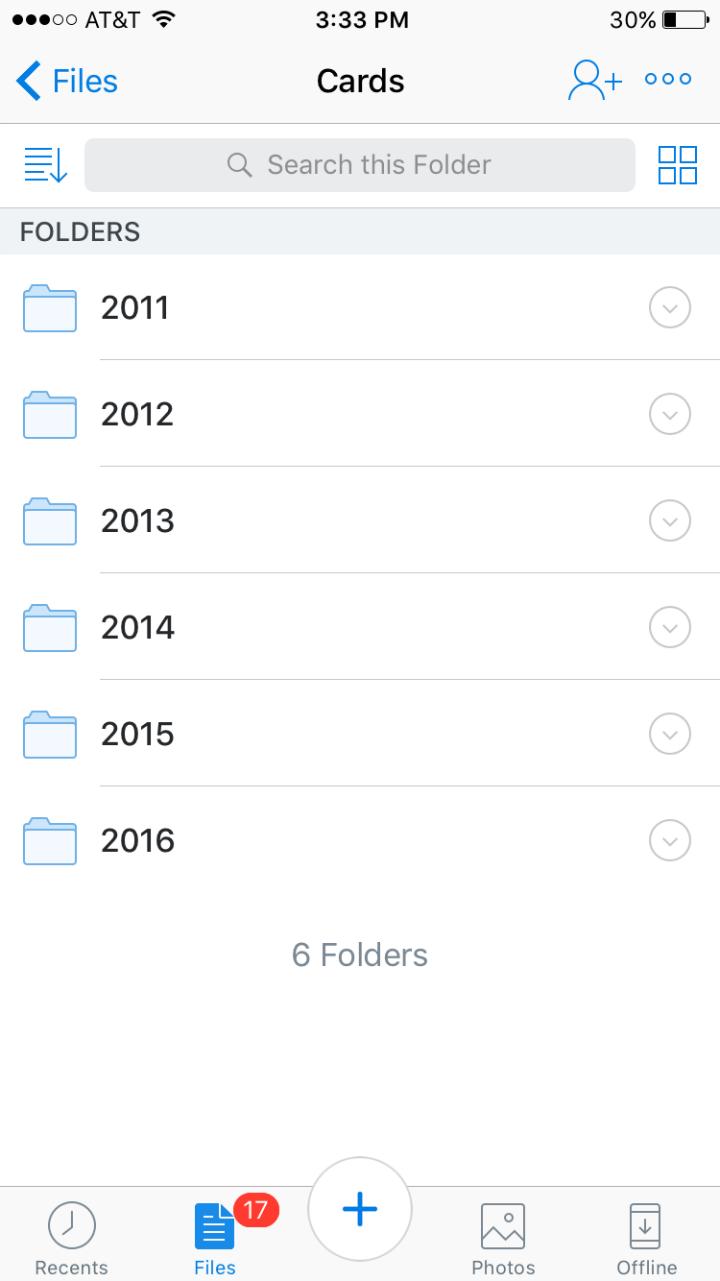
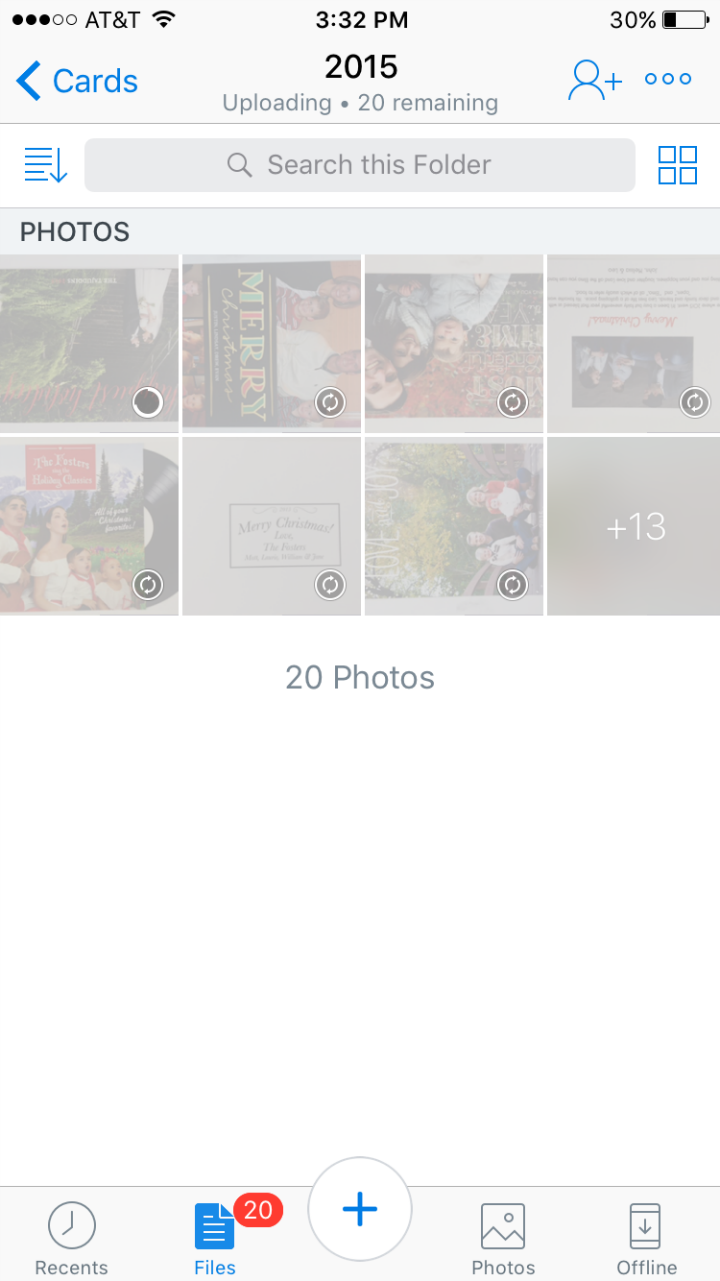
Once all the photos were taken, I logged in to my Dropbox account on my iPhone. I added a folder titled ‘Cards’ and made sub folders for each year.
To add my photos I simply opened up one of the sub folders, hit the + key at the bottom of the screen and selected ‘Upload Photos’.
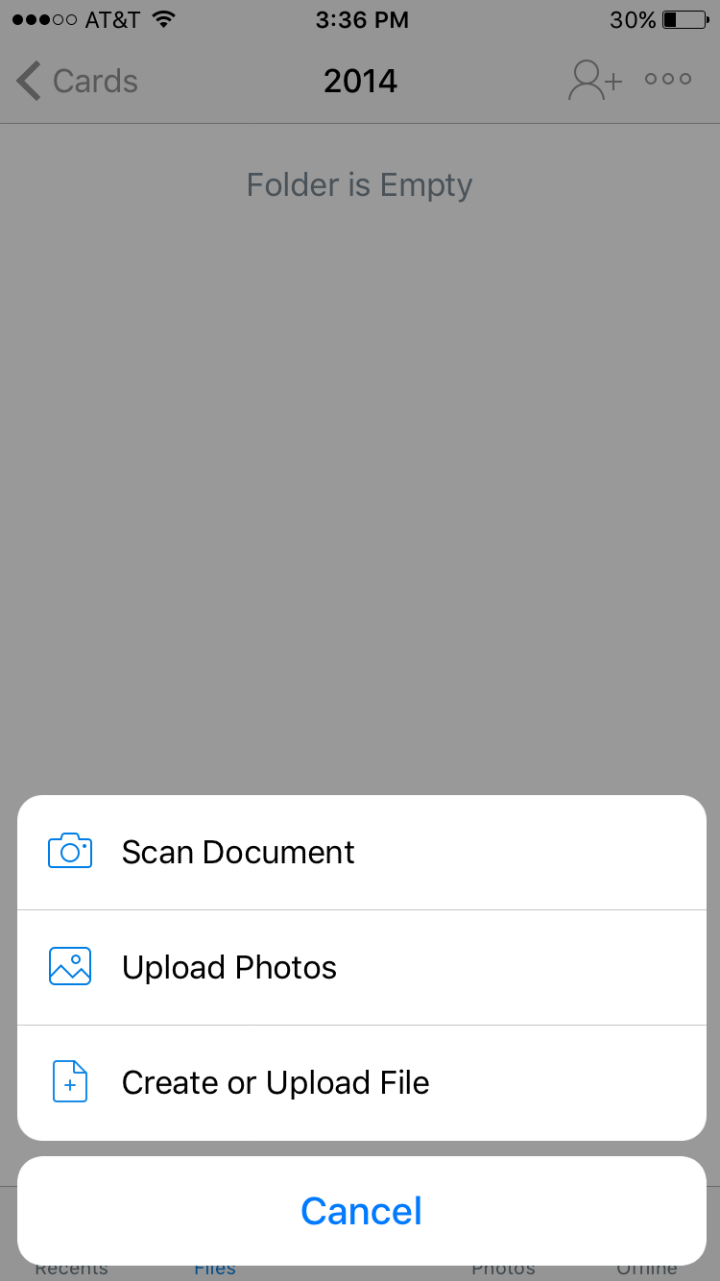
I selected all the photos that followed the photo of the bag marked with the appropriate calendar year. Then hit ‘Next’.
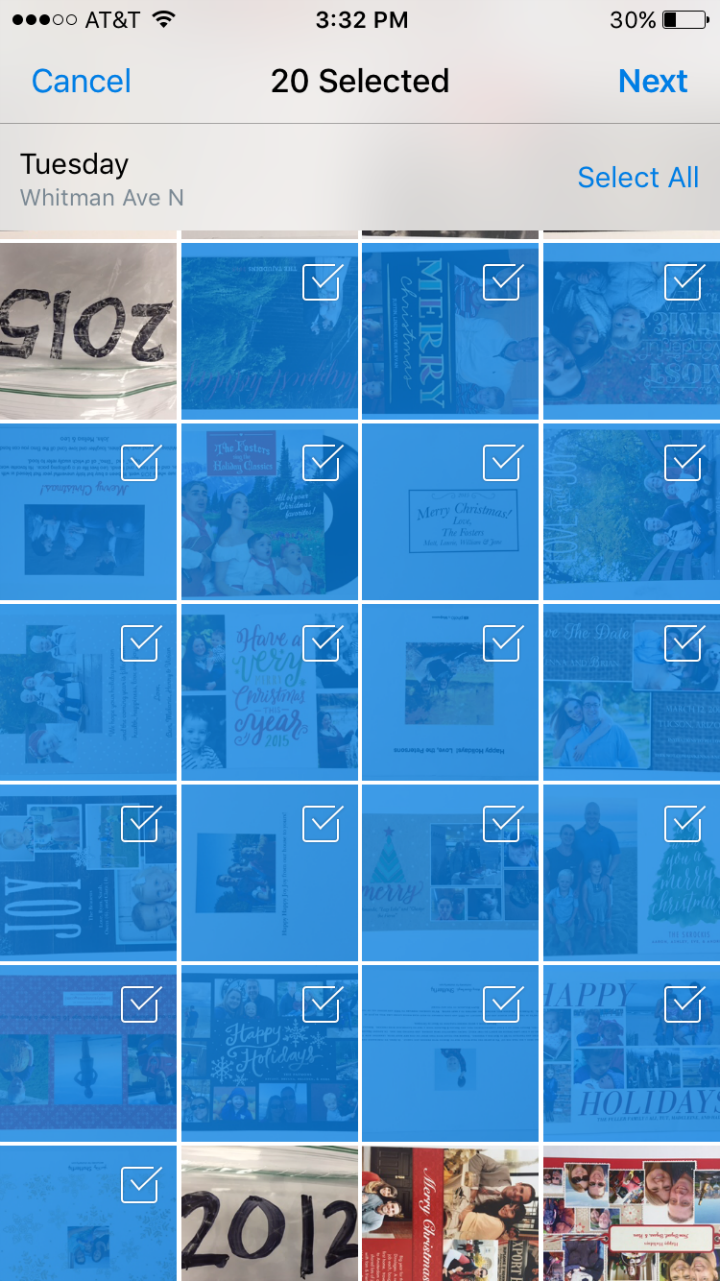
Depending on how many photos you have, it could take a couple minutes to upload.
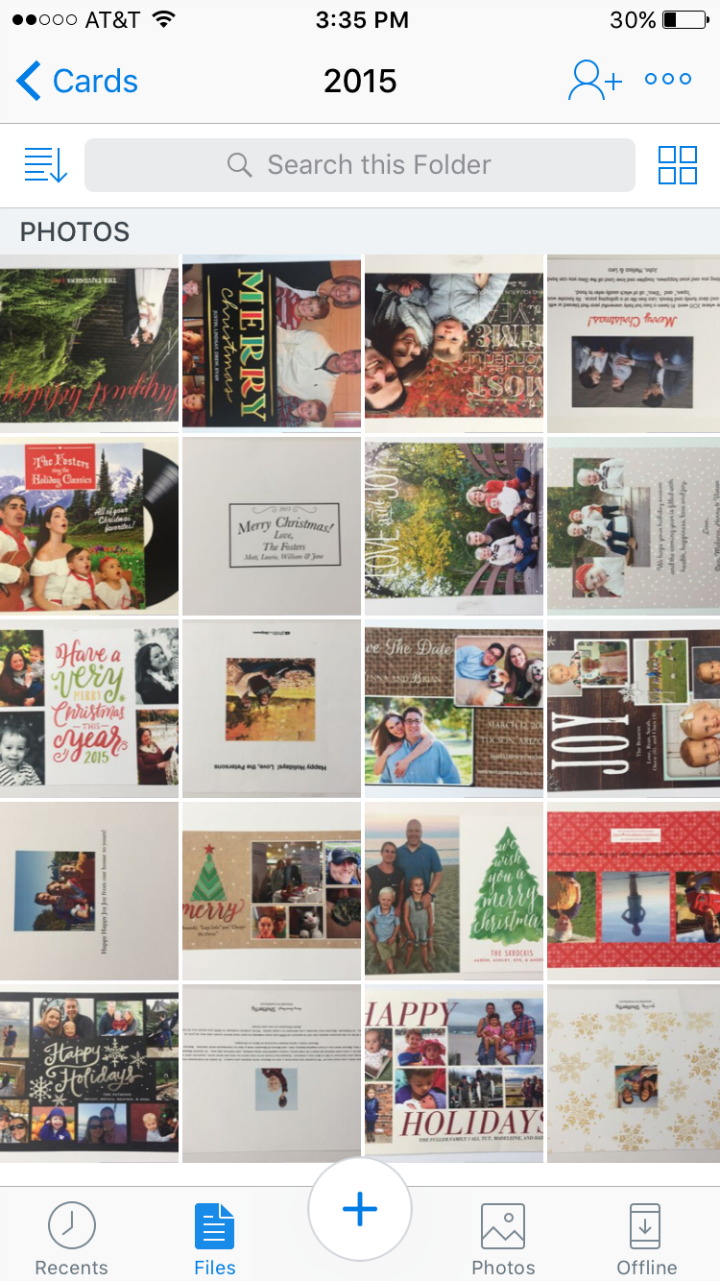
Once the photos are all uploaded, you can rotate and label each one. I decided that extra step wasn’t worth it to me right now, but you may want your more organized!
I was so happy that I took the plunge to digitalize these and definetely have been enjoying the extra storage space! It’s now becoming an annual project each January (along with prepping birthday cards for the year).


Such a smart idea! I’m going to do this with all our kids school art work. Ahhh there’s so much of it!
Love this idea! I have huge piles of cards that I also don’t want to get rid of!
Thanks! It was tough to get rid of the hard copies, but so rewarding once the project was complete!
What a wonderful idea. I have not heard of Dropbox, but I certainly plan to use it now.
I have saved cards for more than 20 years. Now to declutter!
This is a great idea, although I’m happy to say that I’ve grown less sentimental about physical objects over the years. It’s been hard work, but now I can throw out *most* of the Christmas cards we receive. I still save my best friends’ annual newsletters and stuff like that.
Thanks for the step-by-step guide to the project, Lindsay. It’s so helpful to have instructions AND photos!
P.S. During a 30-day “create every day” challenge last month, I tried calligraphy/handlettering. I can see some homemade cards in my loved ones’ futures! 🙂