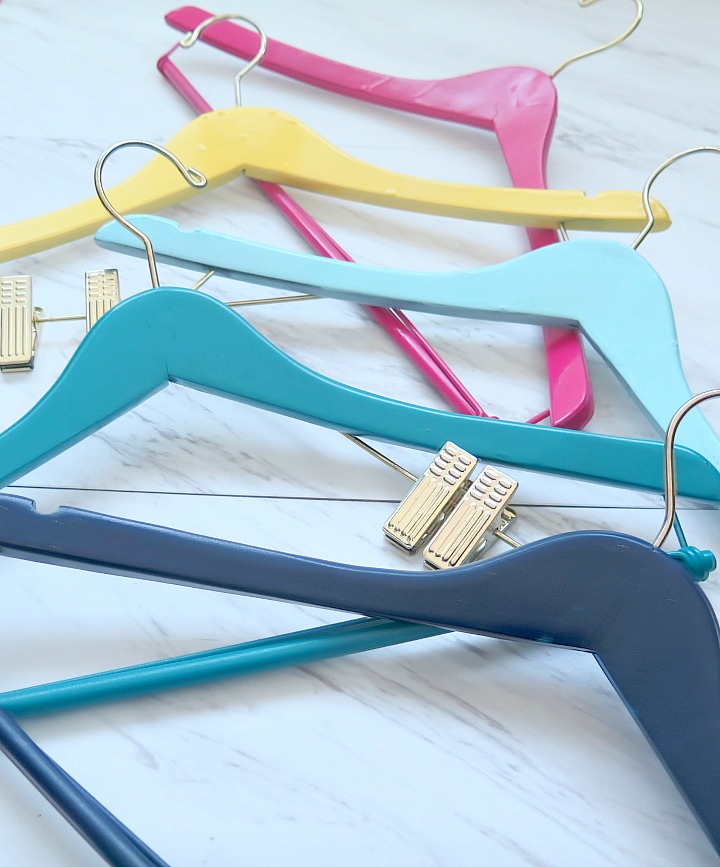
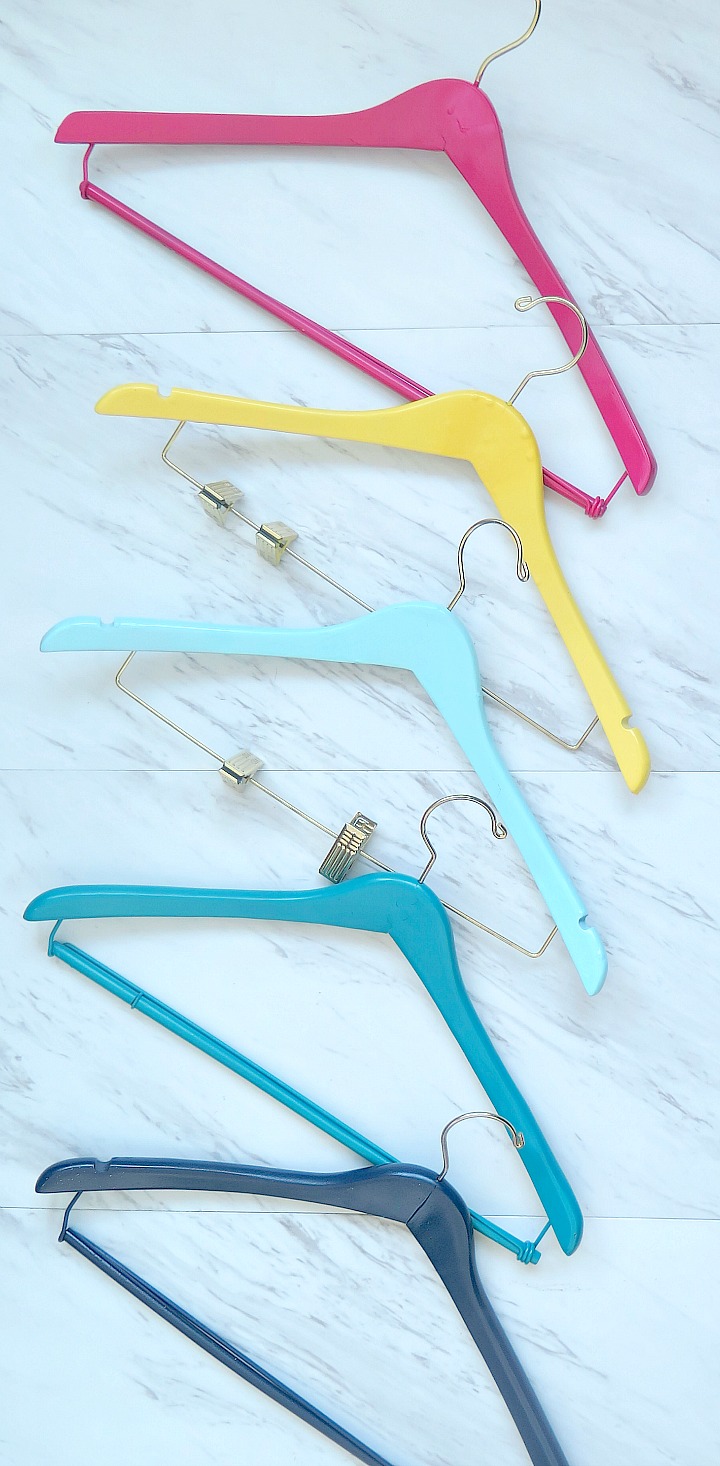
These painted wooden hangers not only add a punch of color to your closet, you’ll be organized in no time!
Each month I’m taking on a common organization challenge and tackling it with a thrift store item. I love when great organization solutions end up being affordable. It’s always a win-win. All it takes is a little patience, DIYing and a great thrift store find! This month we’re tackling all that closet storage with:
||| Painted Wooden Hangers |||
I know what you’re thinking (probably because my husband is thinking the same thing right now). Have you run out of things to DIY? Don’t you have anything else to organize? You’re seriously painting your hangers? Well …. No, Yes, and Yes.
I’ve never seen a closet that was TOO big. Now, I’m not the type of gal that has too many clothes or shoes (I’m a tennis shoes girl for life). Yet, what inevitably happens in my closet is that more and more stuff piles up. There’s never enough room or storage solutions. Then the closet becomes a drop zone for laundry that needs to be put away, shoes that are just thrown anywhere, and off season clothes. Having smart storage solutions and systems becomes more & more important. Enter: Painted wooden hangers. (Scroll down to the bottom to see how I put these hangers in to action.)
Supplies
- Wooden hangers (Thrift stores are a great option for these. I found them for $.25 each!)
- Spray paint in your favorite colors (I always use Rust-Oleum spray paint)
- Painters tape
- Sand paper
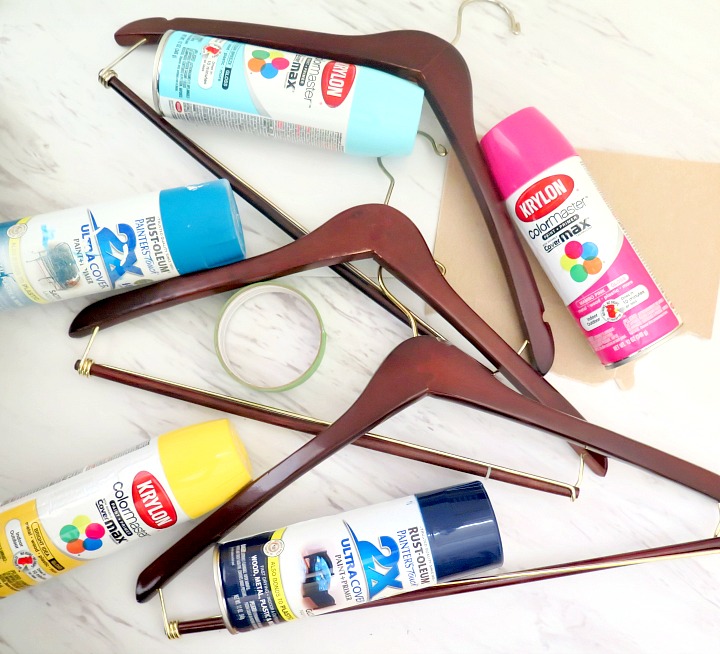
Instructions
First step is to lightly wash the hangers with soap and water. Anytime I spray paint an item I always wash it down ahead of time. This helps ensure that the spray paint is adhering to the actual item instead of dirt or grime that might be on it. Let the hangers dry completely.
Next, I lightly took some sand paper to the wood. Just a quick sanding helps the spray paint adhere to the wood quicker.
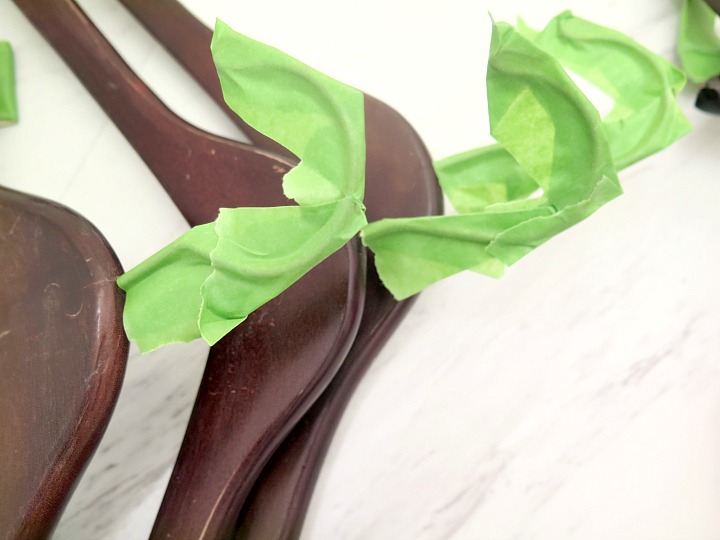
I chose not to spray paint the hooks, just the wood, so I covered those with painters’ tape.
Since I’m quite the lover of spray painting, I invested in a spray painting tent. While it’s not necessary, it does make spray painting MUCH easier. If you do a lot of DIY projects, I think it’s a worthy purchase It folds up pretty small, but once open, is spacious enough for the majority of my projects. I’ve pulled it out for painting projects too (not just spray paint). This picture is up on my roof deck where I set up the tent.
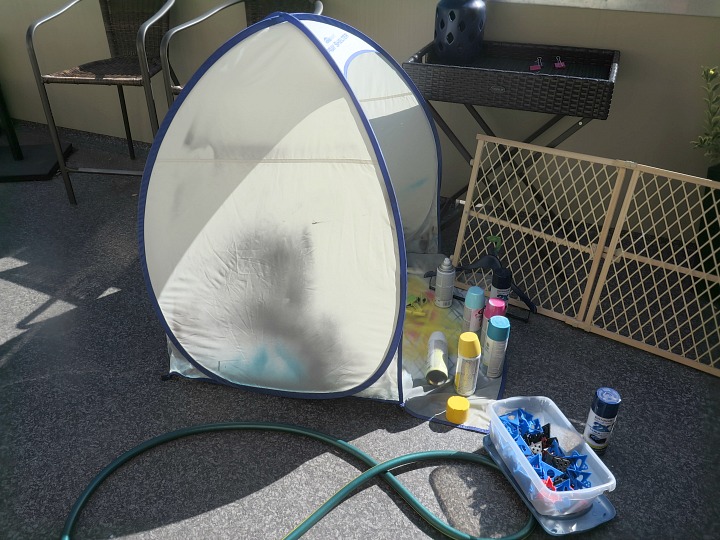
You’ll notice the baby gate – that’s the next spray paint project on my list 🙂 .
I lightly sprayed one coat of paint on each of the hangers and let dry before spraying a second coat. I’m not brand loyal on everything, but for spray paint I ONLY use Rust-Oleum. Not super pricey, but typically isn’t the cheapest option at the store. Yet, I find that it requires fewer coats than the cheaper ones. So in the end it probably is the cheaper option.
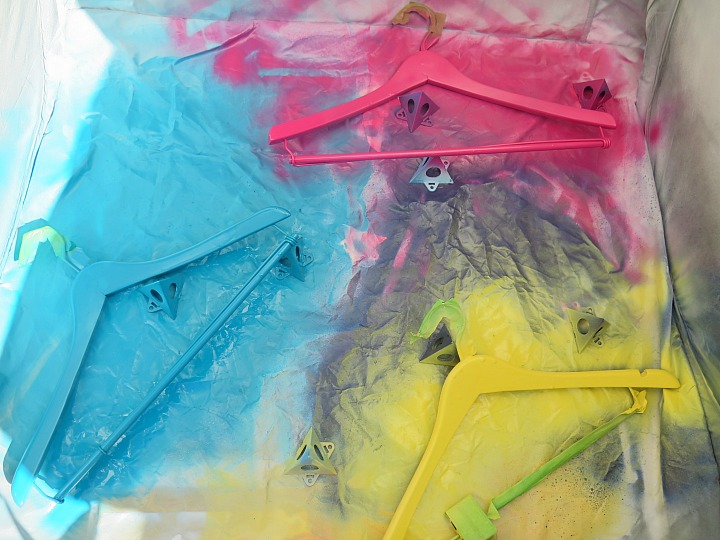
Hangers are somewhat awkward items to spray paint so I used a couple painting pyramids to hold them up. It wasn’t exactly perfect, but did the job reasonably well.
Each hanger required 2 coats of paint on each side. I waited about 1 hour between coats although you could likely paint the second coat much sooner. Once dry, your hangers are ready to be hung!
Closet Organization Tips with Hangers
- Double your closet space instantly by using soda can tabs to hook hangers together.
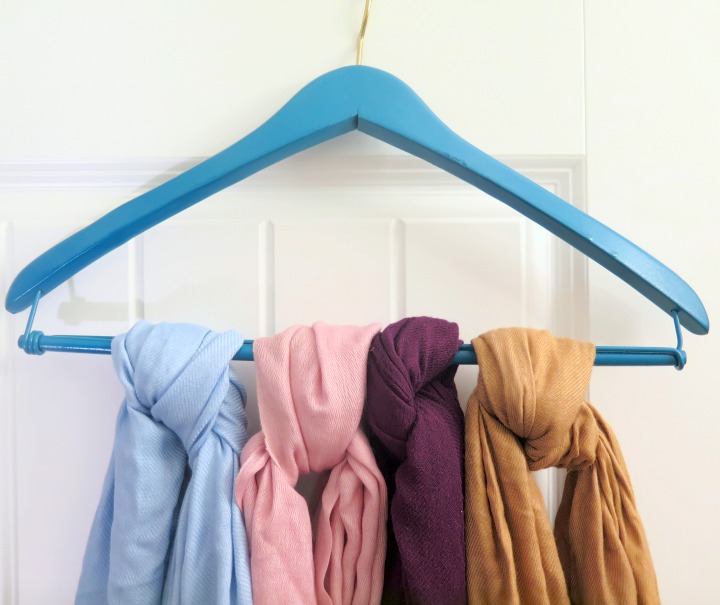
- Keep scarves or tights straight by tying them to a hanger.
- Organize your clothes by category first (dresses, long sleeve shirts, short sleeve shirts, pants, jeans) and then by color to get the best picture of what you own.
- Adding a second clothing rod in the closet can instantly double the capacity. Hang one rod higher and further back in the closet. Add the second lower and towards the front. This is a great option for small spaces and kids’ closets (since their clothes are short and slender).
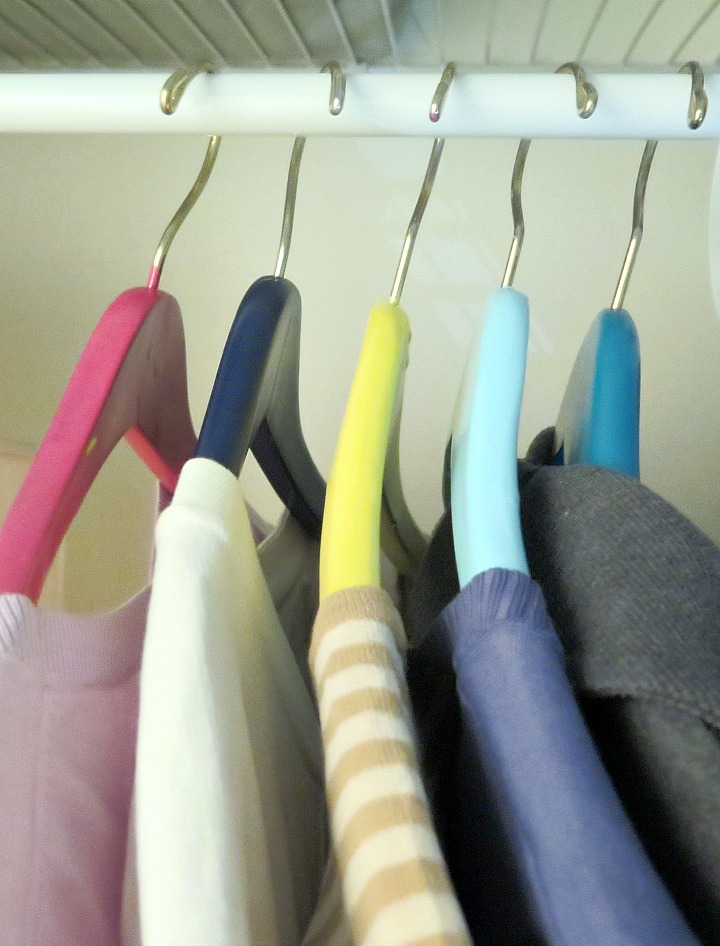
- Try using a different color hanger for each season so you can easily shift your wardrobe in and out each season (Green for summer, yellow for fall, blue for winter, etc).
- Another option for colored hangers is sort clothing by category and use colored hangers to label your groupings (Hang dresses in yellow hangers, jeans in blue hangers, sweaters with purple hangers, etc)
- Turn all the hangers in your closet backwards. Whenever you wear something, replace the hanger in the right direction. Then at the end of the year you’ll see all the clothes that you didn’t wear!
As a lover of affordable solutions of ANY kind, I’ve paired up with some extremely talented bloggers to bring you a monthly Thrift Store Upcycle Challenge. Each month we will create something amazing from an item(s) we’ve found at a thrift store, yard sale, resale shop etc.
The Rules
- Upcycle an item(s) from a thrift store, resale store, or garage sale into a new piece of decor.
- There’s no monthly theme.
- There’s no budget to stick to.
Meet the Bloggers
Amanda | Domestically Creative Michelle | Our Crafty Mom
Victoria | Dazzle While Frazzled Pili | Sweet Things Debra | Shoppe No. 5
Jeannee | Centsably Creative Michelle | Michelle James Designs
Molly | Just a Little Creativity Angela | Simply Beautiful by Angela
Marie | DIY Adulation Denise | My Thrifty House Lindsay | Crazy Organized
Florence | Vintage Southern Picks Shirley | Intelligent Domestications
Make sure you follow our board on Pinterest for more upcycled decor inspiration!
Take a look at all these bloggers’ amazing thrift store projects:





This is such a cool idea!
Love your fun, colorful painted hangers! I have plenty of those wooden hangers that could use a pop of color! Visiting from Thrift Store Challenge.
I’ve always wanted pretty hangers vs. the ugly plastic ones, but I am so cheap. I never thought to look for wooden ones at the thrift stores! Genius!
These are so fun! They would be great in a kid’s room. One color for school clothes and another for play clothes.
Super pretty and much better than they were before! I love that spraypaint tent too–I totally need one of those 🙂
What an excellent idea. I do some of your organizational tips such as putting all of the items by color. I really like the idea of how you painted the hangars so you can arrange by season. I do need to do the hangars backward idea. I know I have a ton of things that I outgrew or don’t like anymore.
Cute and practical, but they make such a different in color! I’ll be looking for wood hangers now, I’ve got to make some of these. I also use a spray tent, makes a world of difference (no more getting paint on the back porch, lol). Pinning!
Love your hangers, so colorful! They would make great gifts too. How do they hold the paint and use’
These are great tips and I love the painted hangers. They look so pretty. I don’t have many wood hangers but I may have to be on the lookout! They are awesome.