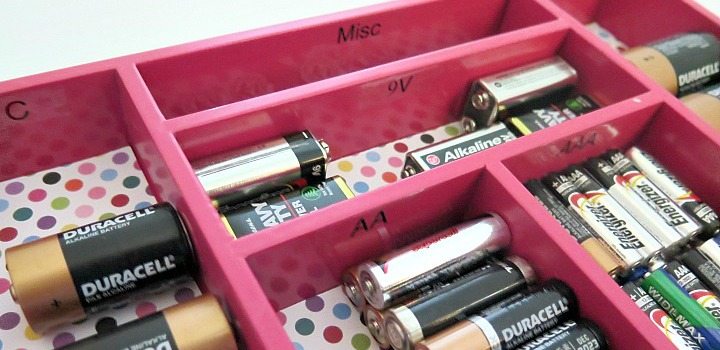

Each month I’m taking on a common organization challenge and tackling it with a thrift store item. I’m here to prove that organizing doesn’t always have to be expensive. All it takes is a little patience, DIYing and a great thrift store find! This month we’re tackling all those indivdiual batteries with a
||| Battery Storage |||
It’s gets better …. I’m not alone in this challenge! Pairing up with 19 other talented ladies, we’re bringing you our monthly Thrift Store Upcycle Challenge. Each month we will create something amazing from an item(s) we’ve found at a thrift store, yard sale, resale shop etc. There is no budget or specific theme so we are free to let our creativity run wild!

Amanda | The Kolb Corner Chelc| Inside the Fox Den
Erlene | My Pinterventures Kim | Made in a Day Sara | Twelve on Main
Debra | Shoppe No. 5 Shirley | Intelligent Domestications
Marie | DIY Adulation Lindsay | Crazy Organized Michelle | Our Crafty Mom
Julie | Live From Julie’s House Dru | Polka Dot Poplars
Maureen | Red Cottage Chronicles Pili | Sweet Things
Colleen | Life on Kaydeross Creek Ann | Duct Tape and Denim Sherry | Savvy Apron
You can also follow our board on Pinterest for more upcycled inspiration!
Supplies
- An old wooden (or metal) silverware holder
- Sand paper
- Glossy spray paint in your favorite color
- Scrapbooking paper
- Tape
- Label maker
- Sand paper
- Paper cutter or scissors
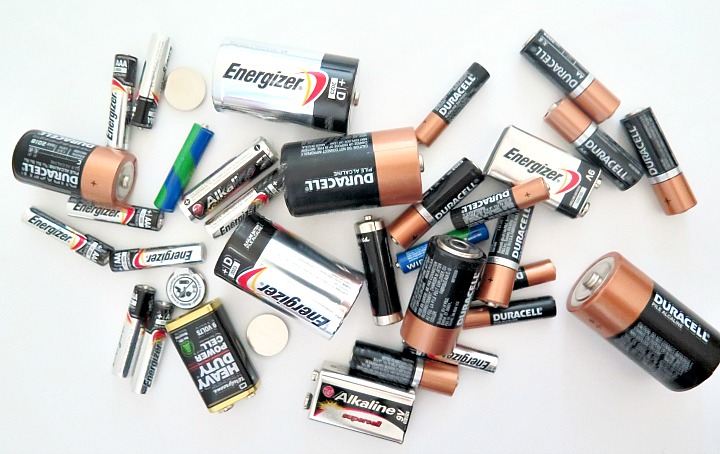
- Lots of batteries!
Instructions
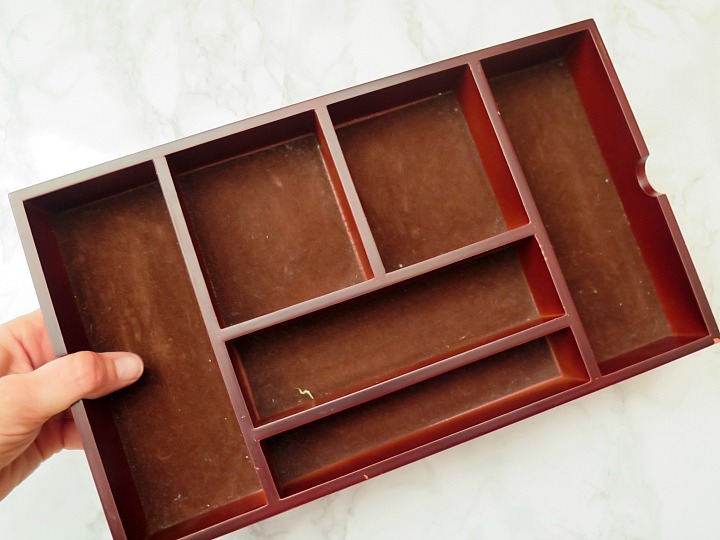
I was on the hunt for the perfect silverware holder at Goodwill last weekend and believe it or not THIS was it! Although it’s not quite a looker right now, it will be getting quite the makeover. This silverware holder was DISGUSTING! I mean completely gross. So the first step for me was to give it a really good scrub. Soap and water worked wonders.
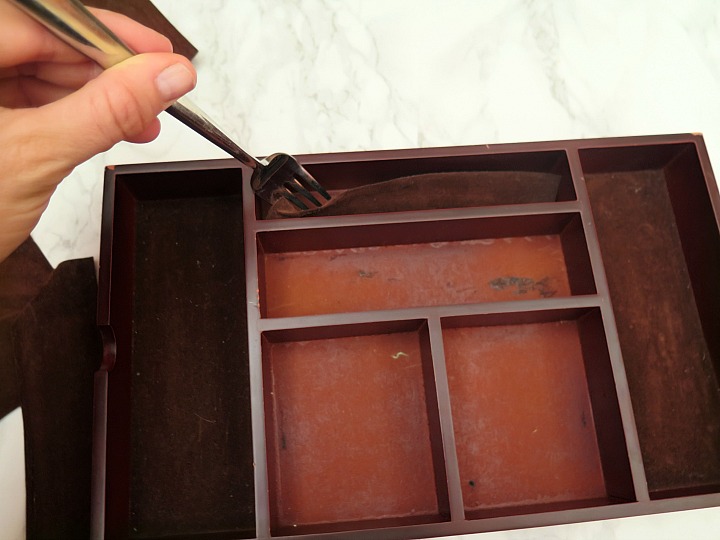
There were some pretty gross velvet coverings both in the inside of each tray AND on the back. Obviously that had to go. It just took a fork and a little tug for the mess to be GONE! I then did one more scrub with a damp rag just to get all the dirt out. And then I thoroughly washed my hands 🙂 .
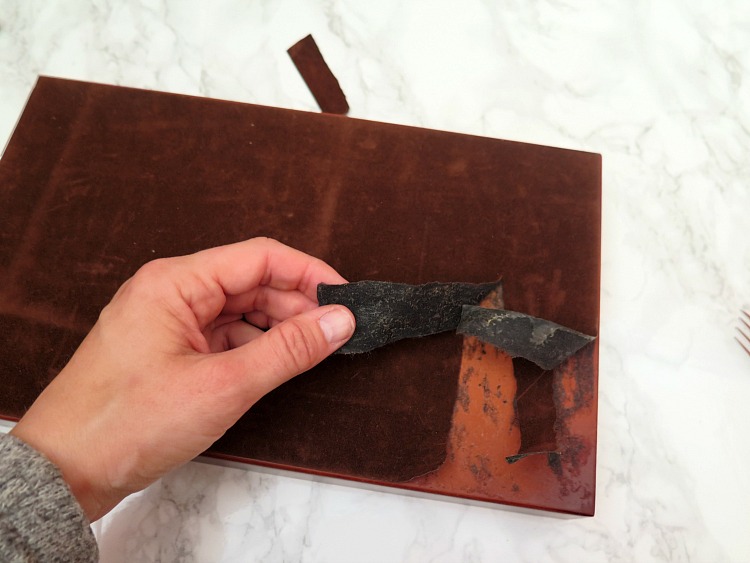
Once dry, I did a quick and light sanding all around. No need to go crazy with the sand paper. One quick sanding is enough to give the spray paint something to grip on to. After sanding make sure to wipe down the silverware holder to ensure all the dust is out BEFORE moving on to the spray paint.
Now I’m a HUGE fan of spray paint. It’s without a doubt my favorite DIY home decor supply. The transformation it can do on a less-than-stunning item is amazing. If you’ve never spray painted home items before, take a look at my top 10 tips to spray paint success before moving on. You’ll be a pro in no time!
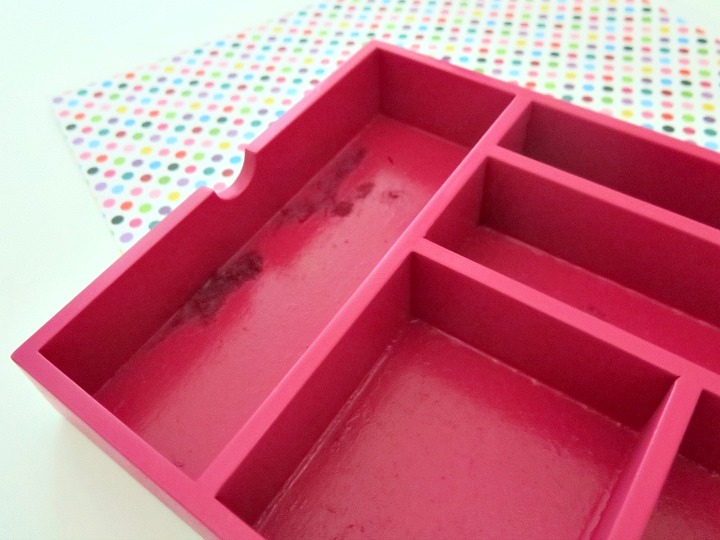
If you notice in the photo above, there’s some remnants of that ugly velvet lining. That small part just wouldn’t come off so I left it on. I didn’t panick because although you can still see it now even after we spray painted, once the scrapbook paper lining goes down it will disappear!
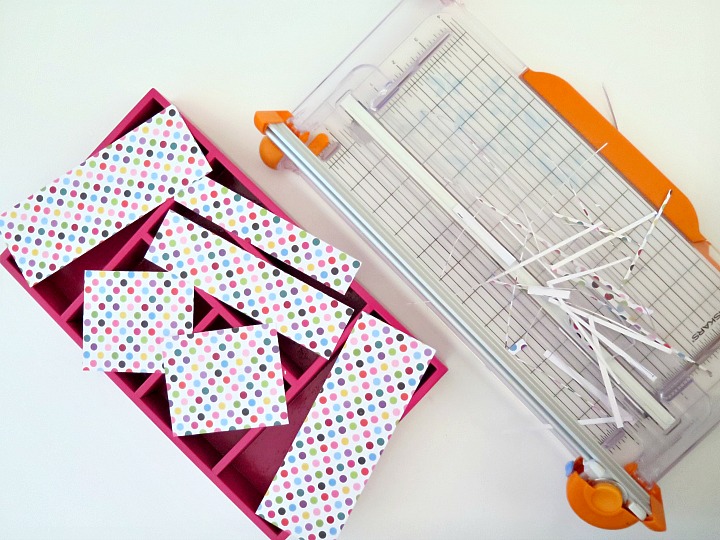
Using my colorful scrapbook paper, I cut out lining for each of the trays. There’s no magic formula that will make this easy (unfortunately!), but my paper cutter seriously came in handy. Through trial and error I slowly cut thin strips off my lining to get the absolute perfect fit.
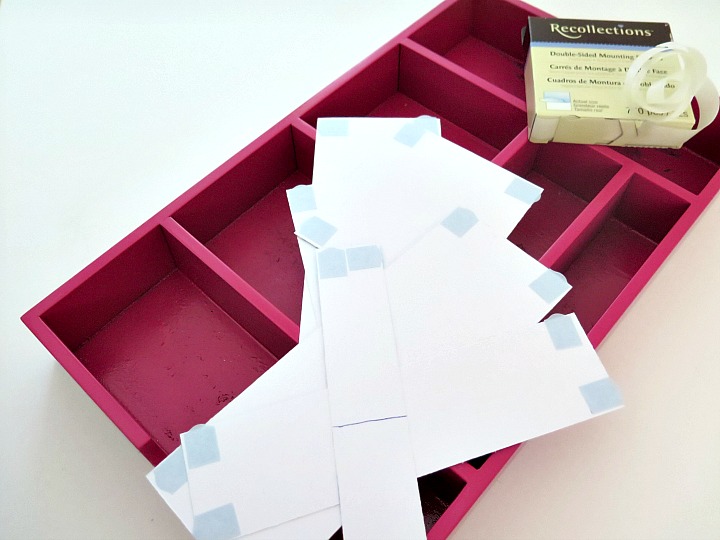
I attached scrapbooking tape to the corners of each paper liner. Regular tape will probably work great as well. I really just wanted to ensure the corners are taped down so that they don’t fray once inside the silverware holder.
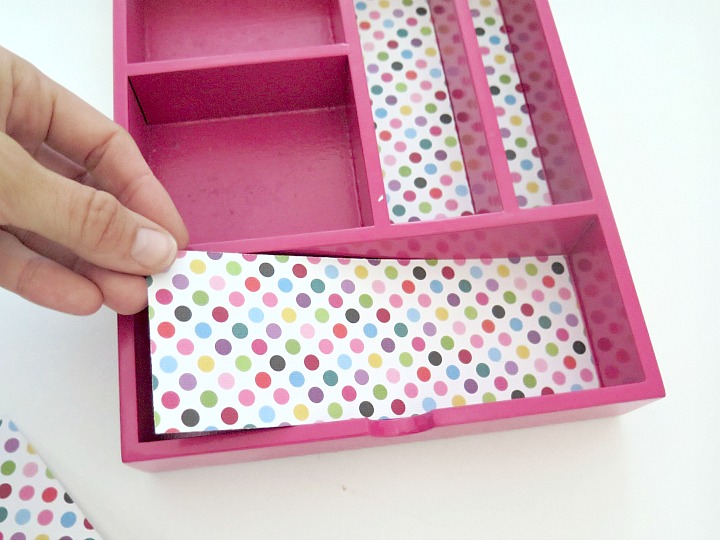
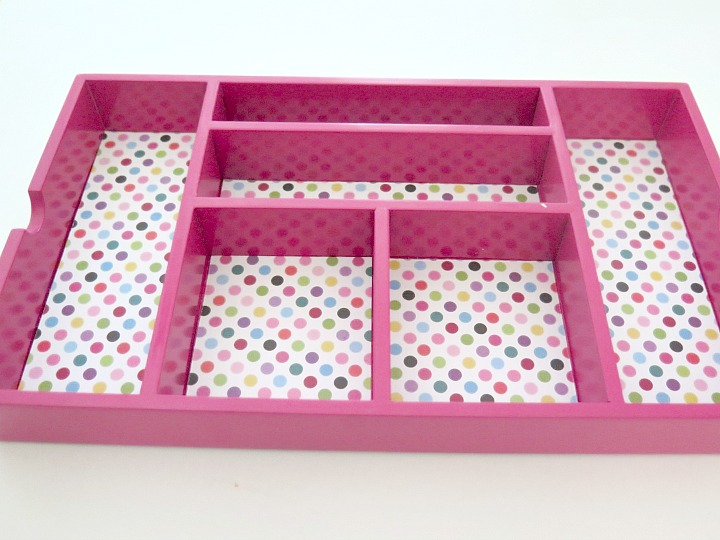
Now on to my favorite part …. labeling. I’ve never seen an item that couldn’t use a label. For this project, I whipped out my Epson portable label maker. Best. Organizing. Tool. EVER. For me it’s been totally worth the investment as it incorporates two of my favorite things: labels & my iphone. I can create the labels directly through an app on my iphone. GENIUS. Just last week I shared TWO organizing projects that both needed labels: 5 minute decorative binder clips & a portable medical binder.
Regardless of what label making tool you use, you’ll want a black ink with clear labels for each of your battery types. I created labels for my most common types of batteries AND a “Misc” for those one offs (aka – a watch battery).
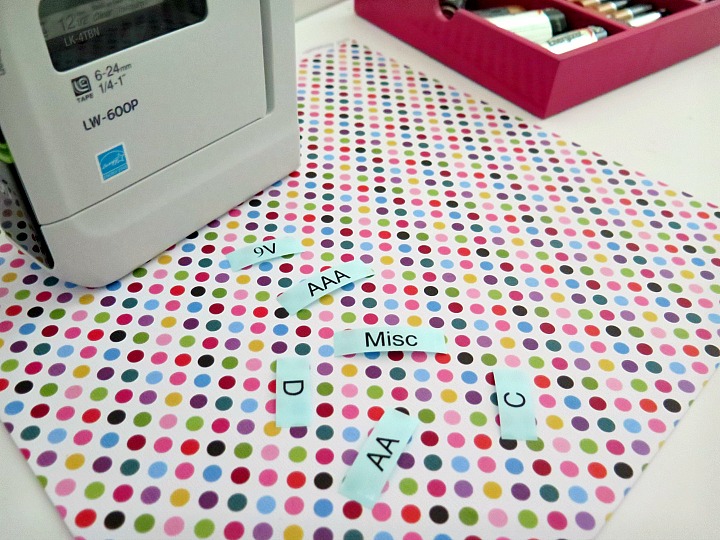
Make sure to place your label at the top of each tray so when you fill the tray full of batteries your label is still visible.
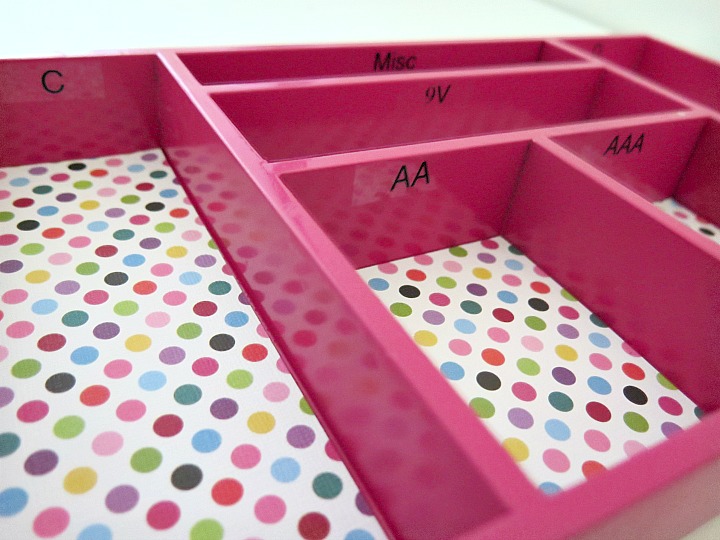
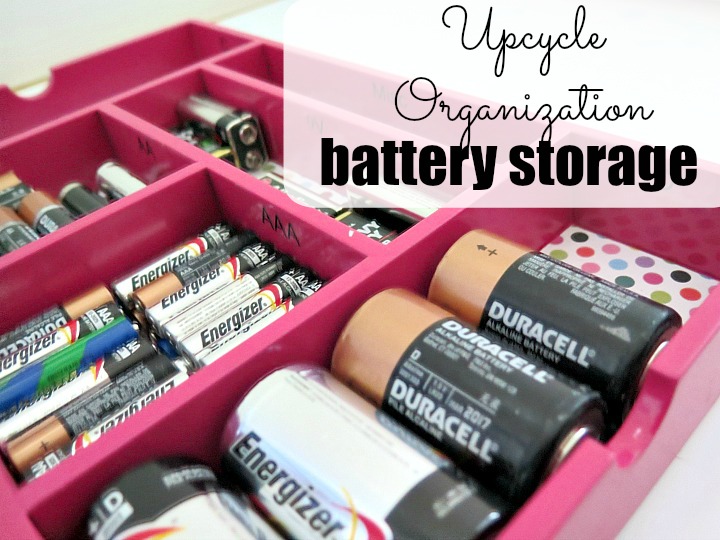
Now all your have to do is fill up the trays with all your batteries!
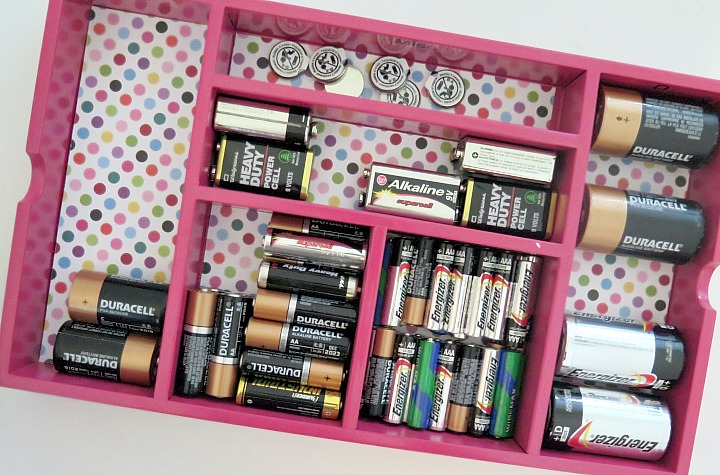
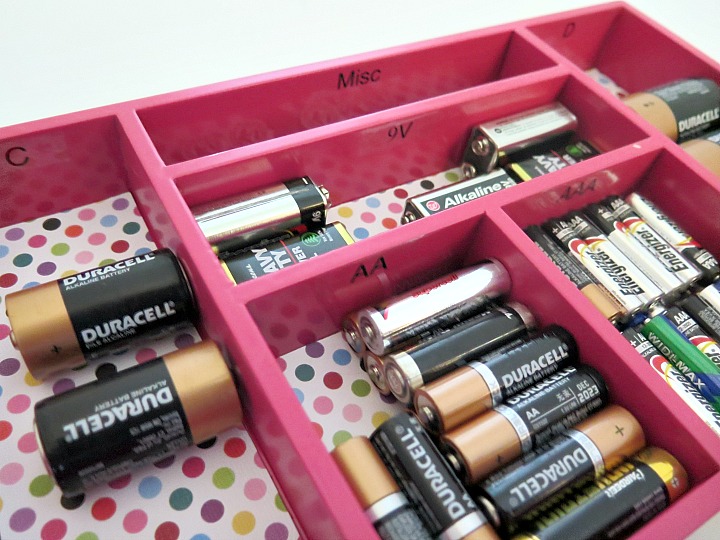
May you NEVER have to search for a battery again!


Be sure to check out all of the other creative upcycle projects my fellow bloggers have come up with!





This upcycle is so clever. My family would love if I made this for our home so that they would not have to dig through the battery box. You made it pretty too!
What a clever idea! I love this, it came out so cute.
Love this idea for battery organization! I always throw them in my “junk drawer” & end up losing them so this would be awesome!
This turned out great–the bright colors are perfect!
What a fantastic idea! I have batteries rolling around in drawers all over the house! Love the glossy pink finish 🙂
thanks so much 🙂
Great idea! I’m adding this to my organizing to-do list!
Such a good idea to have batteries organized and in one spot. I do the same and it makes it so much easier when you need batteries.
What a fabulous idea for battery organization. Ours are all piled into one bin which we have to dig through. Now I know what we’ll be doing instead! I like your colors and especially the polka dots.
Thanks so much!!
This is perfect. So much better than throwing the batteries in a drawer or having them scattered all over. And how stylish the new battery holder looks.
Awww thanks dear!
Love your idea so much!! I have a box full of batteries but it’s more difficult to find what I am looking for. With your tray you have anything at sight, genius! Love the color and the paper you chose too.
Aww thanks so much!!
What a great idea! I always see these trays at thrift stores and will be picking some up next time for this project!
Thanks so much 🙂
This is SO smart! We have batteries in random drawers, and I never know what we have on hand. I will definitely be making a battery drawer like this!