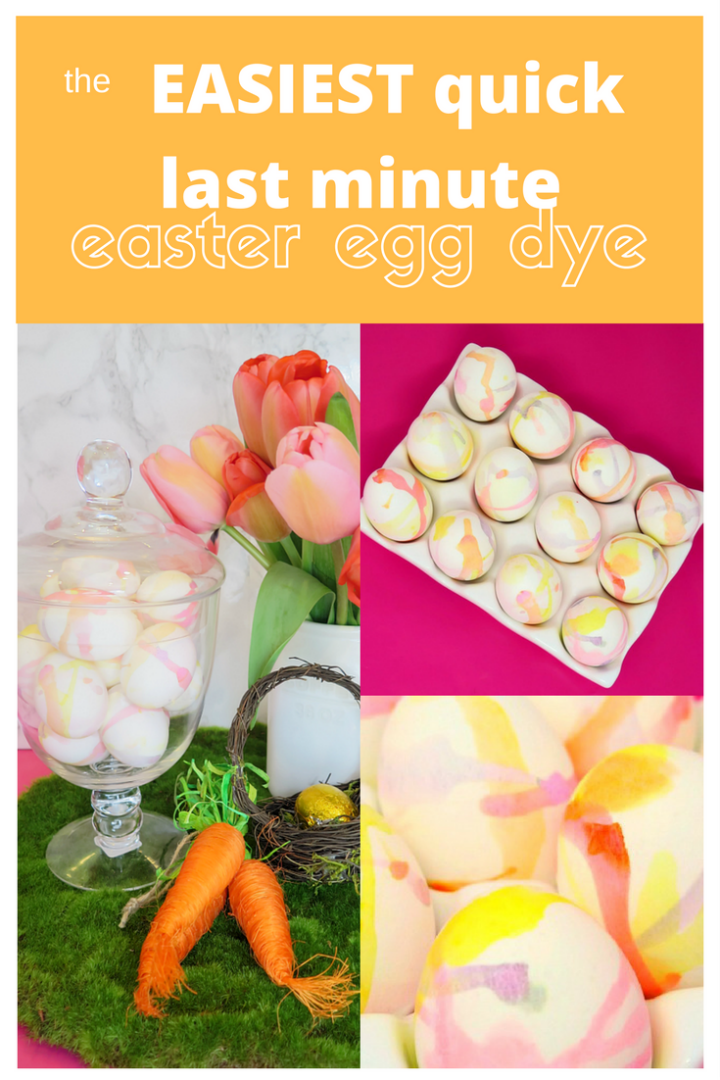
There’s so many creative & impressive decorated Easter egg tutorials on the web these days. Some just absolutely blow my mind. With my DIY decorations, I’m more of an easier the better type of gal. I’ve had enough Pinterest Fails to write a book (or at least a really funny blog post), so today I’m sharing my tried and true way to color Easter eggs that always turn out the way they’re supposed to.
Supplies
- Hard boiled eggs
- Food coloring
- Several cups / glasses
- Tray or dish
- Egg carton
Instructions
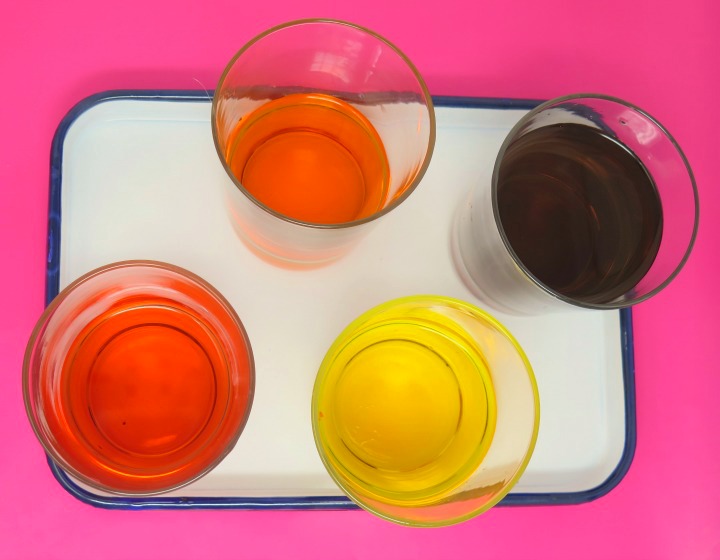
To make the dye, I mixed 4-5 drops of food coloring with about 1 inch of water into a glass cup. Using this ratio will make the dye look pretty dark (especially purple), but it colors the eggs perfectly. If you want the colors to be even more bold when dried on the eggs, either add a couple additional drops of food coloring or a little less water.
Make sure the hard-boiled eggs are dry and at room temperature before coloring! (otherwise the food coloring may bleed)
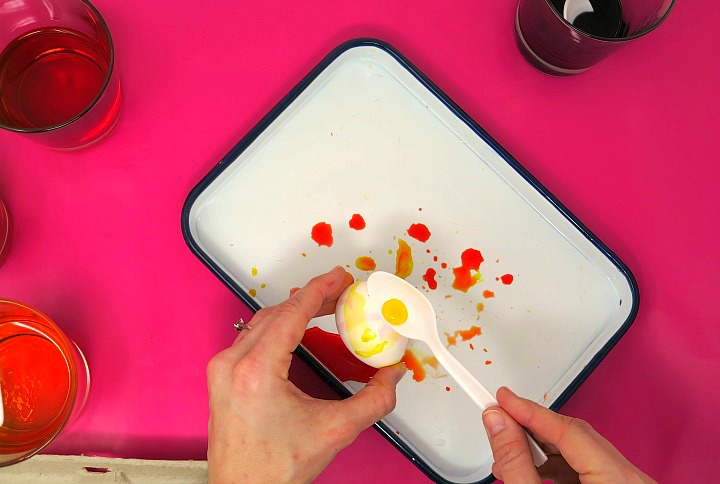
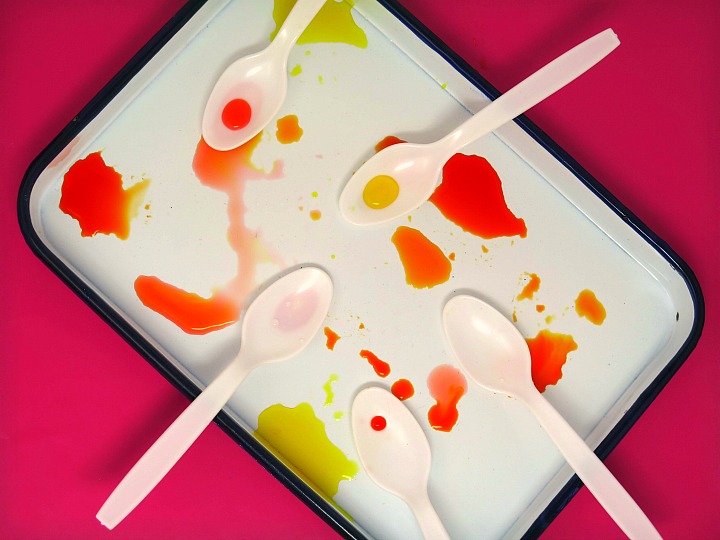
Holding an egg above the tray, I drizzled a spoonful of food coloring on top. The dye naturally rolls down around the egg. To give it a little nudge, I slowly turned the egg sideways and upside down to spread the dye around. There’s no specific pattern or science to this, which is my favorite part! Each egg will look similar but unique.
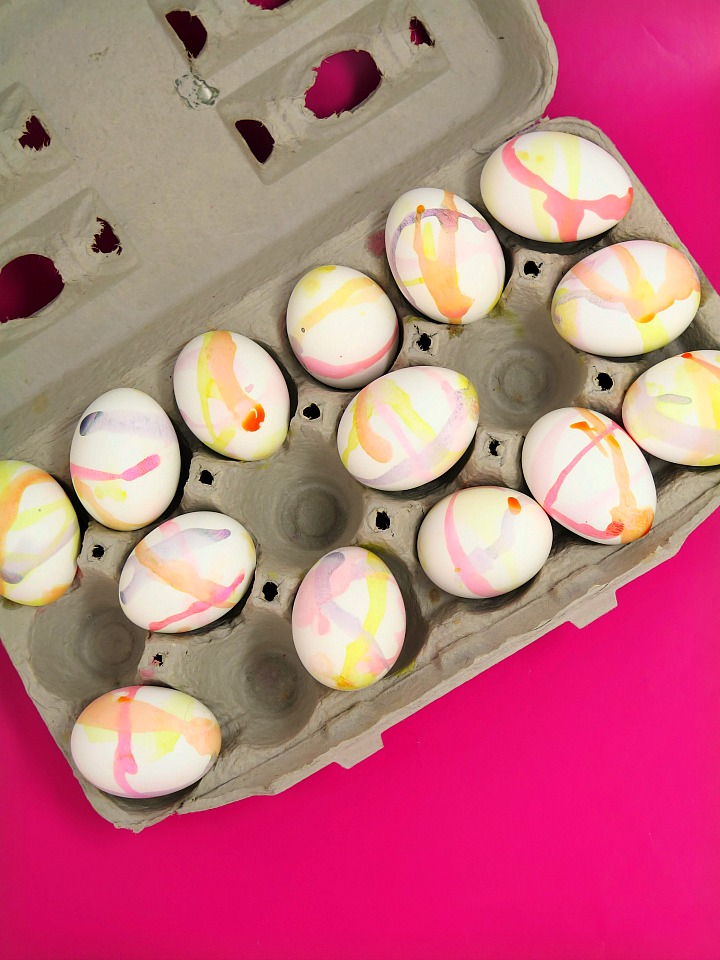
I let each color dry on the egg before I applied a new color to it to prevent the colors from mixing. Placing the eggs right back in to the carton to dry seems to be the easiest. The drying time only takes about 5 minutes, just long enough for me to finish the rest of the eggs.
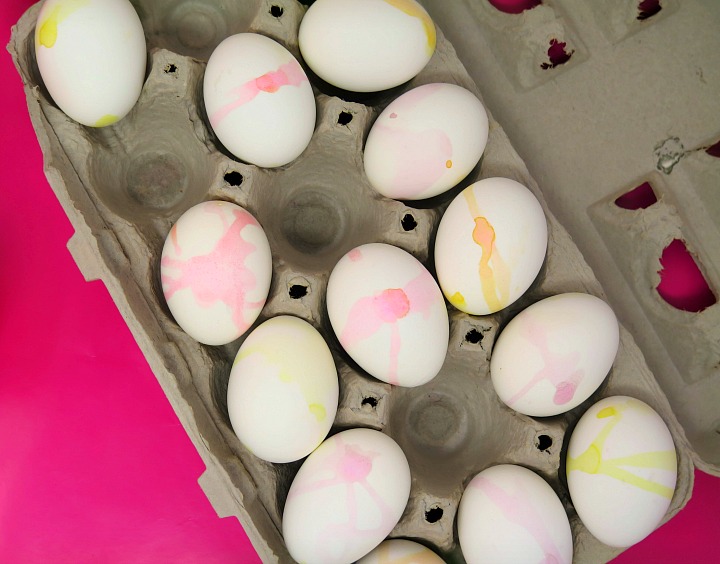
I then applied more colors to each of the eggs, repeating the process above. Remember … don’t rush! Let the eggs dry in between colors, otherwise the colors may mix resulting in brown egg dye! Once you’re finished coloring, let the eggs dry one final time, and pop them in to the fridge until you’re ready to display (and eat)!
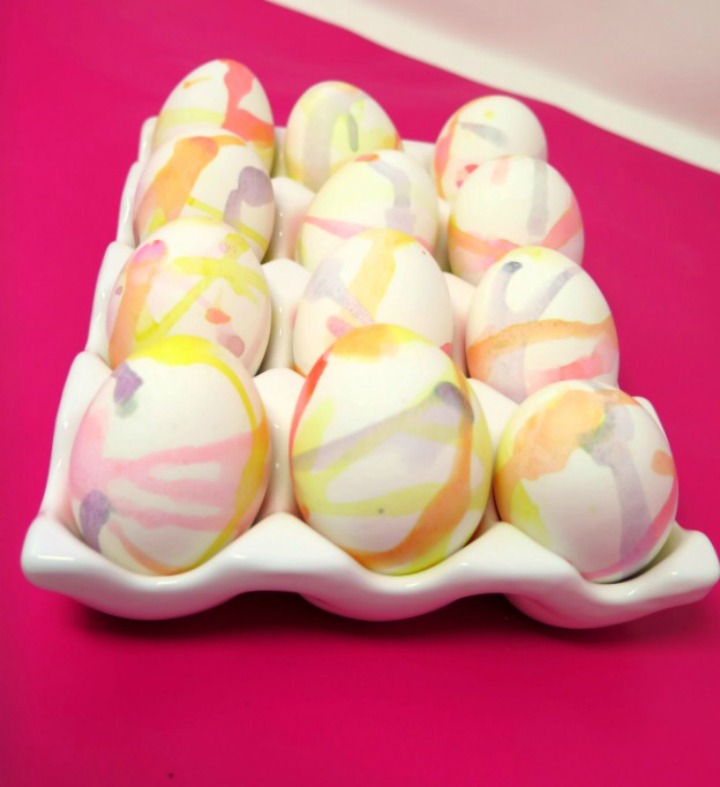
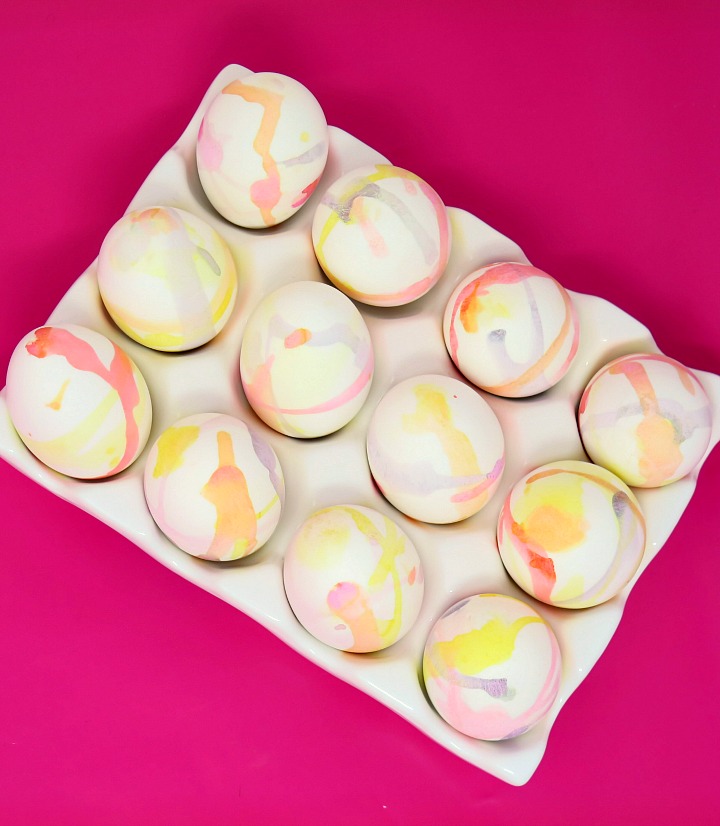
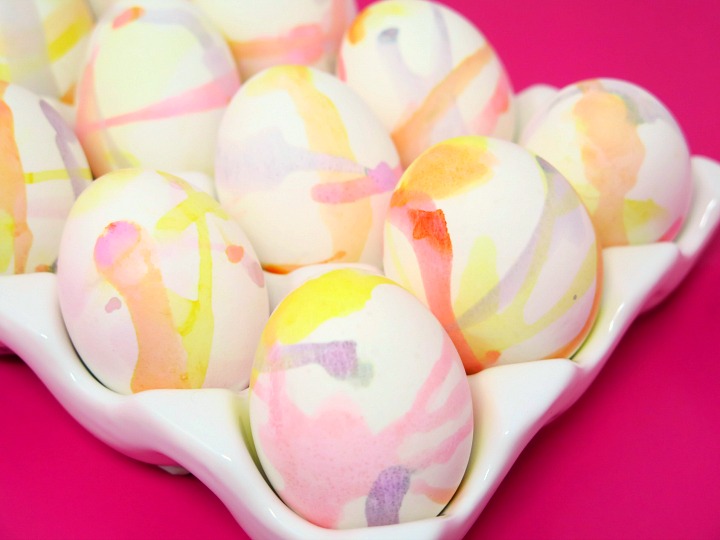
Quick, easy and turns out exactly like the photos!


Leave a Reply