This post, Organizing our Paper Piles, was sponsored by Fellowes as part of an Influencer Activation for Influence Central and all opinions expressed in my post are my own.
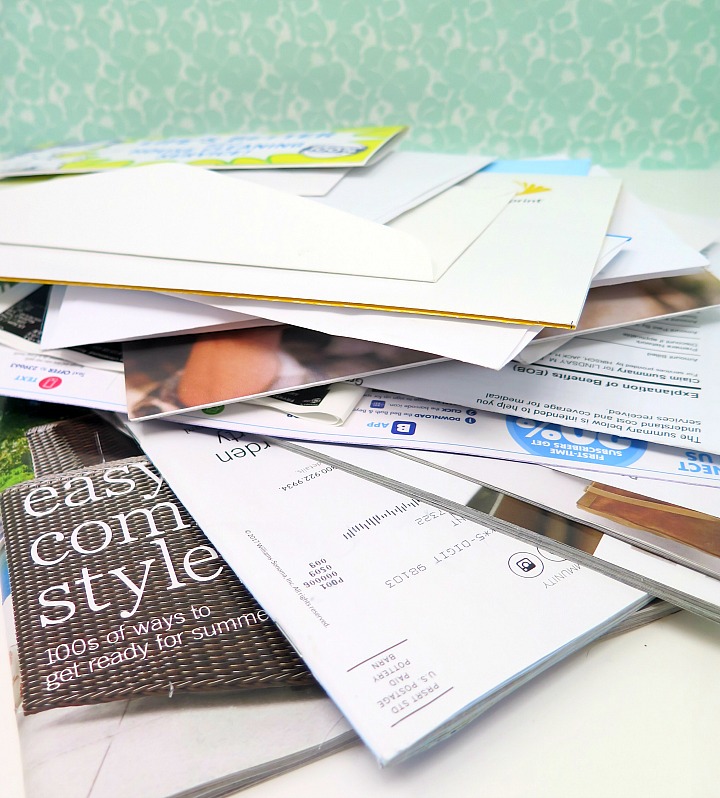
With spring cleaning tips spreading across the web this time of year, I like to change it up and showcase an organizing process that I’ve been using for the a while now. I’ve toyed with a couple different ways of organizing our paper piles over the years and stuck with our current system for some time now. Bills, magazines, and mail can pile up quickly. While I sort my mail each day over the recycling bin, I still wanted a dedicated process to take action and file our paper piles regularly. For me, regularly became once a month aligning with paying bills. I set a calendar invite for one hour on the 31st of each month. Routine is everything!
1 categories
To create my system, the first task is to pull out all the paper piles, sort through and divide in to categories. Now your categories will likely be different than mine and may change over time. I love a good organizing process that has flexibility!
My categories
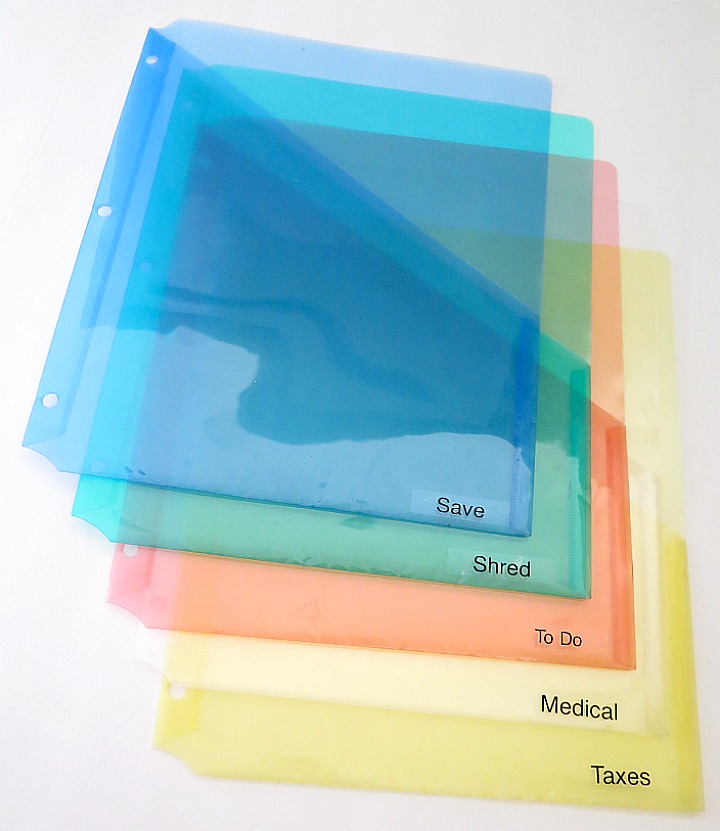
- Save – These are documents that I want to hold on to and typically need to be filed away. I have a great system for filing important documents that I’ve been using for a while now.
- Shred – This is for those important documents that I no longer need, but didn’t want to put in the trash. Think bank and credit card statements, old medical documents, and anything else with personal information on it. I shred ALL documents containing sensitive information with our Fellowes 12Cs Shredder. It shreds up to 12 sheets of paper at once and has SafeSense® technology that makes it a great choice for at-home use around children and pets.
- To Do – For documents that I need to take action on, whether now or later. This includes credit card bills, responding to invitations, etc.
- Medical – During my pregnancy I’ve been getting LOTS of medical documents in the mail. (At the time of this post the baby could come any day!) I’ve been holding on to all pregnancy related medical bills and paperwork in one specific spot.
- Taxes – For most, taxes are a once a year project. Working for myself as a blogger I file my taxes quarterly, meaning I’m lucky enough to get to think and deal with taxes 4 times a year {extreme sarcasm inserted}!
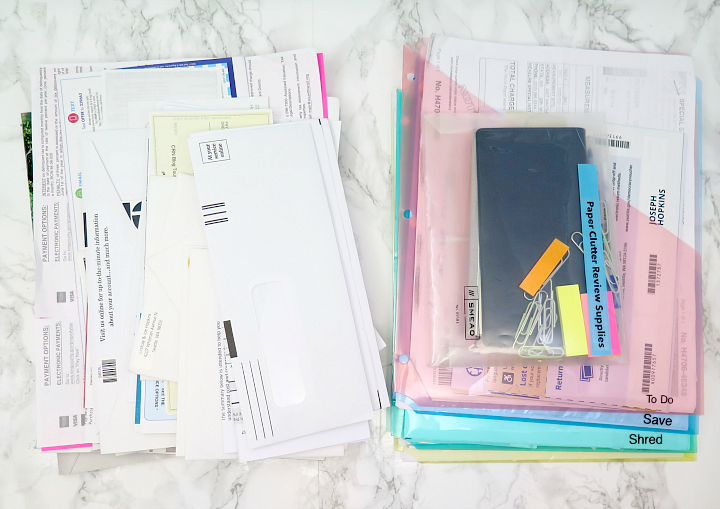
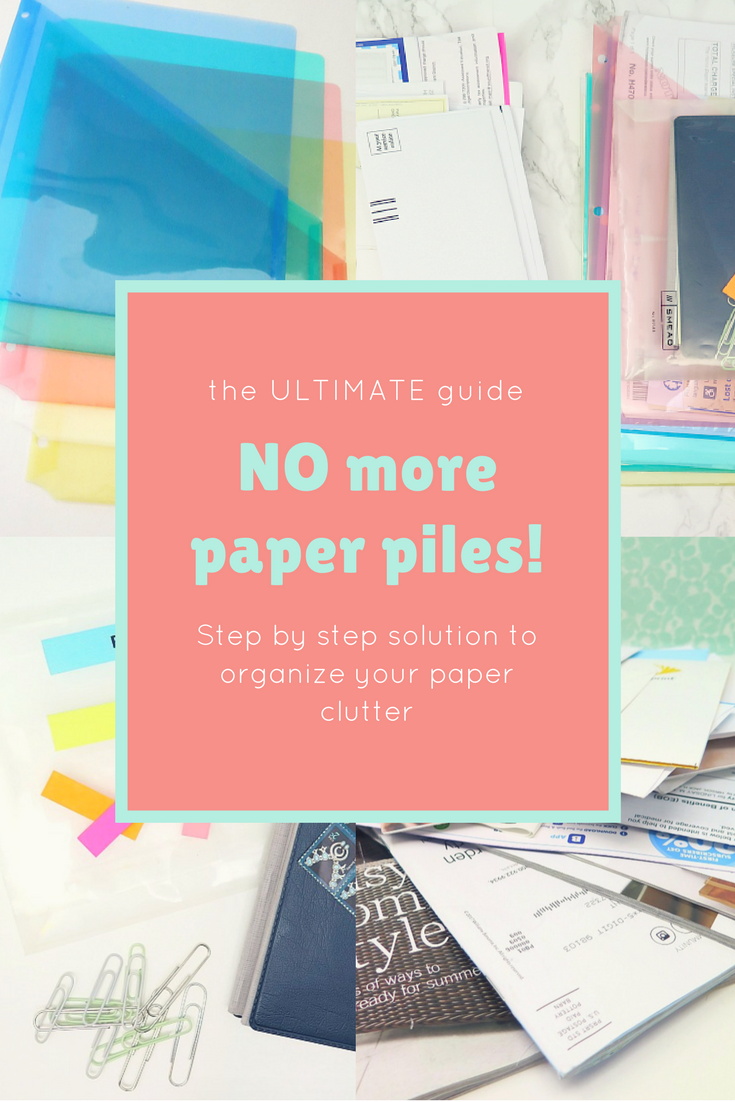
I use these colorful thin plastic folders and added a label to the bottom right corner of each. These folders will be the main part of my paper pile review sessions each month.
2 storage
Last year I created an entry way wall command center for mail, keys and all those miscellaneous items that appear on our kitchen counter. No paper makes it past the command center unless it’s going in to the recycling bin or needs to be handled ASAP. This has pretty much eliminated those random pieces of paper that would sneak on to our kitchen counters and tables!
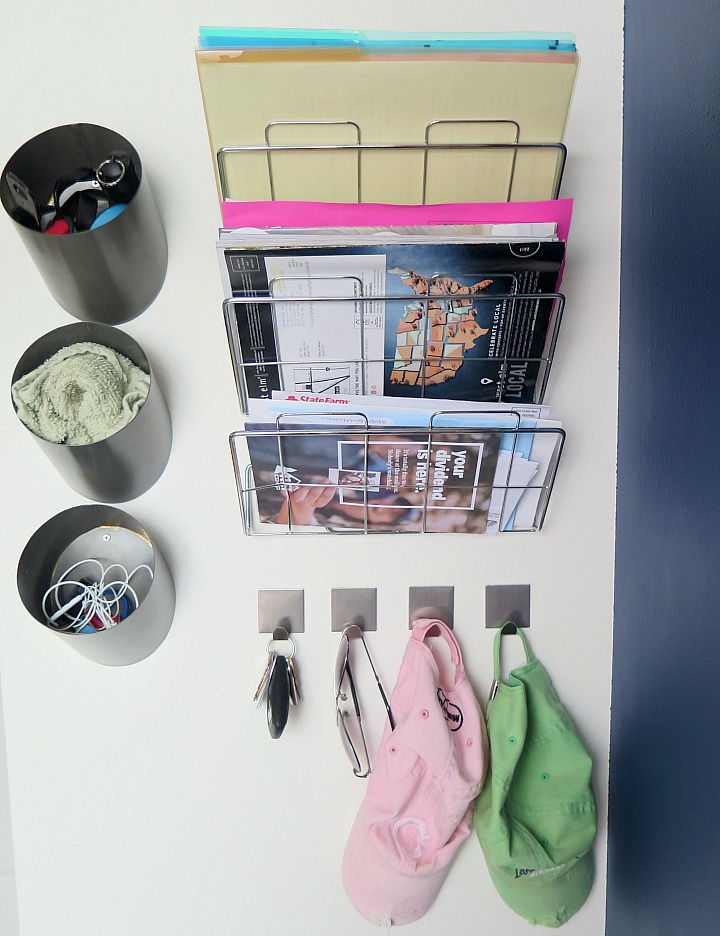
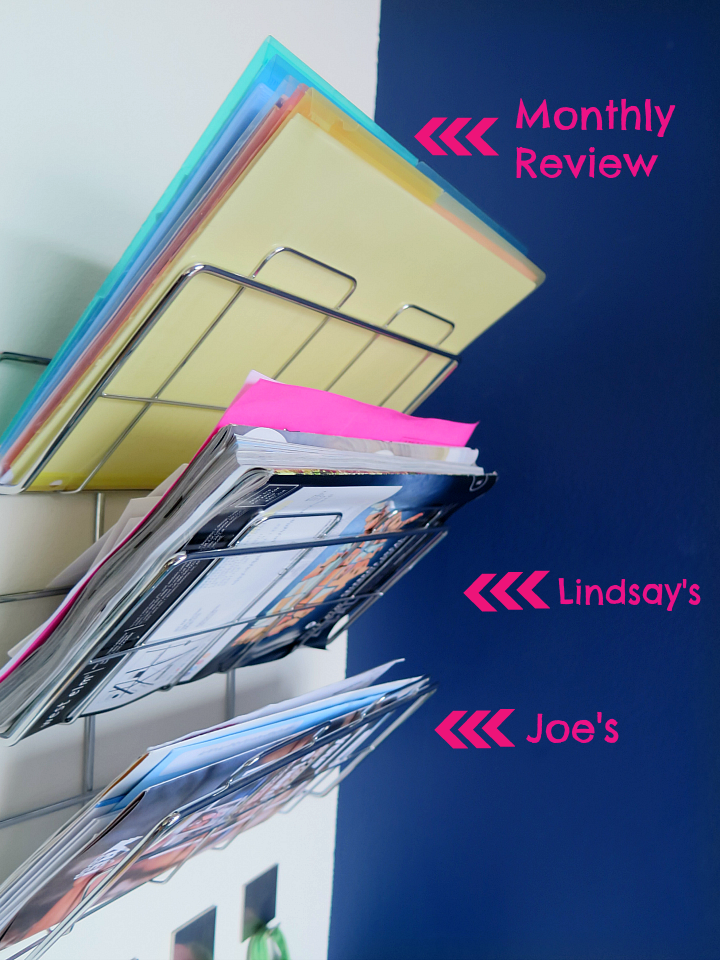
Since the command center is where our mail and paper piles ended up, I used the top shelf of the magazine holder to store the paper pile folders I created.
- top shelf – monthly review folders
- middle shelf – my mail and misc papers
- bottom shelf – Joe’s mail and misc papers
My favorite aspect is that everything is easy to grab and all in one location.
3 supplies
In addition to the folders and mail, there’s a couple additional supplies that I use during my monthly paper organizing sessions. Instead of searching my house to grab those items, I keep them all together in a clear pouch: checkbook, stamps, pens, paper clips and post-its.
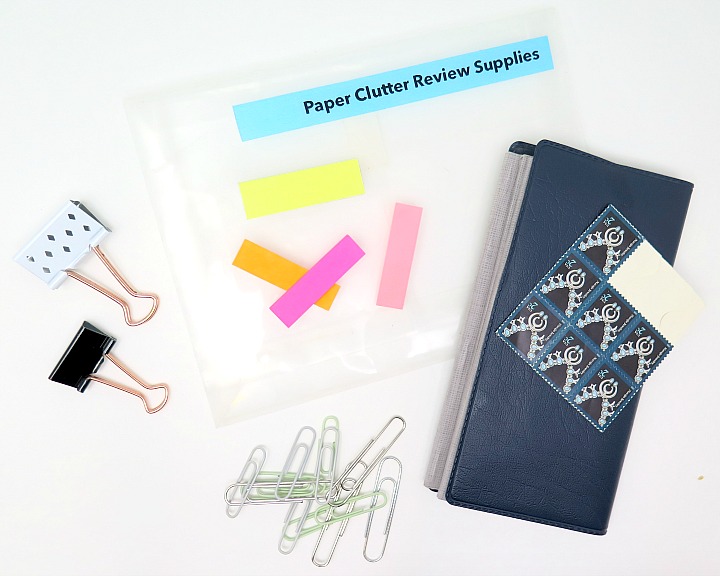
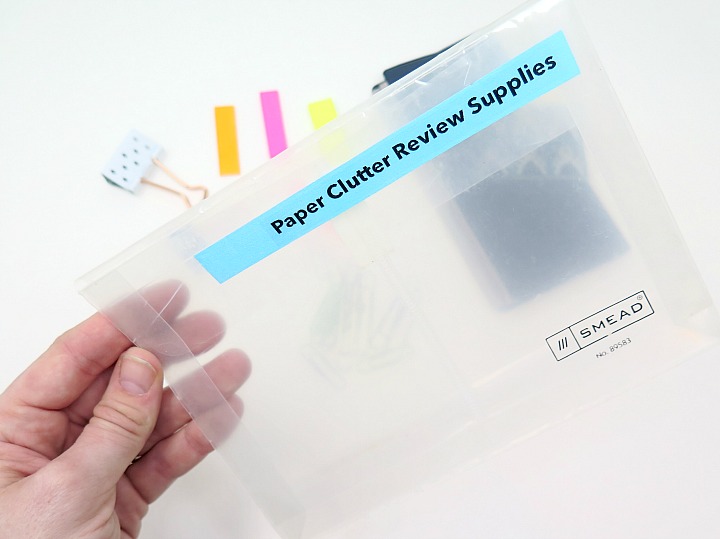
Never without the desire to label, I added a small label onto the pouch. My quick go-to process is placing a printed label on top of washi tape. It adds a pop of color while also not being permanent (gives great flexibility if I decide to make a change).
4 organize
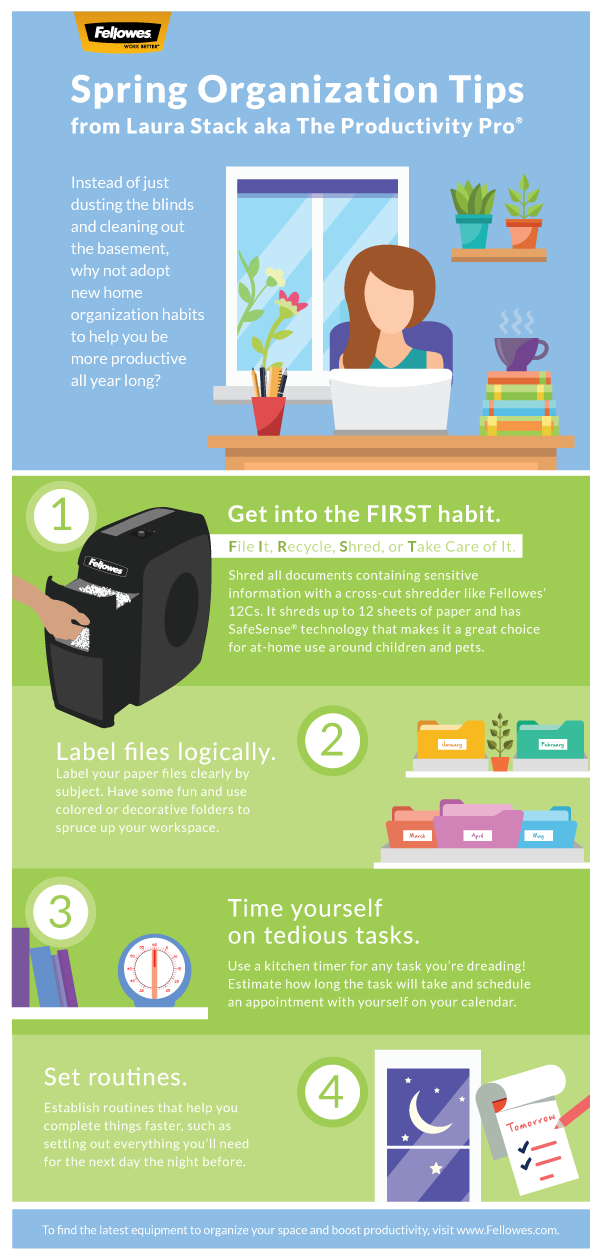
During my monthly session, I grab my mail, folders and pouch. I utilize Laura Stack’s, aka The Productivity Pro, FIRST method to sort all my paper piles into the folders.
File it
Recycle
Shred
Take Care of it
Once all my paper piles are sorted in to the appropriate folders, I go through the folders one at a time to determine the course of action for each document inside. For example, in my To-Do folder, I will pay any bills that are due. Any papers placed in my shred folder will be shredded (see more below!). Medical bills will be reviewed, paid and sorted by date.
5 shred
Every month or so, I grab my shred folder to dispose of the documents inside.
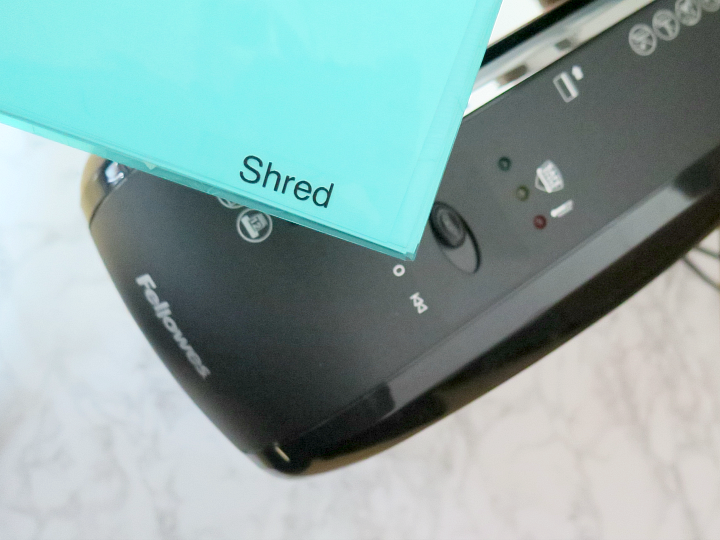
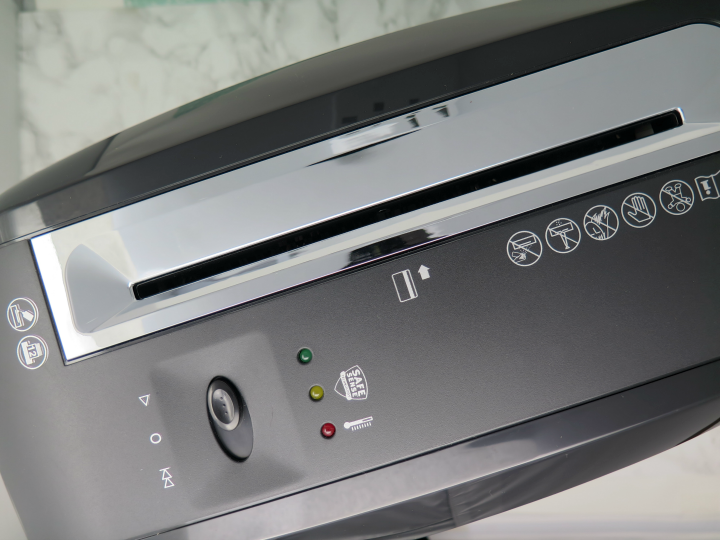
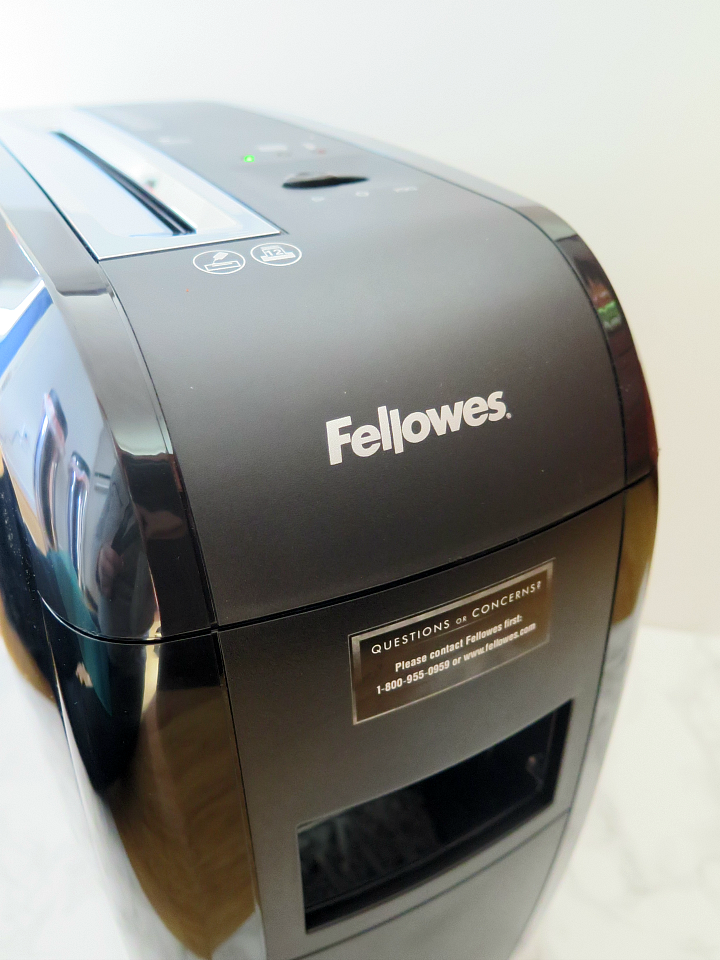
Having a high-quality shredder is key! I use and love our Fellowes 12Cs Shredder found at Walmart:
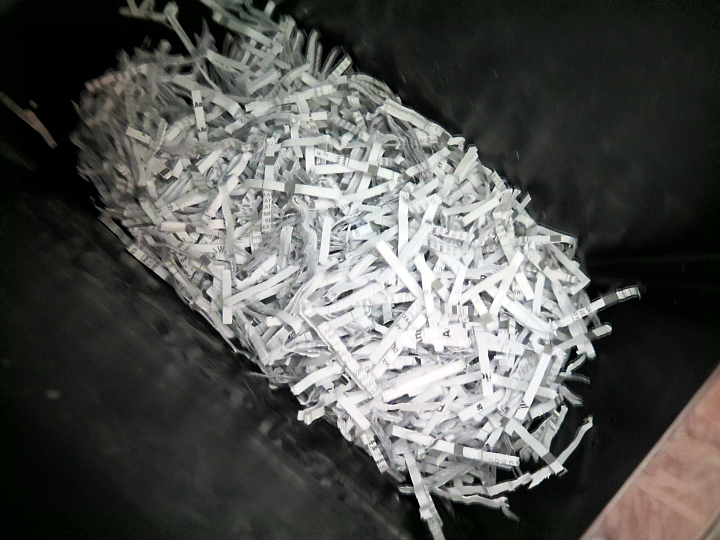
- It’s a cross-cut shredder, which really is the best choice for preventing identity theft and fraud. For most of us, these are the reason to shred papers in the first place!
- It has SafeSense® technology to keep children, pets and distracted organizers safe 🙂 .
- It can shred up to 12 sheets of paper at one time without jamming. Thank goodness!
Got the urge to organize now? Our friends at Fellowes share some great spring organization tips!






So beautiful and organised, your system is just amazing! I love the labelling as well <3