While I want to be an ‘all digital’ gal, I’m about 50/50 on utilizing paper vs electronic documents. There’s just some things that seem to be a little easier to store in a hard copy paper format. One of those things is all the warranties and manuals we have from our bigger household items. Fortunately, I rarely need these. But when I do, it can be challenging AND frustrating to find if not organized correctly.
The warranty & manual binder was born!
The first thing I did was pull out all our manuals, receipts and warranties that I found throughout our home. Next I had to decide what paperwork to keep. While I could store every manual I’ve ever received, here’s my litmus test:
If the item stopped working, would I go through the effort to return it, try to fix it or ask for a replacement?
Some household are affordable enough that I would likely just purchase a new one and others I only expect to last a short amount of time. Items such as toaster and coffee makers are examples of product manuals that I don’t keep.
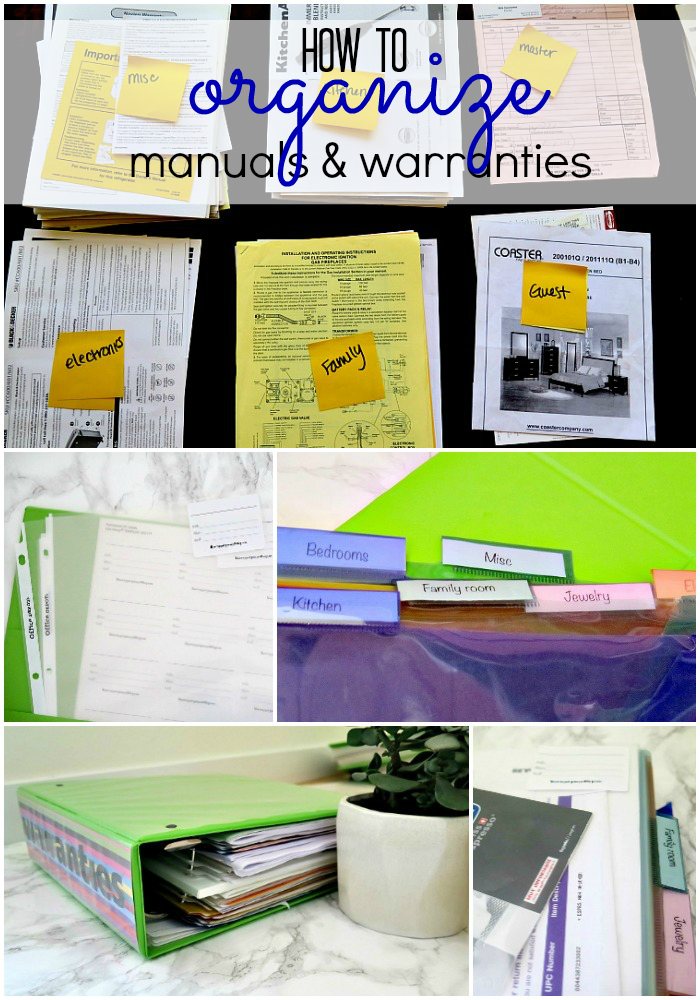
After reviewing the household paperwork that we have, I sorted in the following categories:
- Kitchen
- Master bedroom
- Guest room
- Family room
- Electronics
- Jewelry
- Misc (I seem to always have a Misc category!)
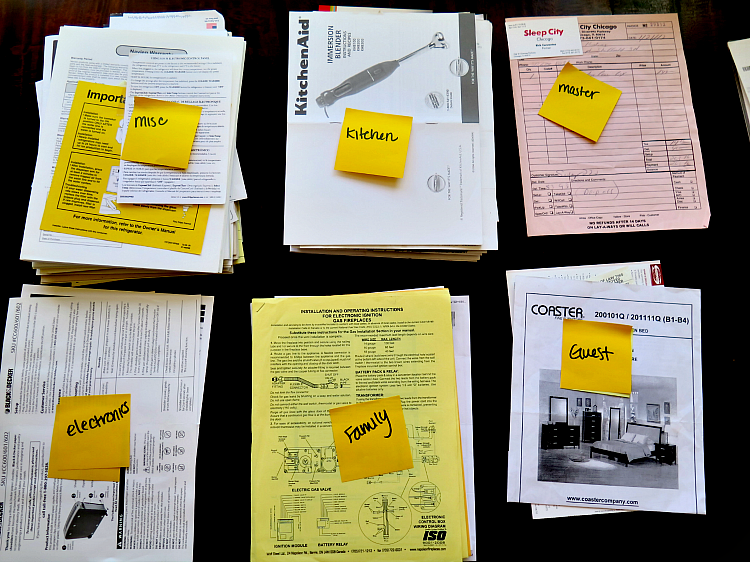
Then for each household item, I hold on to:
- Manual
- Receipt
- Warranty
** for some items, I was missing one of more of these. That’s OK, I just collected what I had.
I make a copy of each of the receipts I have (because the originals seem to always fade over time),
Once I had my categories determined & paperwork organized, here’s the supplies I used to compile the binders:
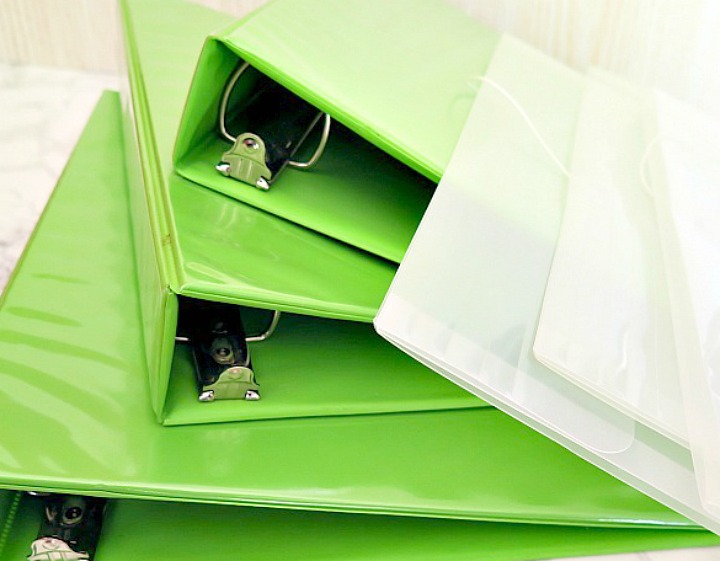
- Since I have LOTS of manuals, I selected a 3 inch 3 ring binder to store these in. (the bigger the better!)
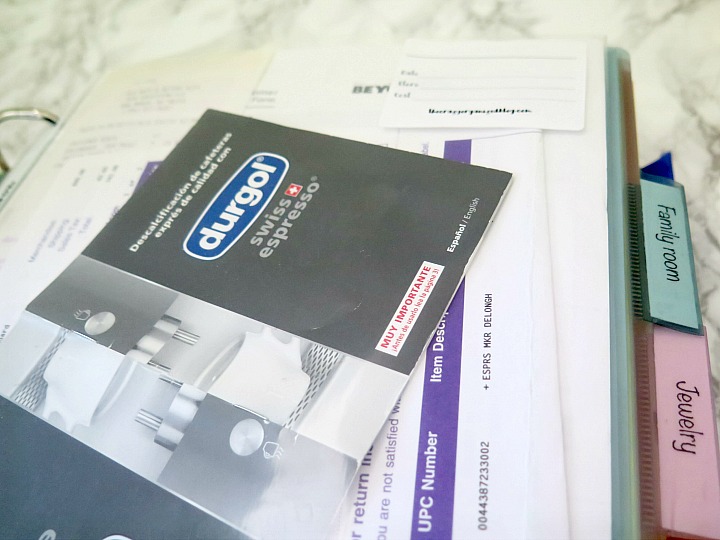
- Dividers (I prefer the ones with pockets)
- Clear sheet protectors with 3 hole punch
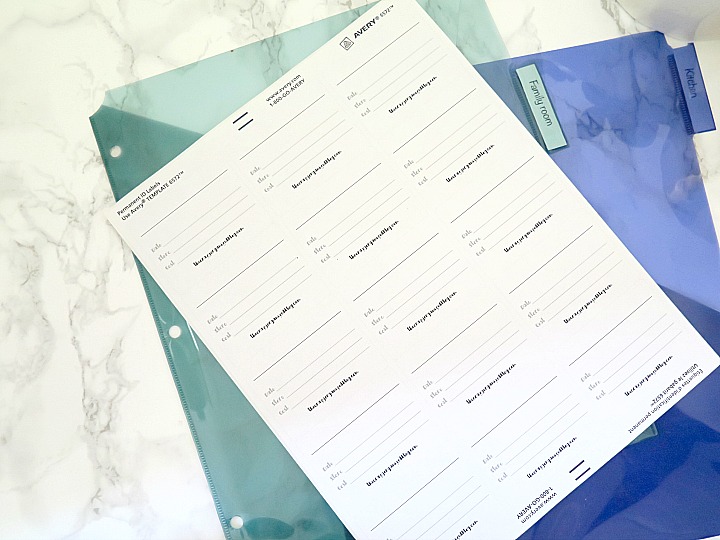
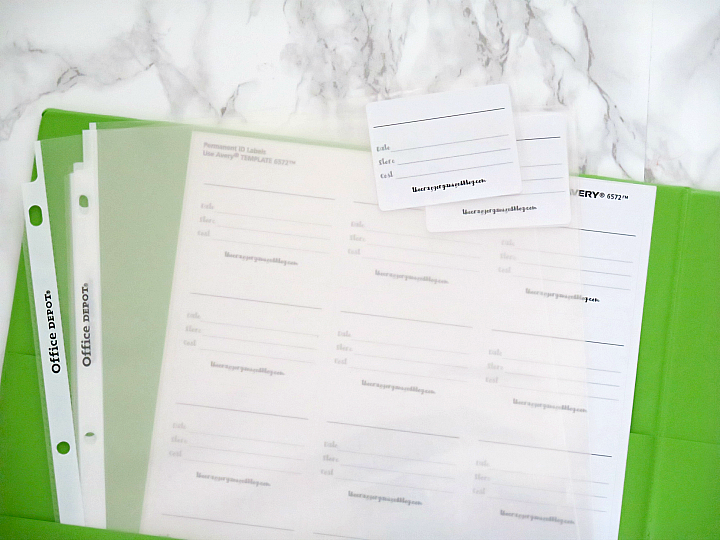
- This downloadable label template
- 8 1/2 x 11 stickered paper for the downloadable labels
I used my trusty label maker to label each divider with my categories.
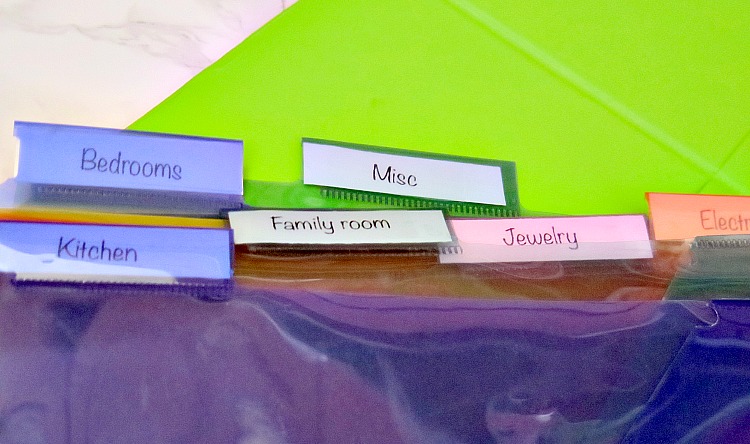
I pull out a clear sheet protector for each item and stick the label on the top right corner. Filling out the details:
- The product (including make and model)
- Date purchased
- Store
- Cost
Once I compiled everything in to the binder, it was pretty full to capacity. So every time we get rid of a product listed in the binder, we get rid of the paperwork. I also take a couple minutes once or twice a year to flip through to make sure the binder is up to date.
Added bonus is that compiling these all in one place actually ended up taking less space than spread out throughout our house. And I’m all about saving room!
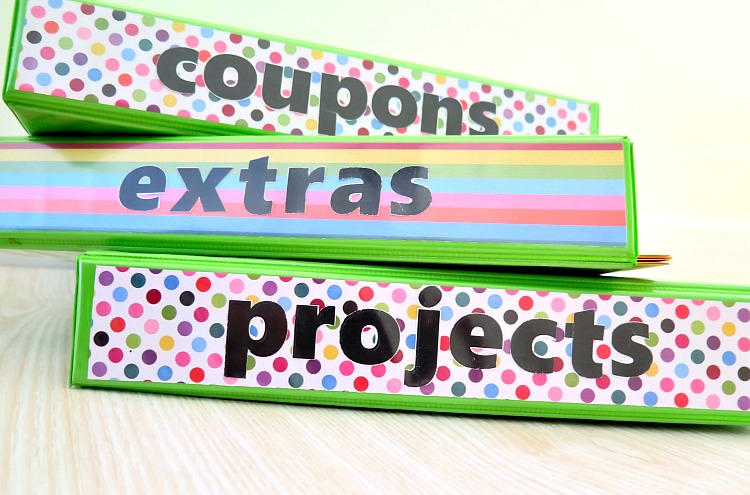
Now if you want to get extra fancy with labeling your, here’s my step by step to a snazzy binder cover!





Oh my gosh! That’s brilliant! I just moved into my own place after living the life of a nanny for several years. I already have most of these supplies to put this together! Thank you! 🙂
Aww thanks so much! Good luck!
I use a very similar system. I don’t have many things to keep, so I just bought a big and really cute binder from Kikki K.
It comes with customisable dividers and tabs.
Great post!
I use a very similar system. I don’t have many things to keep, so I just bought a big and really cute binder from Kikki K.
It comes with customisable dividers and tabs.
Great post!!
I love this! I have some in a small binder and the rest… who know’s where? I need to purchase the 3″ binder and organize it like you did. It looks so neat and handy!
I love your bright binders! Right now I have a file drawer of scrappy folders and hard to find manuals. Time to make a binder.
One thing I have done is go paperless as much as possible. Using Evernote I found PDF copies (of manuals) for many of our items and saved them in a shared digital “notebook” with my husband. The advantage is less paper of course, by with a paid EV acct you can search inside PDF’s. This cut back on the paper crush by 75%. Now I will need a small binder to hold the ones that don’t have a digital option. Just a little tip for Evernote users.