 Every couple of months I decide to go completely ‘paperless’. I spend hours uploading all my documents to the latest and greatest in online technology. Luckily some of my systems have worked well for me. Yet no matter how hard I try I can never seem to remove paper from my home. So instead of trying to fight it, I’ve learned to embrace it. Enter PAPER ORGANIZATION SERIES. Each week, I’ll be tackling a different area of paper clutter around my home. This week you’ll need to pull out your three ring binders because we’re working on some pretty binder labels for all your 3 ring binders!
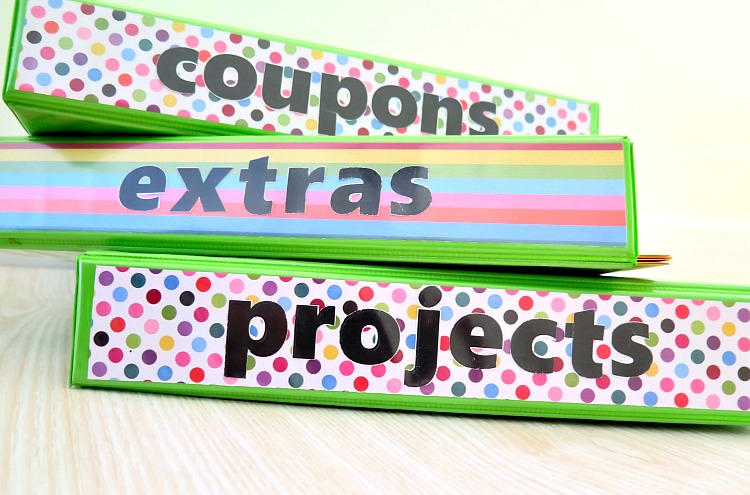
Now you may be thinking …. 3 ring binders? Am I back in high school? As much as I wish I was back to the carefree days of my teens, I don’t miss the binder filled homework! Those binders have now been replaced with important home owner documents, coupons, and wedding planning. Three ring binders are an easy to find and label paper storage solution. Perfect for all those documents that you can’t throw away!
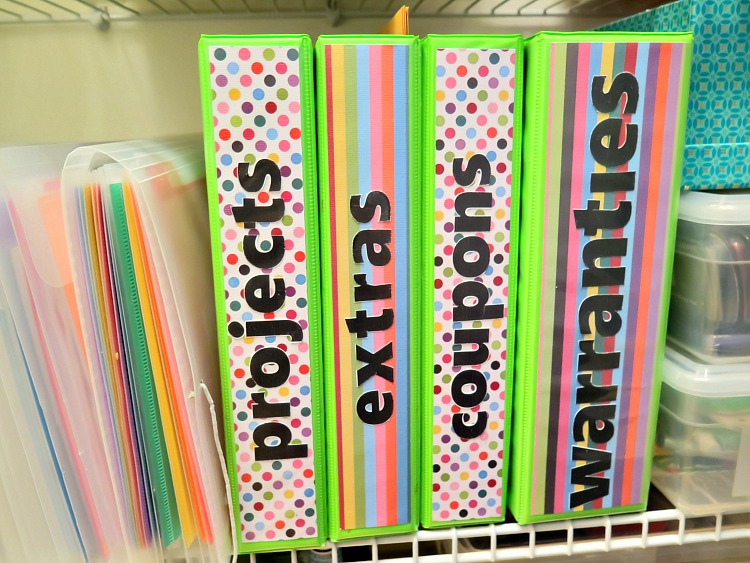
At our house I have 4 different binders: warranties/home owner documents, couponing, taxes, & current projects (which is really a catch all for a lot of stuff 🙂 ).
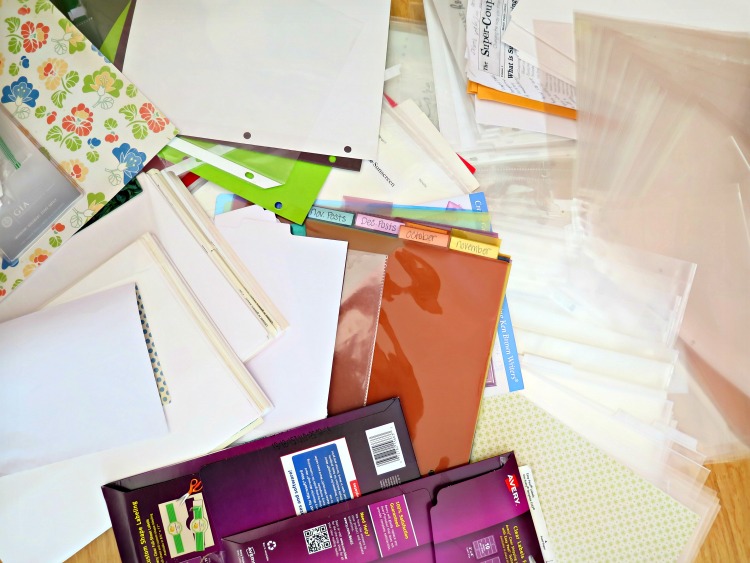
Supplies
- 3 ring binders (I used both 2 inch and 3 inch)
- Thick card stock white paper
- Scissor
- Scotch tape or scrapbooking tape
- Decorative scrapbooking paper
- Printer
- Paper cutter (optional)
 Instructions
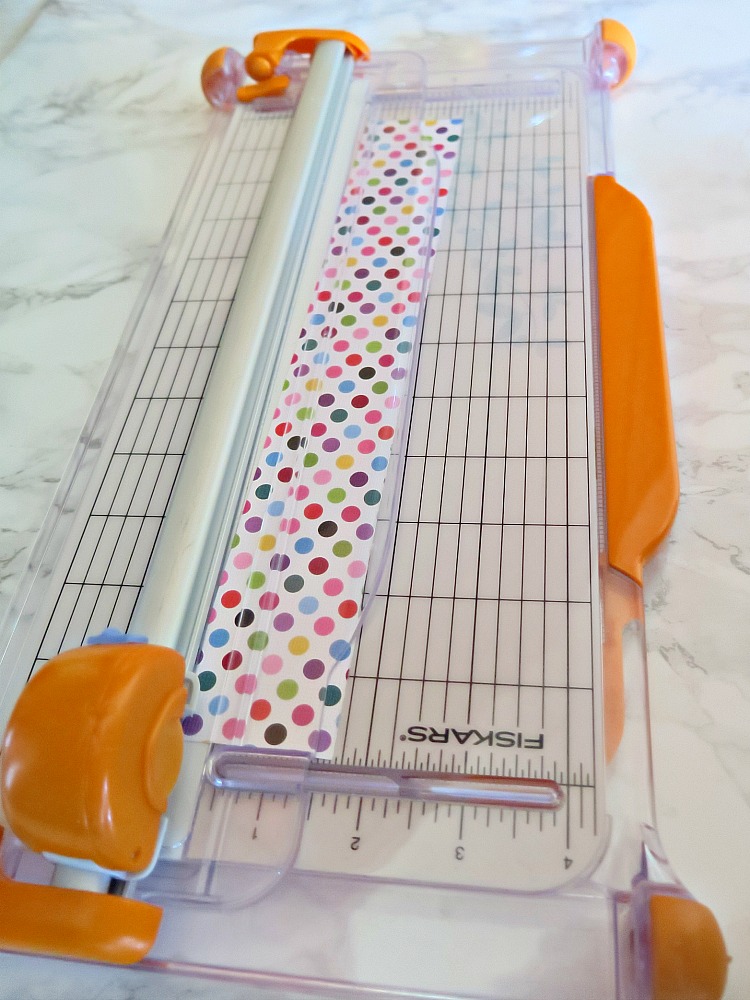
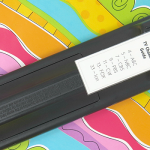
The first step is to cut your decorative scrapbook paper to fit the size of the clear side label pocket of the binder. I always cut the paper slightly smaller than the clear side pocket opener, because I HATE trying to push the paper through the opening. Here’s my rule of thumb measurements to cut your paper:
2 inch wide 3 Ring Binder =2 inches wide & 11 inches tall, so cut your paper to 1 1/2 inches wide & 10 1/2 inches tall
3 inch wide 3 Ring Binder = 3 inches wide & 11 inches tall, so cut your paper to 2 1/2 inches wide & 10 1/2 inches tall
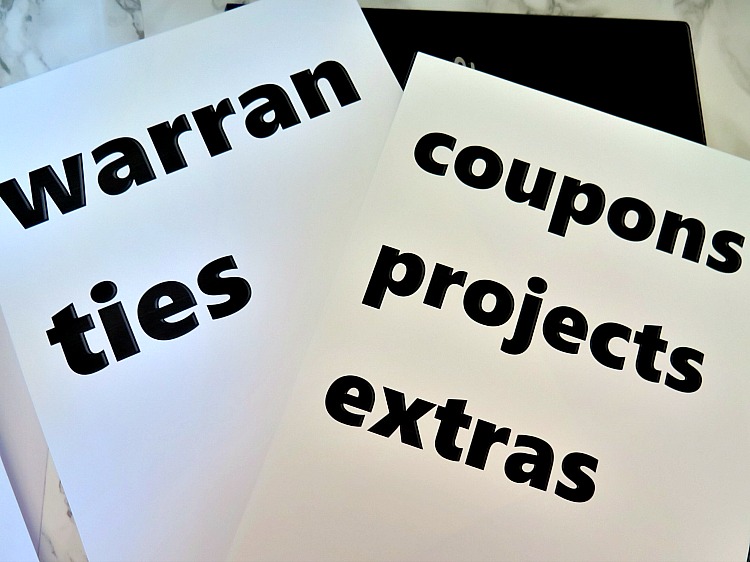
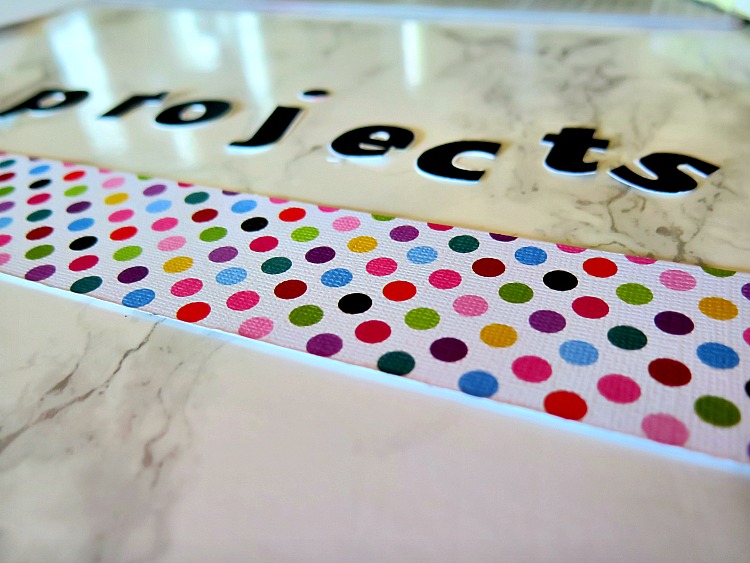
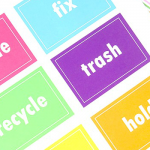
Now you’re ready to type the wording of each label. Instead of buying lettered stickers, I opted to print out the letters to save a little money. I love the look of the black wide font on top of my colorful scrapbook paper. I typed out my label wording for each binder with the largest font that would fit my cut scrapbook paper. This took a little trial and error. I printed the labels with different size fonts and measuring it up to the scrapbook paper. For my 2 inch binders, 120 size Segoe UI Black font was my best option. Printing on thick card stock as opposed to regular printer paper gives the illusion that the letters actually ARE stickers!
Once printed, I then cut out each letter using my scissors. TIP: Using a more plain font makes cutting out the letters MUCH easier, as opposed to a more cursive style font.
Using either regular scotch tape or scrapbooking tape I put a little tape on the back of each letter before pressing it onto the scrapbooking paper. TIP: line up the letters on top of the scrapbook paper WITHOUT tape first to make sure they’re spaced out evenly before applying tape.
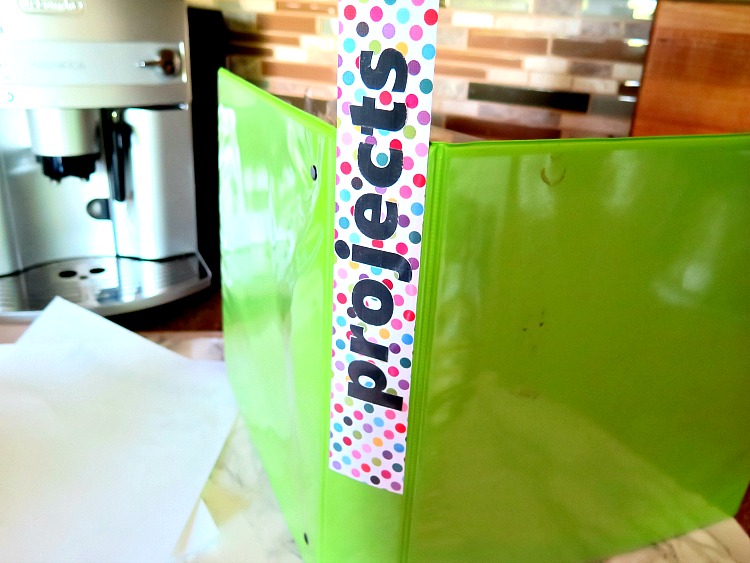
Slowly push your label inside the pocket. I like to read the label from bottom to top so I put my label in the pocket accordingly. TIP: Open up your binder to allow more room inside the clear side pocket before inserting your label.

Now when you’re organizing all your papers, you’ll have something pretty to look at!
I’ll see you NEXT week more tips on organizing your paper!

Leave a Reply