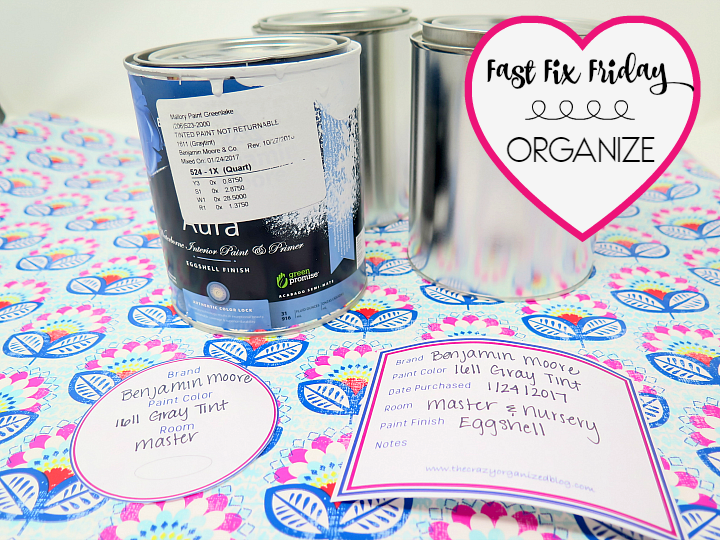

After moving in to our townhouse a couple years ago, we’ve racked up a good amount of paint cans and lots of painting! Labeling these with more complete information (including date purchased and room used in) found it’s way to the bottom of a very long to do list.
Yes, this seemed like a back-burner project for the longest time. That was until I needed to touch up the paint in several rooms we had painted. Uh oh. For the life of me, I couldn’t remember which paint went with which room (apparently I use LOTS of different shades of gray paint!) and I was pretty sure I was missing a couple paint cans as well. Thank goodness my local Benjamin Moore store kept a file of my past purchases.
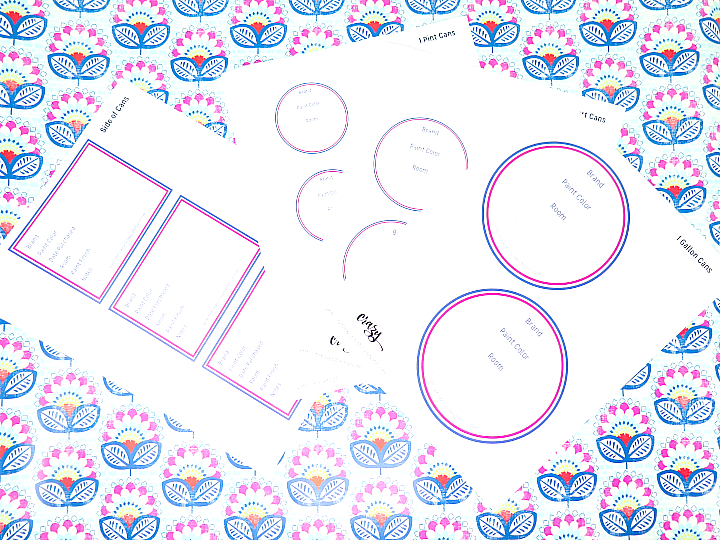
So no time like the present to get these paint cans organized with better labels.
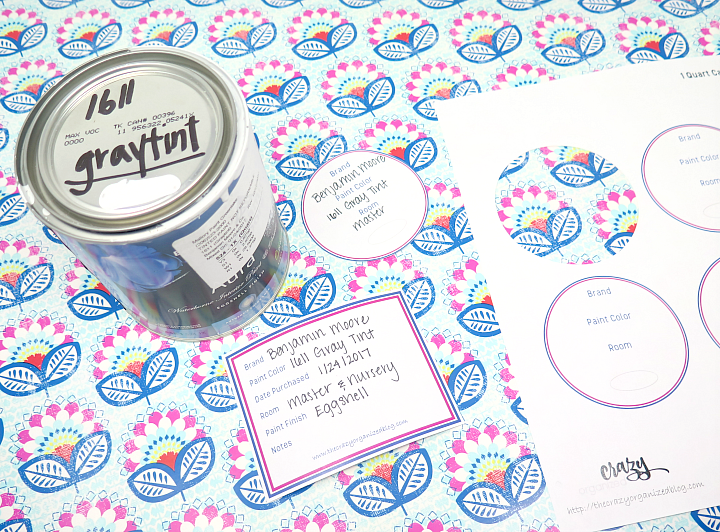
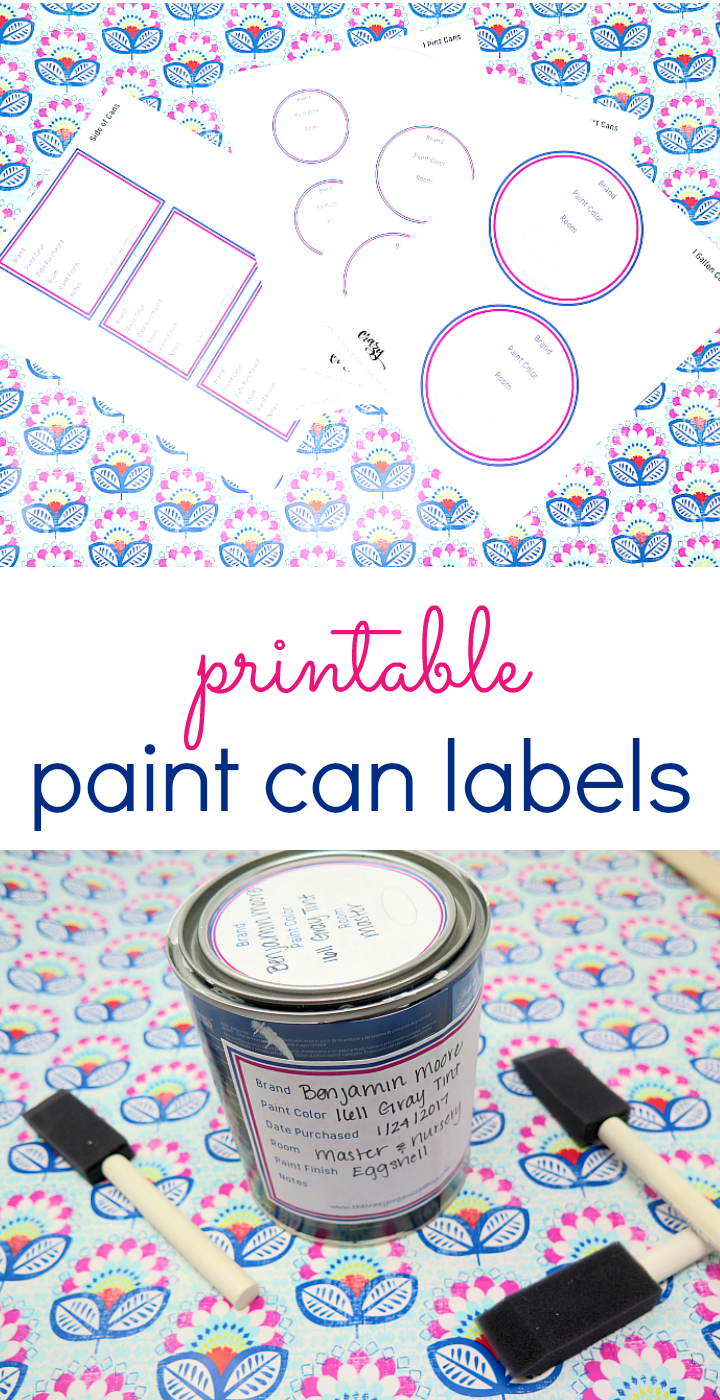
I know what some of you are thinking …. typically when you purchase a new can of paint, it’s already labeled: either at the top of the can, if the store is mixing the paint for you, or on the side if it’s an off the shelf pre-made color. But not typically both. For this labeling project, I chose to stick labels on both sides. The main reason for this is that I’m admittedly a messy painter and paint often drips on the side of the can, not only causing a mess, but also covering the original label. So better safe than sorry with two labels, right?
I created these labels on 8 1/2 by 11 inch paper and printed on stickered white paper. In the template, you’ll find labels for the tops of your 1 gallon cans, 1 quart cans, and 1 pint cans as well as universal labels for the sides of all these cans.
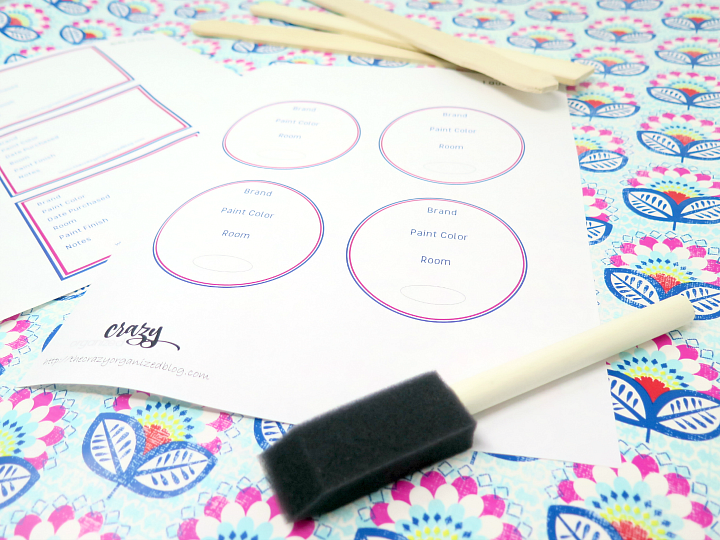
To grab a copy of your own Printable Paint Can Template, just download it from our Organization Toolkit now!
If you need access to the Organization Toolkit, simply subscribe to the Crazy Organized Newsletter below and the Organization Toolkit password will be sent straight to your inbox!
Already a member? Head over to the Organization Toolkit to access your FREE Paint Can Template!
To make these super easy to adhere, print them out with my stickered white paper. I used my paper cutting tools to cut out the individual labels, but a simple scissor will also do the job just fine!
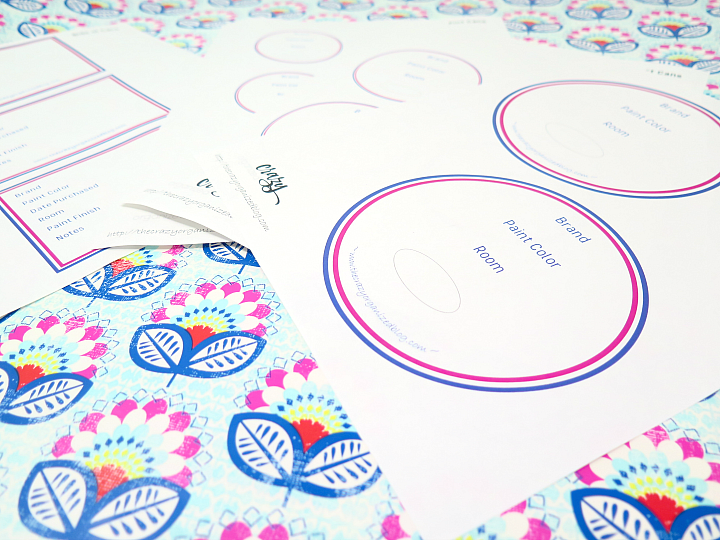
Each label has space to fill out the following:
- Brand
- Paint color
- Date purchased
- Room
- Paint finish (matte, semi-gloss, etc)
- Notes
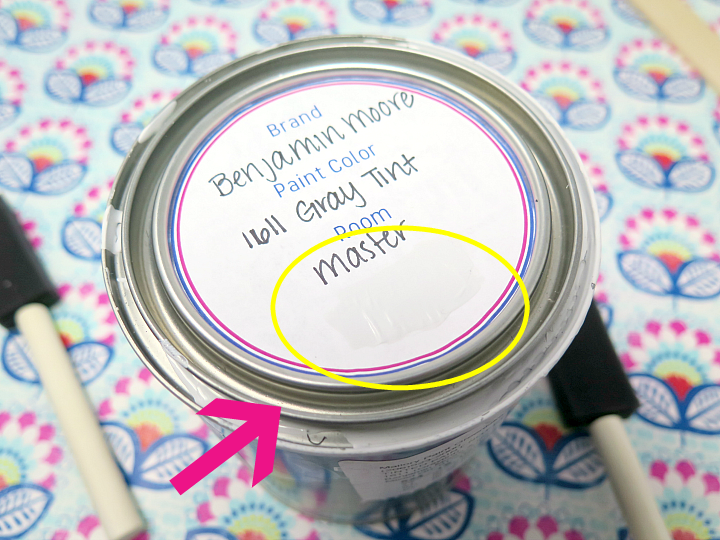
- Small circle to make a paint mark for quick visual color reference
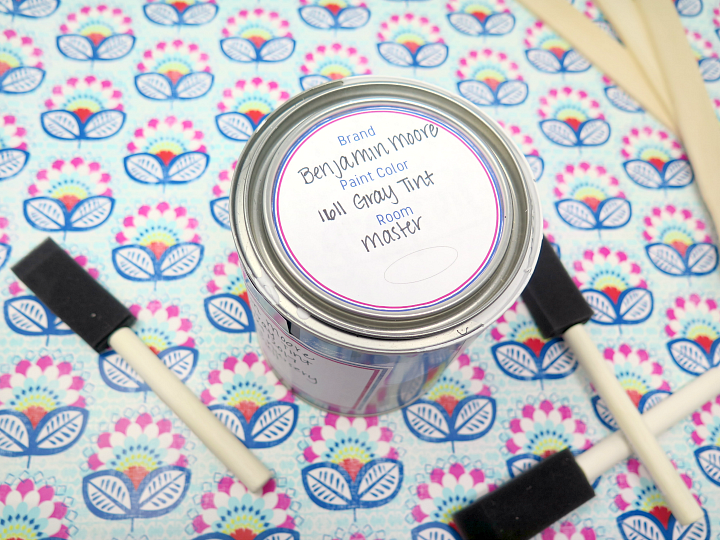
Dab a little paint in the circle for a quick visual color reference. I could barely see this color paint … I guess it literally is just a gray tint!
Although I claim to be finished painting rooms in our home (which definitely makes Joe happy), I printed off a couple extra labels just IN CASE I find another room to paint in the future. I store all any extra labels in plastic pouches for easy use.




This is such a smart idea to label the cans with the rooms they belong to.
What a great idea! Just found your blog and it’s awesome 🙂 Lot’s of great ideas.