
I’m thrilled to be joining 19 AMAZING bloggers in a monthly challenge where we transform a thrift store item into something for our home. Naturally, I’m taking this challenge with organization in mine. My love for organizing is only met by my obsession for saving money, so this monthly series right up my alley! Make sure to stop by the b log on the third Thursday of every month to see what new organizing challenge I’ve tackled at thrift store prices!

Amanda | The Kolb Corner Chelc| Inside the Fox Den Erlene | My Pinterventures Kim | Made in a Day Sara | Twelve on Main
Debra | Shoppe No. 5 Shirley | Intelligent Domestications Marie | DIY Adulation Lindsay | Crazy Organized Michelle | Our Crafty Mom
Julie | Live From Julie’s House Dru | Polka Dot Poplars Maureen | Red Cottage Chronicles Pili | Sweet Things Channell | Hobnail House
Colleen | Life on Kaydeross Creek Ann | Duct Tape and Denim Paula | Virginia Sweet Pea Sherry | Savvy Apron Stacy | Anastasia Vintage
You can also follow our board on Pinterest for more upcycled decor inspiration!
Cords cords cords literally EVERYWHERE. Joe & I have more electronics and gadgets than we likely ever need. Our counters and night stands are filled with electronics and cords… to the point that I don’t even know which cord is for which gadget. I’m convinced we have cords sitting out that don’t even fit anything.
So this month we’re tackling phone cords with a
||| DIY Phone Charging Station |||
Supplies
- Thrift store / used wooden box
- Washi tape
- Contact paper or scrapbooking paper
- Drill (I know NOTHING about drills, but this is the one Joe swears by)
- Clear labels or label maker
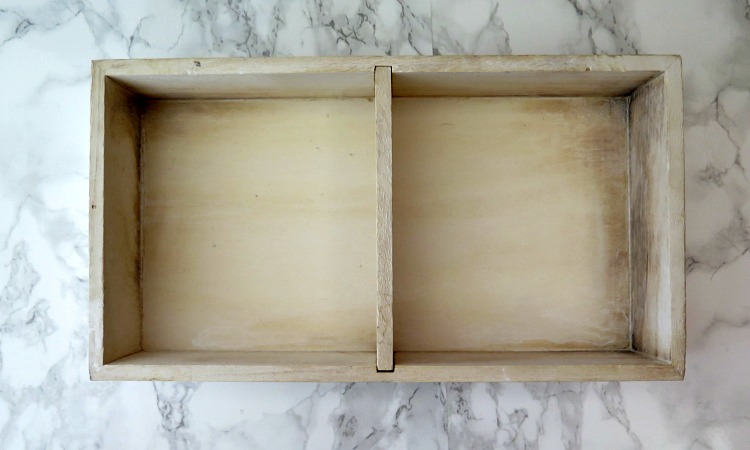
THIS is the box I picked up at the thrift store hoping to solve all my phone charging problems!
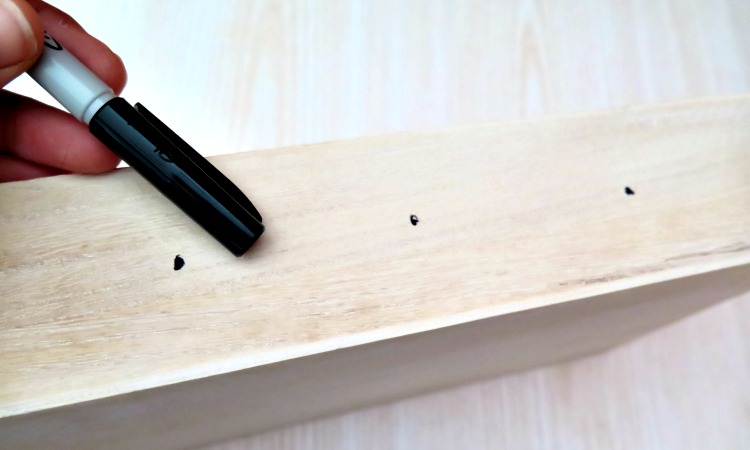
The first step after deciding how many electronics you’re going to store (I’m fitting 5 in this box) is to drill the holes. I first took a marker to denote where the holes should go. No need to use a pencil because you’ll be drilling through your marks (and painting). I didn’t feel like measuring was super important as it was pretty easy to eyeball.
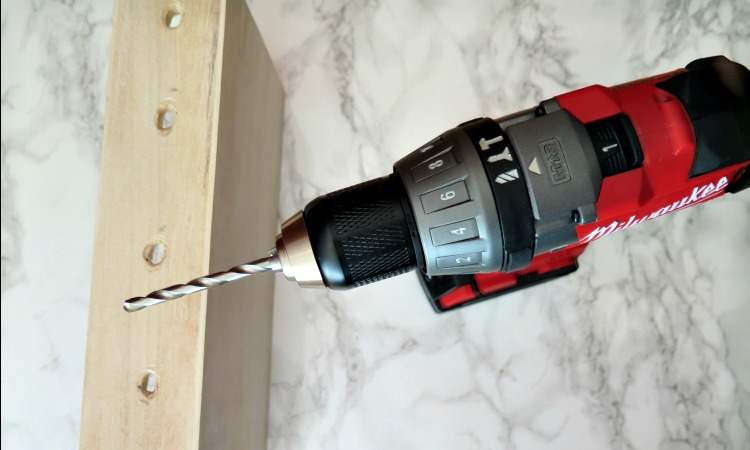
No joke this was the first time I’ve ever used a drill. Obviously not an expert, but a couple things to remember:
- Drills need to be charged ahead of time! Charge overnight (NOT 5 minutes before you need to use. Lesson learned.)
- Once you’re finished drilling the holes, test out your largest electronic cords and make sure they fit through the hole. I eyeballed this when I did it and it wasn’t large enough. I then had to re-drill the holes AFTER I had already painted. Another lesson learned.
Once the holes were drilled, I sanded the entire box, including inside each of the drilled holes. Since this box hadn’t been painted before, the goal of sanding was to create a smooth surface. If you’re using an item that has been painted, stained or spray, the goal will be to strip away the previous application to ensure your paint will be able to ‘grip’ on to the wood. In general a light sanding will work for both. It’s human nature to oversand (is that a word?).
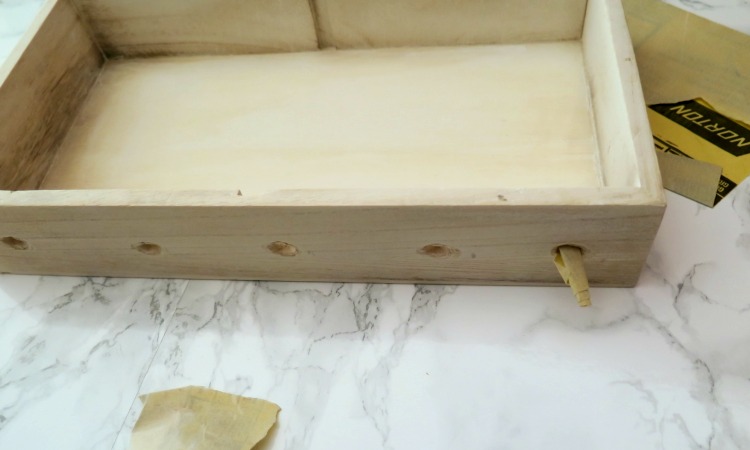
Paint away! I used paint from an old paint sample from our laundry room, but acrylic paint would work just fine as well. You’ll notice the bottom isn’t painted. I’m going to place some fun colored contact paper on the bottom to serve as a ‘place-mat’ so why spend time on something that will go unnoticed??
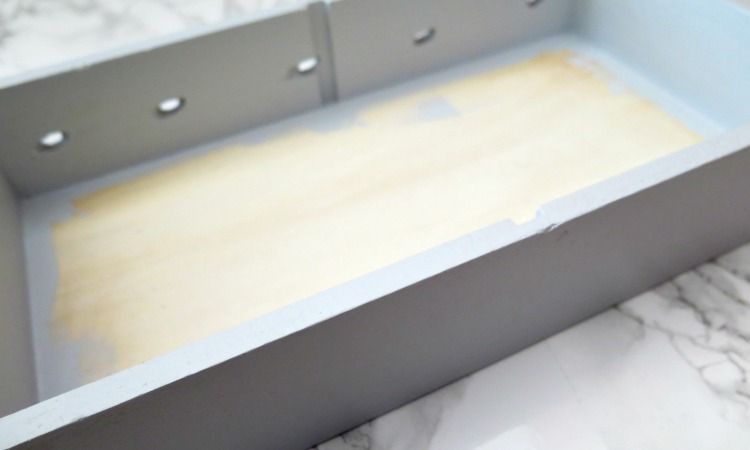
Two coats of paint later, we’re ready to accessorize! To add a pop of color, I put a piece of contact paper at the bottom. If contact paper throws you for a loop and you’re nervous about laying down contact paper due to potentially bubbling, you could skip pealing and just place inside. Yes, it’s kind of cheating, but who’s keeping tabs? OR you could just use standard scrap-booking paper and tape it down. I PROMISE no one is keeping tabs!
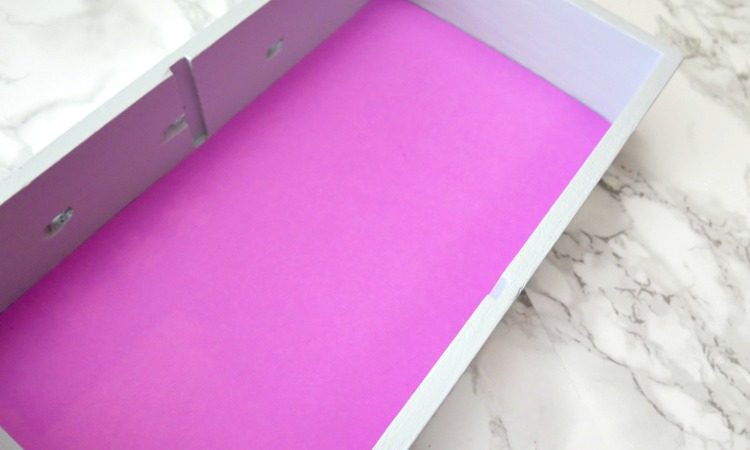
Now you’re ready to charge! Like I mentioned above, I spent some time figuring out what the best placement for each of my electronics would be. I strongly recommend doing this step BEFORE putting the washi tape labels on. Putting the larger electronic cords at the ends worked better for this size box, but it will take a little trial and error to see which ones fit best.
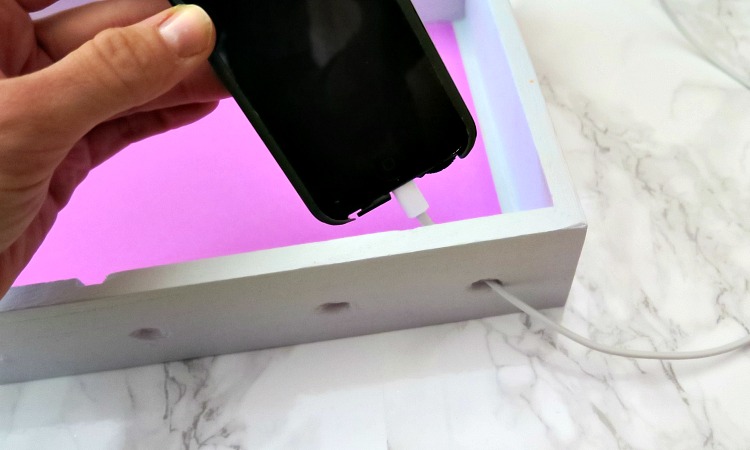
I’m a sucker for labels, but even more for this label maker. It’s portable and has an iphone app (doesn’t everything nowadays?), making it really easy to make labels. No need to run to our office to print labels on my computer. (Joe didn’t necessarily share my excitement in my new found ease in labeling 🙂 .)
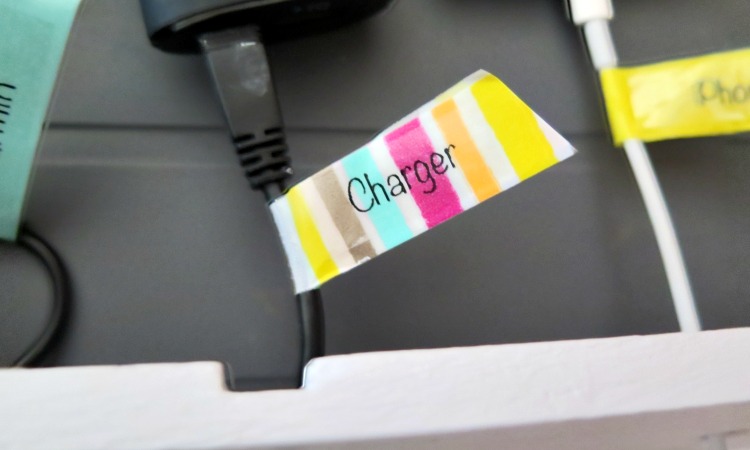
UPDATE: a couple of you asked what the ‘charger’ was. We have a portable charger for when our phone battery is running low and we’re not near an outlet. Highly HIGHLY recommend.
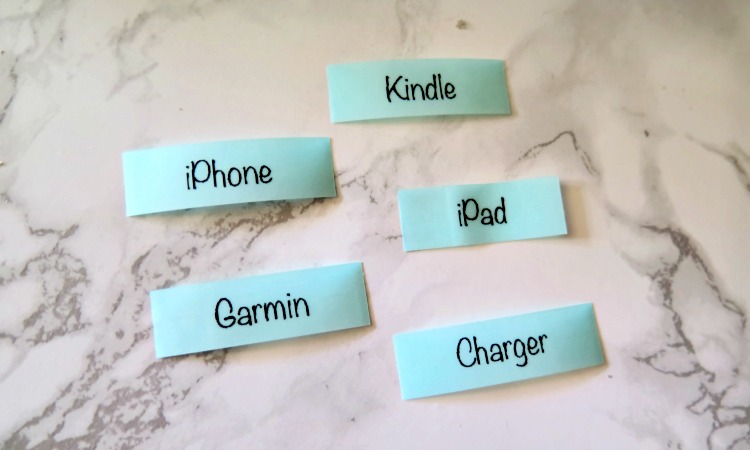
Before applying the labels, add washi tape around each cord. I cut the ends at a diagonal and attached my clear labels on top.

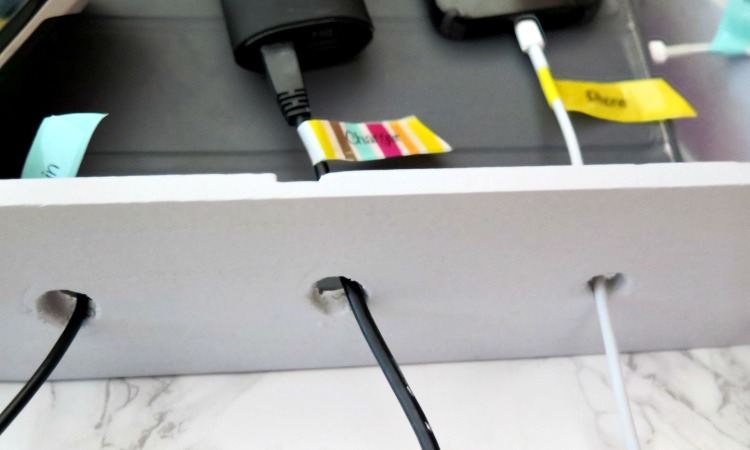
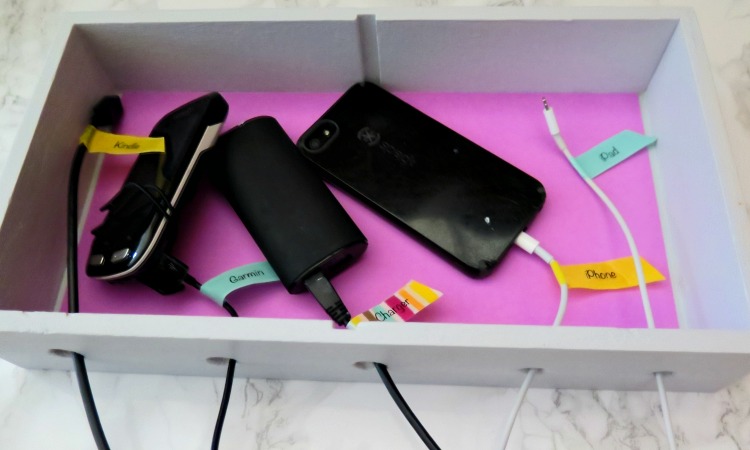
Now that my electronics are organized, let’s hope I remember to CHARGE them! 🙂

Check out how my fellow bloggers transformed their thrift store finds!

Some of the links in this list are affiliate links. It doesn’t cost you any extra, but I earn a little commission if you decide to purchase. Regardless of whether or not I receive a commission, I only recommend products that I personally use and genuinely recommend! Thanks for helping support this site!





I love charging stations because it helps keeps all the cords and electronics in one place. My kids never use ours and they’re always looking for their cords…grr.
I need this in my life! Our electronics are a jumbled mess on our kitchen counter. I love that yours are contained to a pretty box with helpful washi tape labels so that you know which cord goes with what device.
Aww thanks! Ours had been a mess for WAY too long!
This is excellent. You are so right about so many cords and not knowing what goes where and having electronics all over. I like that this keeps everything organized and easy to identify.
This is such a great project! I really need this in my life! I hate to admit I have a drawer full of chargers that are probably from two phones ago, lol!
Such a cute and handy charging station! Love those washi tape labels and that bright pink paint. I always forget to charge my drill ahead of time too, haha!
Lindsey, this came out great! I’ve been thinking about making one of these and you’re inspiring me to give it a shot.
Love these ideas! Will have to try a few soon!
Cute cute cute!! I need something like this in my house, as my nightstand is cluttered with cables and gadgets. This is so streamlined and best of all–pretty!
Great project!! I have a little old drawer and I am sure would be great for this, thanks for the inspiration!
Oh I bet that would be awesome!! Thanks so much for stopping by!